Thunder i840 S2520
19
2.9 Installing the CPU and Cooling Fan
Socket370 type Pentium III processors
ONLY
(500 MHz through 1 GHz) can be used on the Thunder
i840. For more information on CPU compatibility, check Tyan’s website:
http://www.tyan.com
.
Remember the following: The CPU is a sensitive electronic component and it can easily be damaged by
static electricity. Do not touch the CPU pins with your fingers. You should be able to insert the CPU into
the socket with virtually no force. Do not press down hard on the CPU as you might bend or break the
pins.
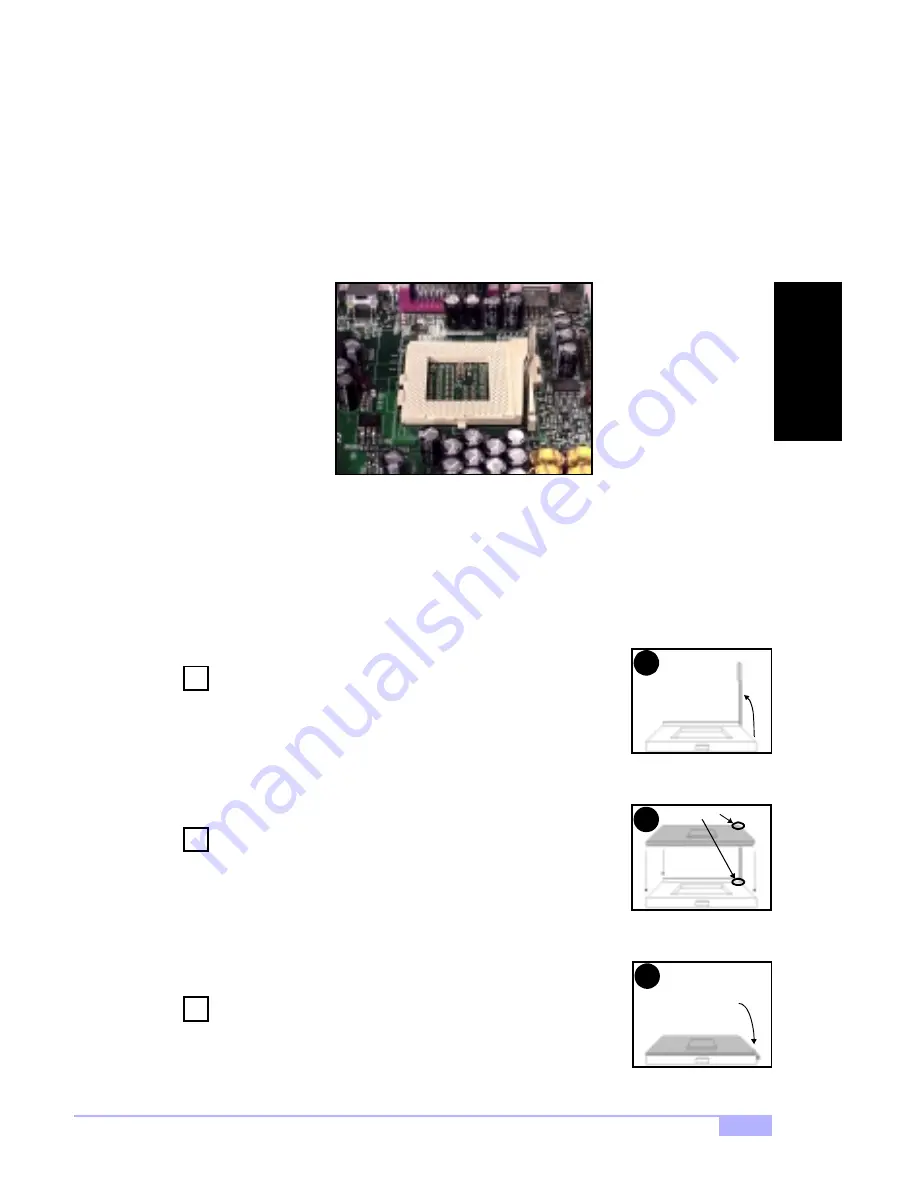
Installing the Socket370 type CPU
Before installing the CPU, check it for damaged. Make sure that none of the pins are bent. Pin 1 on the
CPU is denoted by a small dot on one of the corners, and Pin 1 on the ZIF socket is denoted by one of the
angled corners (left bottom-most angle from the Intel logo).
Carefully lift the arm of the ZIF socket until it is at a 90-degree angle
pointing away from the motherboard. be very careful not to damage
any components that might be next to the CPU socket. Please note
that each picture for this section (see
right
) corresponds to the
step.
There are two beveled corners on the CPU pin group, which will
match the two angled corners on the socket face. Carefully install
the CPU by lining both Pin 1 on the CPU and Pin 1 on the socket
(see
right
), making sure the pins actually fit into the socket face.
Do
not
force the CPU into the socket if it does not fit: check the pin
alignment of CPU pins to socket holes.
Push down lightly on the CPU while lowering the arm of the socket
to secure the CPU (see
right
). A squeaking noise may be hard
while lowering the arm, or the socket may make a ‘click’ noise when
the arm is locked into position: these noises are normal.
Arm moves down
to lock CPU
Pin 1
1
2
3
Socket370 CPU socket
2
1
Step
Step
3
Step
INS
T
ALL


