10
EN
CONTROL
MODULE
CALIbRATION
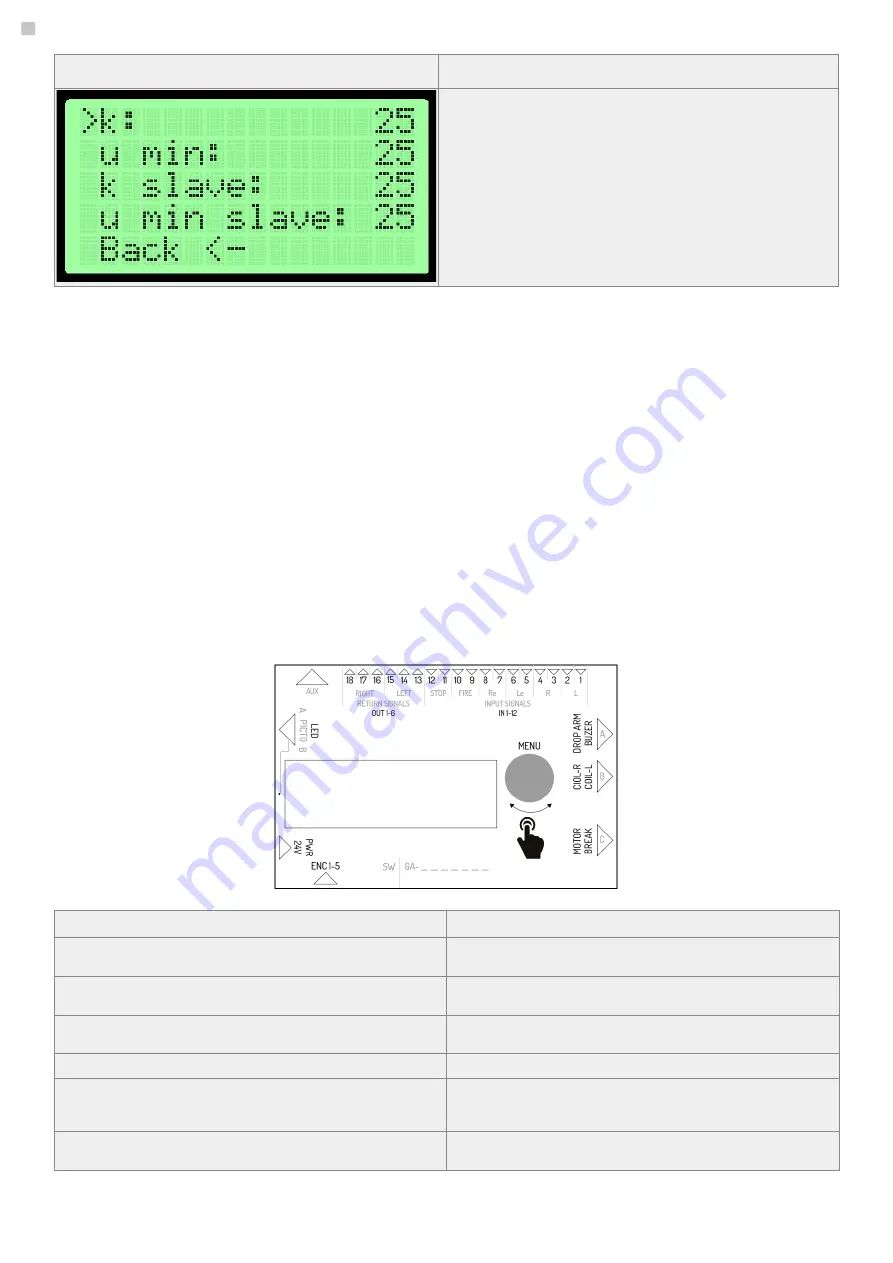
After entering the calibration submenu, we can change certain operating parameters of
the control algorithm. To edit an item, press the encoder knob. Then, by turning it, increase
or decrease the edited value.
•
k – influences the general movement speed If the arm has a tendency to pass the
locked position and then to reverse, the parameter needs to be reduced; if the arm
moves too slow, it needs to be increased.
•
u min – influences the tightening speed If the arm does not reach the position set,
what is signaled by starting the buzzer and a temporary locking of the arm, the pa
-
rameter needs to be increased. Reducing the parameter should be done if the arm
has a tendency to pass the set position.
Save the set values by using save and exit option when leaving settings menu.
FIRST RUN
In order to provide safety during first run, follow the following rules:
1. Before applying power to the device make sure that all cables are connected properly.
2.
Connect an electromagnetic break and motor after checking the encoder operation (menu - parameters - encoder - the value
should change when manually moving the arm)
3.
Check the connection of optical sensors (menu parameters). A ‚0’ digit means that the barrier is interrupted, while 1 means that the
barrier is not interrupted.
4.
The zero positions are factory-set. In case you need to re-set them, disconnect the electric break and motor from the driver.
5. Wrong connection of the encoder may cause the device to behave in an unpredictable way. Take extra safety precautions.
bA3/bR2/GA SERIES DEVICES
DESCRIPTION OF THE CONTROL MODULE TERMINALS
Symbol
Description
IN 1-2
External signal input for right direction (NO). This input’s function is configurable. By
default it’s configured as permission to pass (see the software documentation).
IN 3-4
External signal input for left direction (NO). This input’s function is configurable. By
default it’s configured as permission to pass (see the software documentation).
IN 5-6
Permission signal input for left passage direction (NO).
IN 7-8
Permission signal input for right passage direction (NO).
IN 9-10
Fire alarm signal input. The signal can be configured NO or NC in the driver’s settings.
After receiving a fire alarm signal the device turns on free passage mode for both
passage directions
IN 11-12
Blockade signal input. Short circuit triggers the blockade – the device doesn’t react to
release signals.


