


26
25
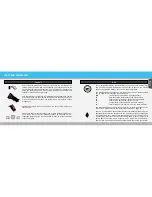
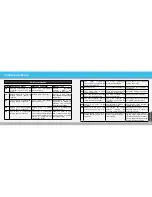
The tail lights and rear direction indicator
are highly durable LED lights. If they are
not working, please make sure to check
the connections and fuses first. If the light
is indeed broken, you need to replace the
entire unit.
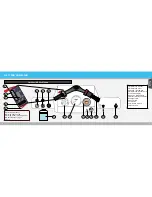
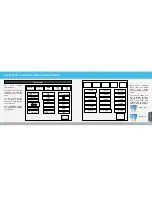
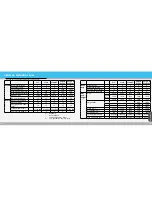
ELECTRICS - ALL VEHICLES
12
V Battery
Tail lights
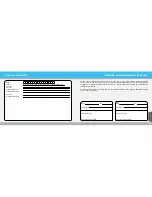
WARNING
NEVER CONNECT THE
12V BATTERY TO THE CHASSIS (B-)!
When you connect the ground to the frame,
as can be done with regular cars, you
will connect the 72V system. This is very
dangerous and should be avoided!
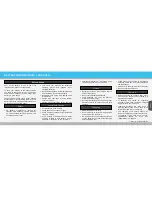
The 12V battery can be found underneath
the driver’s seat in front of the fuse box. The
minimum voltage it should provide is at least
11V.
When measuring the voltage, make
sure the vehicle is switched off. If the battery
voltage is 10V or less then the battery needs
to be replaced.
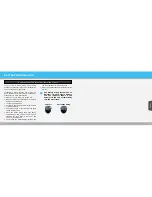
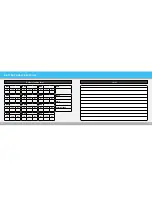
•
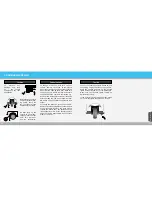
Unscrew the two screws inside the dash-
board that holds the headlight in place.
• Slide the black rubber protection cap back
to reveal the white fitting
•
Rotate the white fitting to remove it f r o m
the metal housing
•
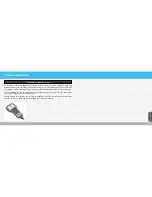
Do not touch the bulb with your hands,
wear gloves or use a handkerchief to
unscrew the bulb
•
Press and turn the light bulb clockwise to
remove the bulb from its fitting
Use a
BA20D 12V 35W
bulb.
36mm
54mm
17 mm
Headlights
If one of your lights is not working, first
check if the wiring is properly connected and
that the fuse is not broken. To replace the
light bulb in the headlights, first remove the
entire headlight assembly:
Maintenance
For Classico/Limo/Cargo/Vendo only:
The ground can be connected to the frame
for GT models as the 72V system is isolated.


