12
4.3.2. Setting Flash Mode and Image Quality from PHOTO mode
4.3.2.1. Setting the Flash Mode
Press
and press
or to select
Flash
, then press
to confirm
Press or to select
Auto
,
On
or
Off
, then press
to finish
4.3.2.2. Setting the Resolution
Press
and press
or to select
Resolution
, then press
to confirm
Press
or to select
Hi 3.0M
,
Lo 1.3M
or
VGA 300K
, then press
to finish
4.3.2.3. Setting Exposure and Colour modes
o
To set Tuff-Cam to automatically use the best settings:
Press
and press
or to select
Colour
, then press
to confirm
Press
or to select
Auto
, then press
to finish
o
To override automatic settings and set specific Exposure value in
Colour
menu:
Press
or to select
Exposure
, then press
to confirm
Press
or to set the value b2 and -2 and press
to
finish
o
To override automatic settings and set specific White Balance value in
Colour
menu:
Press
or to select
White Balance
, then press
to confirm
Press
or to set
Daylight
,
Horizon
,
Alight
or
Office
, then press
to
finish
o
To override automatic settings and set specific Sharpness value in
Colour
menu:
Press
or to select
Sharpness
, then press
to confirm
Press
or to set
Normal
,
Sharp
or
Soft
, then press
finish
o
To set Auto Exposure (AE) value for your country:
Press
and press
or to select
AE Type
, then press
to confirm
Press
or to select
50Hz
or
60Hz
, then press
to finish
Using correct AE type will eliminate flicker effect on the image so please select
it according to the country that you are located in
4.3.2.4. To Set Date Time Stamp
o
Press
or to select
Date Time Stamp
, then press
to confirm
o
Press
or to select
On
or
Off
, then press
to finish
Turn on the Date Time Stamp to stamp the date and time on the captured image.
Ensure you set the date and time (from PLAY mode) first
13
4.3.2.5. To set the Auto Power Off delay time
o
Press
or to select
Auto Power Off
, then press
to confirm
o
Press
or to set auto power off timer minutes and seconds
o
Press
to confirm and leave the selection
Setting the Auto power off timer to a short time will increase the battery life
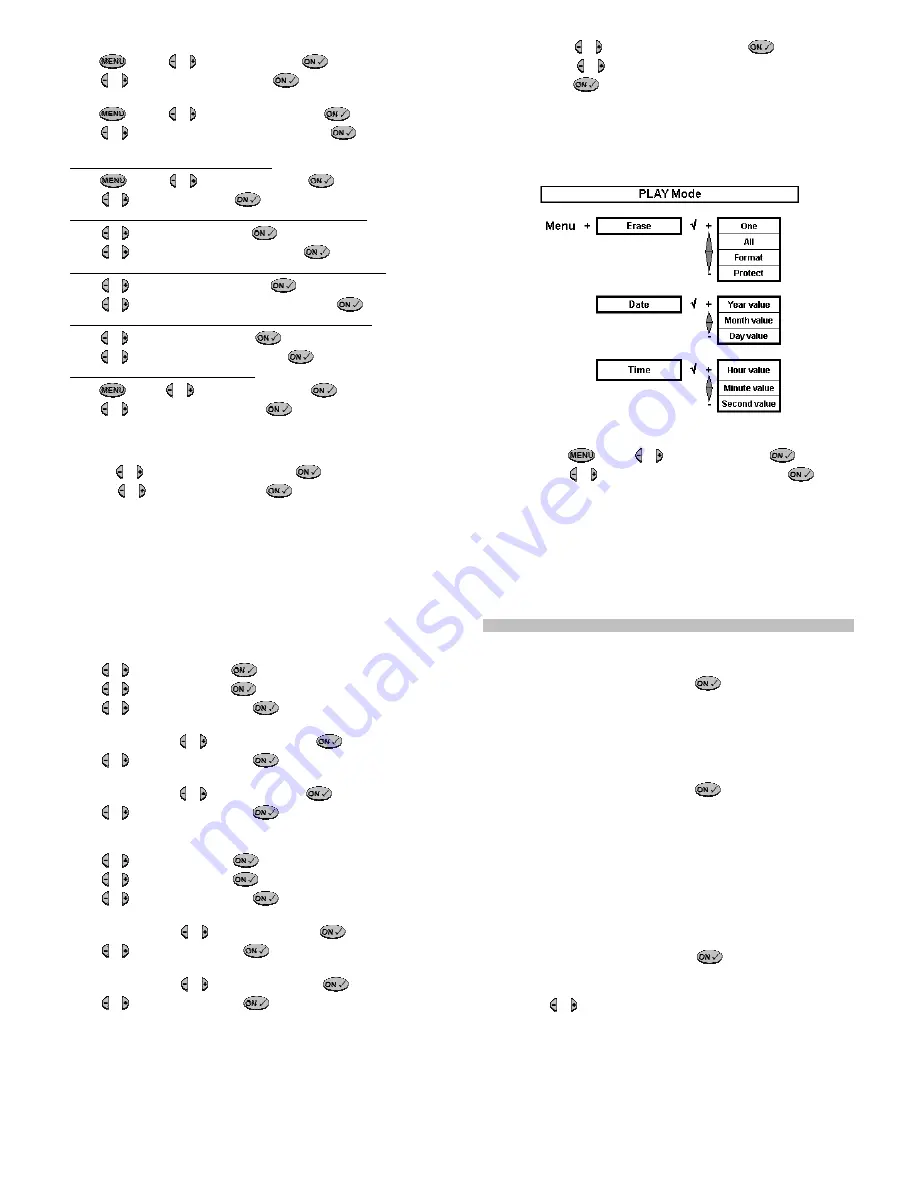
4.3.3. Set the selection and setting from playback mode
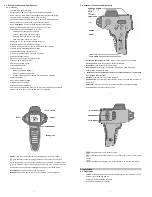
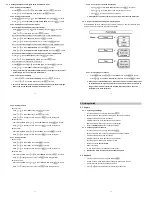
Slide the MODE switch to PLAY when the Tuff-Cam is turned on, and then follow the chart
below and steps to change the selections and settings:
4.3.3.1. Erasing Images or Videos
o
Press
and press
or to select
Erase
, then press
to confirm
o
Press
or to select
One
,
All
,
Format
or
Protect
, then press
to finish
Once you have selected Erase One, Erase All or Format, the data or images will
be deleted from memory and you will not be able to restore them. If there are no
images stored in memory the Erase One and Erase All options will not be
displayed in the erase selections
14
4.3.3.2. Setting the Date
o
Set Year value:
Press
or to select
Date
, then press
to confirm
Press
or to select
Year
, then press
to confirm
Press
or to change the value, then press
to finish setting Year
o
Set Month value:
After selecting
Date
, press
or to select
Month
, then press
to confirm
Press
or to change the value, then press
to finish setting Month
o
Set Day value:
After selecting
Date
, press
or to select
Day
, then press
to confirm
Press
or to change the value, then press
to finish setting Day
4.3.3.3. Setting the Time
o
Set Hour value:
Press
or to select
Time
, then press
to confirm
Press
or to select
Hour
, then press
to confirm
Press
or to change the value, then press
to finish setting Hours
o
Set Minute value:
After selecting
Time
, press
or to select
Minute
, then press
to confirm
Press
or change the value, then press
finish setting Minutes
o
Set Second value:
After selecting
Time
, press
or to select
Second
, then press
to confirm
Press
or change the value, then press
finish setting Seconds
15
5. Getting started
5.1. Capture
5.1.1. Capturing a still image
o
Turn the Tuff-Cam on by pressing and holding
o
Set the Tuff-Cam mode to Photo by sliding the mode switch to PHOTO
o
Hold the Tuff-Cam steady with your hands
o
Display will show the live image that is being pointed at
o
Point the Tuff-Cam at the object you wish to photograph
o
Press the
Shutter button
once to capture an image
5.1.2. Capturing a Video with Voice
o
Turn the Tuff-Cam on by pressing and holding
o
Set the Tuff-Cam mode to Video by sliding the mode switch to VIDEO
o
Hold the Tuff-Cam steady with your hands.
o
Display will show the live image that is being pointed at
o
Point the Tuff-Cam at the scene you wish to video
o
Press and hold the
Shutter button
o
Video is recording
o
To stop the recording, just release the shutter button
Note that the video resolution is fixed at 320 x 240 pixels
5.2. Playback
o
Turn the Tuff-Cam on by pressing and holding
o
Set the Tuff-Cam mode to Playback by sliding the mode switch to PLAY
o
Display will show the captured photos and video
o
Press
or to scroll backward or forward through the photos


