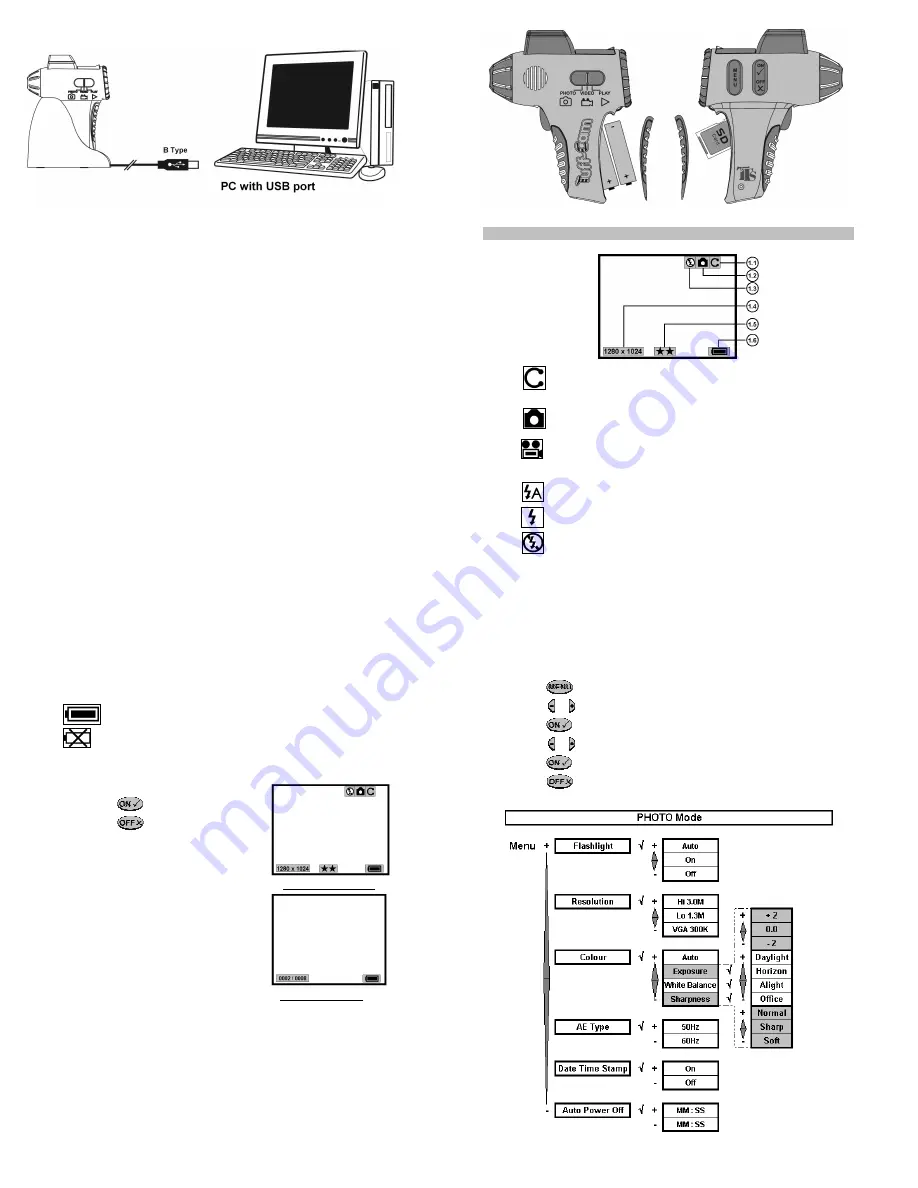
8
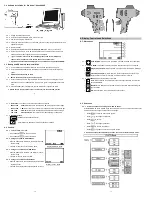
3.2. Software installation for Windows™ 98 and 98SE
3.2.1. Unplug the USB cable from PC
3.2.2. Insert the Tuff-Cam CDROM in CD drive of your PC
3.2.3. The auto-run program will execute
3.2.4. Follow the instructions shown on screen from your PC to completely install the driver and
application program
3.2.5. Restart windows
3.2.6. Successful installation will create
“Ulead Photo Explorer”
icon on your desktop
3.2.7. Connect your Tuff-Cam to the PC with the USB cable, the PC will recognize the new
device and set up the configuration of the PC automatically
If your computer doesn’t run automatically, please click “Start” button and
choose “Run”, and then browse the CD drive and click “Autorun”
Operation manual of Ulead Photo Explorer is contained on the provided CDROM
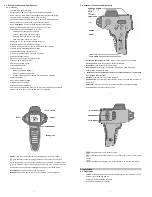
3.3. Battery and SD memory card installation
3.3.1. Use a small Philips screwdriver to loosen the screw and open the battery door
3.3.2. Insert 2 AA alkaline batteries into the battery compartment in the correct direction as
shown
Alkaline batteries should be used
Ensure the battery polarity is correct as shown
3.3.3. Push the SD memory card fully into the SD socket until it clicks, ensuring the correct
direction as shown. To release the SD memory card, press it in again and the card will
eject.
3.3.4. Close the battery door carefully then use the screwdriver to tighten the screw
Please ensure the protection lock of the SD card is in the unlocked position
9
4. Display, Controls and Selections
4.1.
Status Icons
4.1.1.
Card inserted:
If memory card is installed, Tuff-Cam will show
C
on the display
4.1.2.
Capture Mode:
This shows the status of capture selections that you have selected
o
Single Image Capture:
When selected, press the shutter to capture a still image
o
o
Video & Voice Capture:
When selected, press the shutter button to start the
capture of video and voice recording, and release to stop recording
4.1.3.
Flash Mode:
This shows the status of the flash
o
Auto:
When selected, the Tuff-Cam will check the light conditions to control the
flash automatically
o
Manual:
When selected, the Tuff-Cam will turn on the flash without checking the
light conditions
o
Off:
When selected, the Tuff-Cam will not use the flash
10
Display in PHOTO Mode
Display in PLAY Mode
4.1.4.
Resolution:
This shows the resolution that has been selected
o
2048 x 1536 3.0M:
Select this option to capture a 3.0M pixels high resolution image.
o
1280 x 1024 1.3M:
Select this option to capture a 1.3M pixels normal resolution image.
o
640 x 480 VGA:
Select this option to capture a 300K pixels low resolution image.
o
320 x 240 Video resolution:
The resolution of Video capturing is 100K pixels.
4.1.5.
Batteries Status:
o
Full:
Shows the batteries are full
o
Low:
Shows the batteries are low and should be replaced
4.2. Controls
4.2.1. Turn Tuff-Cam on or off
o
Press and hold
to turn on Tuff-Cam
o
Press and hold
to turn off Tuff-Cam
4.2.2. Change Tuff-Cam to PHOTO Mode
o
Slide the mode switch to PHOTO, the display will show
the live image
o
Tuff-Cam is ready for you to capture a photo
4.2.3. Change the Tuff-Cam to VIDEO Mode
o
Slide the mode switch to VIDEO, the display will show
the live image
o
Tuff-Cam is ready to capture a video
4.2.4. Change the Tuff-Cam to PLAY Mode
o
Slide the mode switch to PLAY, the display will show the
captured photos
o
Tuff-Cam ready to playback captured photos or videos
11
4.3. Selections
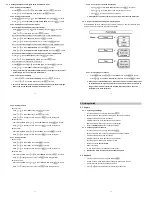
4.3.1. Select the options and settings from PHOTO Mode
Slide the MODE switch to PHOTO when the Tuff-Cam is turned on, and then follow the chart
below and steps to change the selections and settings:
o
Press
to enter the Photo menu system
o
Press
or to change the selection
o
Press
to confirm
o
Press
or to change the settings
o
Press
to confirm the settings
o
Press
to go back one level in the menu system
If no buttons are pressed within 10 seconds, the unit will return to Photo mode


