15
© TrynEx International 2013 (REV C) F50766
Installation Instructions
Installing on the Spreader
STEP 16
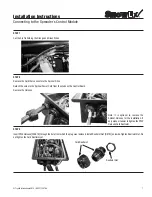
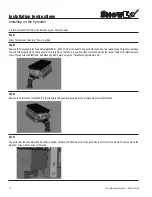
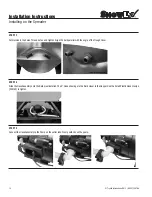
Re-Install the Auger Extension Cover and the Spinner Drive Latch Pin.
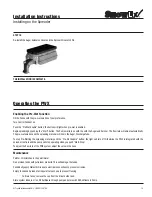
THE INSTALLATION IS COMPLETE.
Operating the PWX
Enabling the Pre-Wet Function
Maintenance
Fill the Tanks with the pre-wet solution of your preference.
Turn Control Pendant on.
Push the “Pre-Wet Enable” button; the button will light when pre-wet is enabled.
Begin spreading by pushing the “Start” button. The Pump will turn on with the with the Auger and Spinner. The flow rate will adjust automatically.
The pre-wet solution and the spreading material will mix in the Auger Discharge Tube.
To stop Pre-Wetting the spreading material push the “Pre-Wet Enable” button; the light will turn off. Otherwise the PWX is integrated with the
spreader controls and the pump will stop operating when you push “Start-Stop.”
To adjust the flow rate of the PWX system, adjust the valve in the hose.
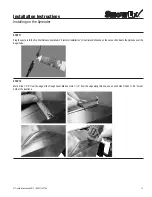
Paint or Oil scratches in the paint/metal.
Do not clean tanks with petroleum products. This will damage the tanks.
Periodically apply Dielectric Grease to electrical connections to prevent corrosion.
Empty Tanks and Spreader’s Hopper after each use to prevent freezing.
To drain tanks; remove the cap from the driver’s side tank.
Store system indoors or run RV Antifreeze through pump and store with RV Antifreeze in Pump.


