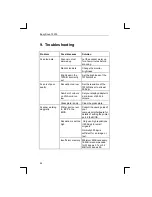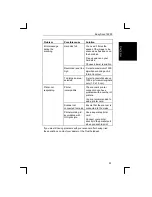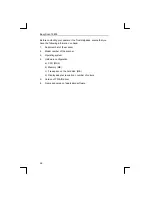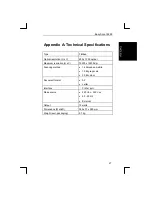
Easy Scan 19200
17
1.
Scanning source: Flatbed or transparency
2.
Number of colours:
a) Line-Art: black-and-white scanning, to use with an OCR
program such as TextBridge.
b) Diffusion: black-and-white scanning, with the transition
between black and white being spread with small dots. Use
this for black-and-white photos if you need to restrict the
space they take up on the disk.
c) Halftone: black-and-white scanning using dots of varying size
as used for photos in a newspaper. Use this if the image has
to be faxed.
d) GrayScale: scanning in 256 grey scales, to use with black-
and-white photos.
e) True Colour: scanning in 16.7 million colours, for use with
colour photos.
3.
Result of the ‘Preview’. Specify the area to be scanned here.
4.
Area to be scanned framed in red.
5.
Maximum area to be selected.
6.
Resolution setting (50 - 9,600 dpi ).The higher the resolution, the
sharper the scan.You are recommended not to use a resolution
above 1,200 dpi.This does not improve sharpness any further
and costs a lot of memory.
7.
Brightness: Brightness setting (-50 0 50).
8.
Contrast: Contrast setting (-50 0 50).
9.
Exit: Close the TWAIN window and return to the application.
10. Scan: Produce a scan of the selected area.
11. Preview: Produce a test scan. The result of this is displayed after
a few seconds in the ‘Preview’ window.


