


TRUST 450LR MOUSE WIRELESS OPTICAL OFFICE
U K
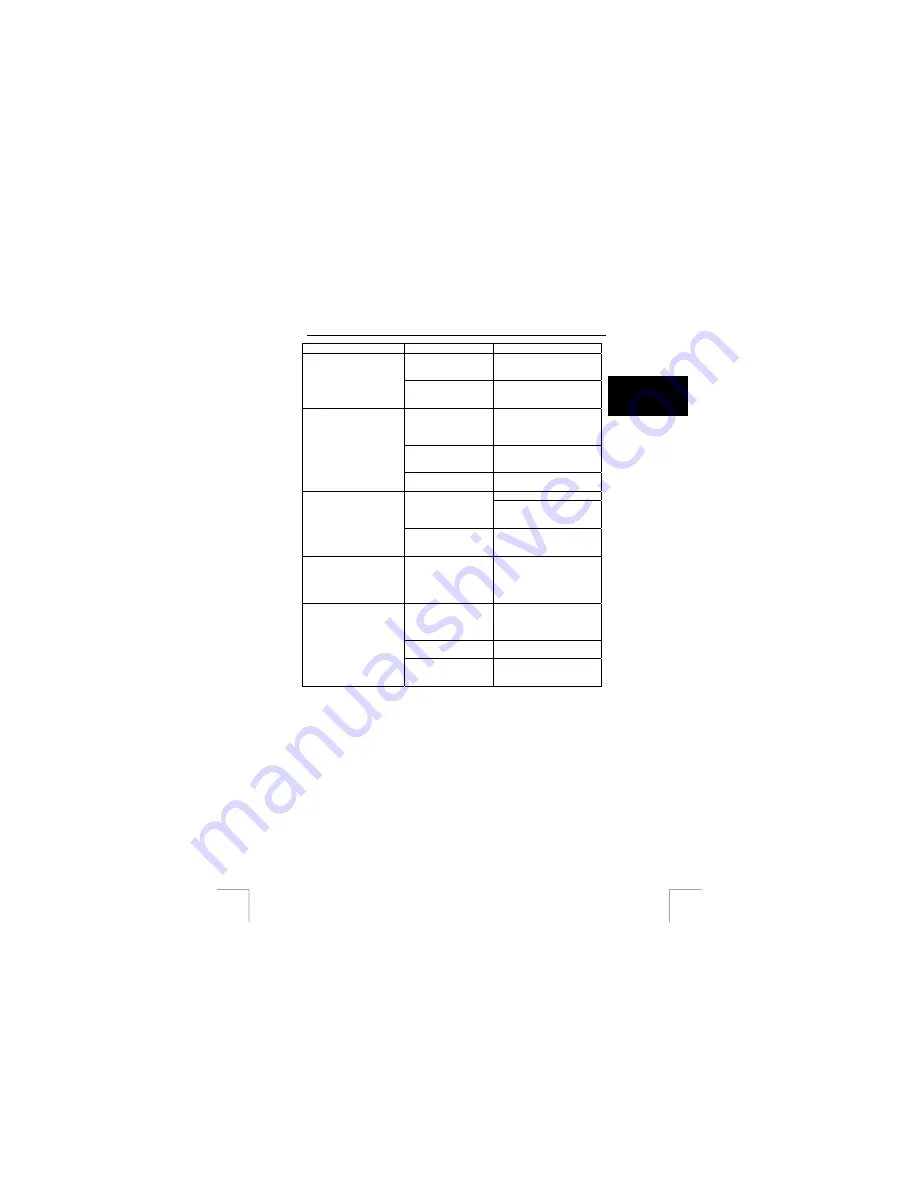
Problem Cause
Possible
solution
The receiver has not
been connected
correctly
Connect the receiver
correctly (see chapter 5).
The receiver is not
detected by Windows.
Software for your
previous mouse is still
installed.
Remove the old software
(see chapter 7.1).
The batteries in the
mouse are empty.
Charge the batteries for 14
hours before using the
mouse for the first time (see
chapter 6.1).
The distance between
the receiver and the
mouse is too great.
The distance must not be
greater than 2 metres
(unobstructed).
The mouse movements
are jerky.
The mouse is used on
a shiny surface.
Use the mouse on a
different surface.
Select a different channel.
The selected channel
is disrupted by another
RF signal.
Connect the mouse ID code
to the receiver (see chapter
12).
The mouse arrow on the
monitor does not move.
The distance between
the receiver and the
mouse is too great.
The distance must not be
greater than 2 metres
(unobstructed).
Windows displays an
error message
concerning the mouse
when the computer is
started.
The receiver has not
been connected or has
not been connected
correctly.
Connect the receiver
correctly and restart the
computer (see chapter 5).
The software for your
previous mouse is still
active.
Remove the software for
your previous mouse before
installing the Trust software
(see chapter 7.1).
The software has not
been installed.
Install the mouse software
(see chapter 7.2).
The scroll function does
not work.
The application is not
fully compatible with
Windows.
Use an application that is
compatible with Windows.
If you still have problems after trying these solutions, please contact one of the Trust
Customer Care Centers. You can find more information on the back of this instruction
manual. Please have the following information available:
•
The item number. This is 13708.
•
A good description of what does not work.
•
A good description of when the problem occurs.
9


