


GM-W9C
Rechargeable RF Wireless
Optical Mouse
User’s Manual
English/
ᖑᡩϧШ
/
日本語
Rechargeable RF optical mouse.
Power saving function key - can
be switch off or suspend the
mouse by ID connect button.
Low battery alarm LED.
Beauty color & shape can catch
your eye.
Recharge way can be from USB or
regular Nokia DC adapter.
Can be used during recharge
mode, saving your time.
Content
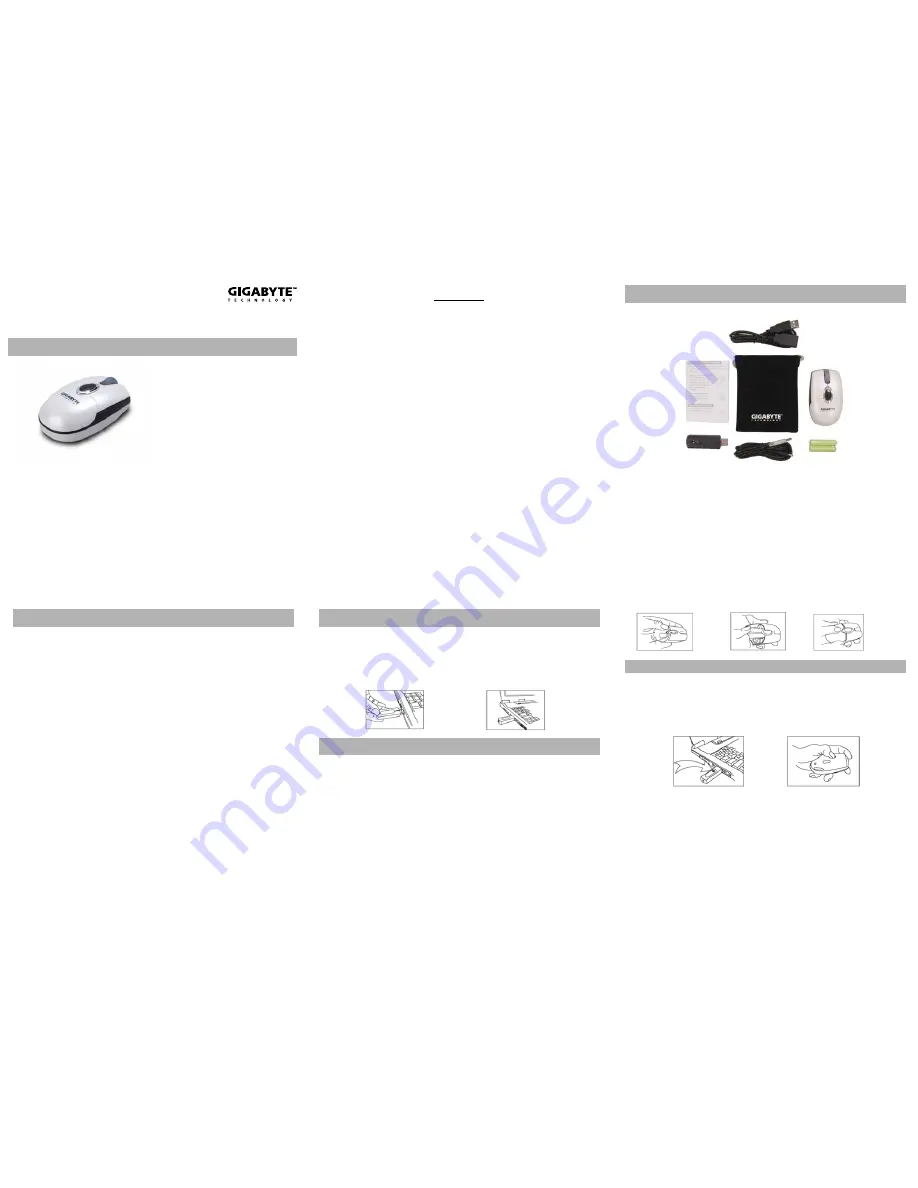
Packing List……………………………………………………….2
FCC NOTE………………………………........….......……..3
Connecting with Computer........…..…………………4
Insert Batteries…………………………………………………4
To Change the Wireless Connection Channel….5
Low Battery Alert………….............….....……………5
Charging Batteries......................………………….6
Power Saving Mode..................…………………….7
Dual Mode……………………………..............……………7
Trouble Shooting………………………………………………8
Packing List
FCC NOTE
These limits are designed to provide reasonable protection. This equipment
generates, uses and can radiated radio frequency energy and, if not installed and
used in accordance with the instructions, may cause harmful interference to radio
communications. However, there is no guarantee that interference will not occur
in a particular installation if this equipment does cause harmful interference to
radio or television reception, which can be determined by turning the equipment
off and on, the user is encouraged to try to correct the interference by one or
more or the following measures:
•
Reorient or relocate the receiving antenna.
•
Increase the separation between the equipment and receiver.
•
Connect the equipment into an outlet on a circuit different from that to
which the receiver is connected.
•
Consult the dealer or an experienced radio/TV technician for help.
Changes or modifications not expressly approved by the party responsible for
compliance can void the user’s authority to operate the equipment. The
antenna(s) used for this transmitter must not be co-located or operating in
conjunction with any other antenna or transmitter.
Connecting with Computer
The first time you take out this Mouse and Receiver from the packing, Factory
Preset ID enables Plug and Play function.
Plug the Receiver into PC USB Port. Under Win2000 or higher, wait for the OS to
detect the RF device. Under Win98 or lower, installation of driver for the device is
necessary.
Insert the batteries into the Mouse and move it for a while, then it starts working.
Inserting Batteries
A. Push the battery compartment cover backwards and open it. (
➀)
B. Insert 2 AAA batteries into the compartment with correct orientation. (
➁)
C.
Slide the battery cover into the compartment and close the cover. (
➂)
To Connect the Wireless Connection Channel
When Factory ID has been changed or wish to be changed, link ID as below:
A. Press the ID button on the bottom of the Mouse.
B. Press the ID button on the top of the Receiver, if the LED starts blinking rapidly,
means ID Link is done.
C. If the Mouse still doesn’t work after above process, repeat this procedure again
after 15 seconds.
➀
➁
➂


