Recheck
all bolts and nuts are
tightened securely
before using the machine
1064M-8
ASSEMBLY STEPS
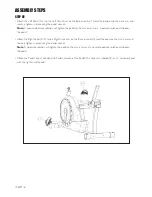
STEP 06
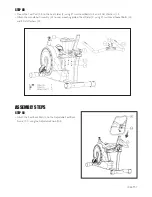
• Attach the Computer Cable (B-1) and Pulse Cable (B-6)
into the connector on the back of the Computer (A)
• Attach the Computer (A) onto the bracket of the
Handlebar Post with 4 Screws (A-1).
• Fasten the Bottle Cage (B-7) to the Handlebar Mast using 2
Screws (B-8).
• Plug in the end of the AC adapter (O) into the receptacle
located on front or back of the Base Assembly / Shroud.
CAUTION:
Ensure that cables are not damaged during assembly or
when tightening screws
STEP 05
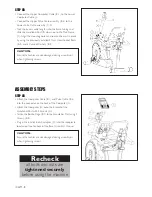
• Connect the Upper Computer Cable (B-1) to the Lower
Computer Cable (L)
• Connect the Upper Pulse Cable assembly (B-6) to the
Lower Pulse Cable assembly (C-21).
• Tuck the excess cable lengths into the frame tubing and
slide the Handlebar Post (B) down on to the Main Frame
(C). Align the mounting holes and secure the mast in place
by using the previously installed 4 Truss Head Socket Bolts
(B-2) and 4 Curved Washers (B-3).
CAUTION:
Ensure that cables are not damaged during assembly or
when tightening screws
Summary of Contents for PULSER 500
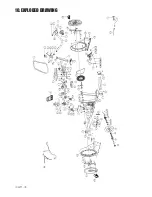
Page 18: ...1064M 18 10 EXPLODED DRAWING ...
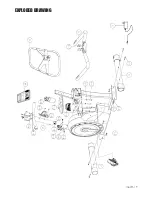
Page 19: ...1064M 19 EXPLODED DRAWING ...


