3NG
1-5-9
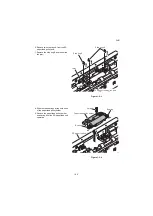
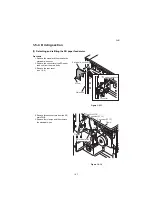
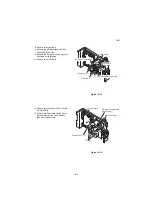
10. Remove two stop ring A.
11. Remove the SD paper feed clutch by
pulling out to this side.
12. Remove the SD paper conveying clutch
by pulling out to this side.
13. Remove two stop ring B.
Figure 1-5-15
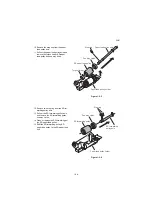
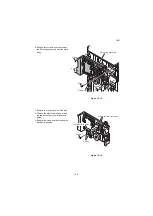
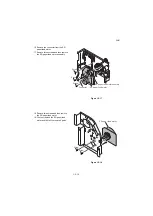
14. Remove the connector (YC5) from the
SD main PWB.
15. Remove the electrical wires by remov-
ing three clamps from the SD paper
feed motor mount plate.
Figure 1-5-16
SD paper conveying clutch
Stop ring A
Stop ring A
Stop ring B
Stop ring B
SD paper feed clutch
Electrical wires
Clamps
Connector(YC5)
SD main PWB
SD paper feed motor
mount plate
Summary of Contents for Utax PF 770
Page 1: ...Service Manual 3DSHU HHGHU 3 5HY Date 0 20 1 60 ...
Page 2: ...Service Manual 3DSHU HHGHU 3 5HY Date 0 20 1 60 ...
Page 4: ...Revision history Revision Date Replaced pages Remarks 1 6 April 2011 CONTENTS 2 4 1 to 2 4 3 ...
Page 5: ...This page is intentionally left blank ...
Page 11: ...This page is intentionally left blank ...
Page 16: ...3NG 1 1 3 1 1 3 Machine cross section Figure 1 1 2 Paper path ...
Page 17: ...3NG 1 1 4 This page is intentionally left blank ...
Page 69: ...3NG 1 5 12 This page is intentionally left blank ...
Page 77: ...3NG 2 3 4 This page is intentionally left blank ...

