


Setup and Registration
6-15
6
NOTE:
[Cassette 2 Set.] and [Cassette 3 Set.] are
shown when the optional paper feeder is installed.
5
Press the
OK
key.
6
Press the
or
key to select [Cassette 1 Size],
[Cassette 2 Size] or [Cassette 3 Size].
7
Press the
OK
key.
8
Press the
or
key to select the desired paper
size.
9
Press the
OK
key. The previous screen reappears.
10
Press the
or
key to select [Cassette 1 Type],
[Cassette 2 Type] or [Cassette 3 Type].
11
Press the
OK
key.
12
Press the
or
key to select the desired paper
type.
13
Press the
OK
key. The previous screen reappears.
14
Press the
Back
key to return to the default System
Menu screen.
15
Now, make the FAX-receiving settings. Refer to
Media Type for Print Output on page 6-14
for the
setting procedure.
Select the same paper type as that selected in step
12.
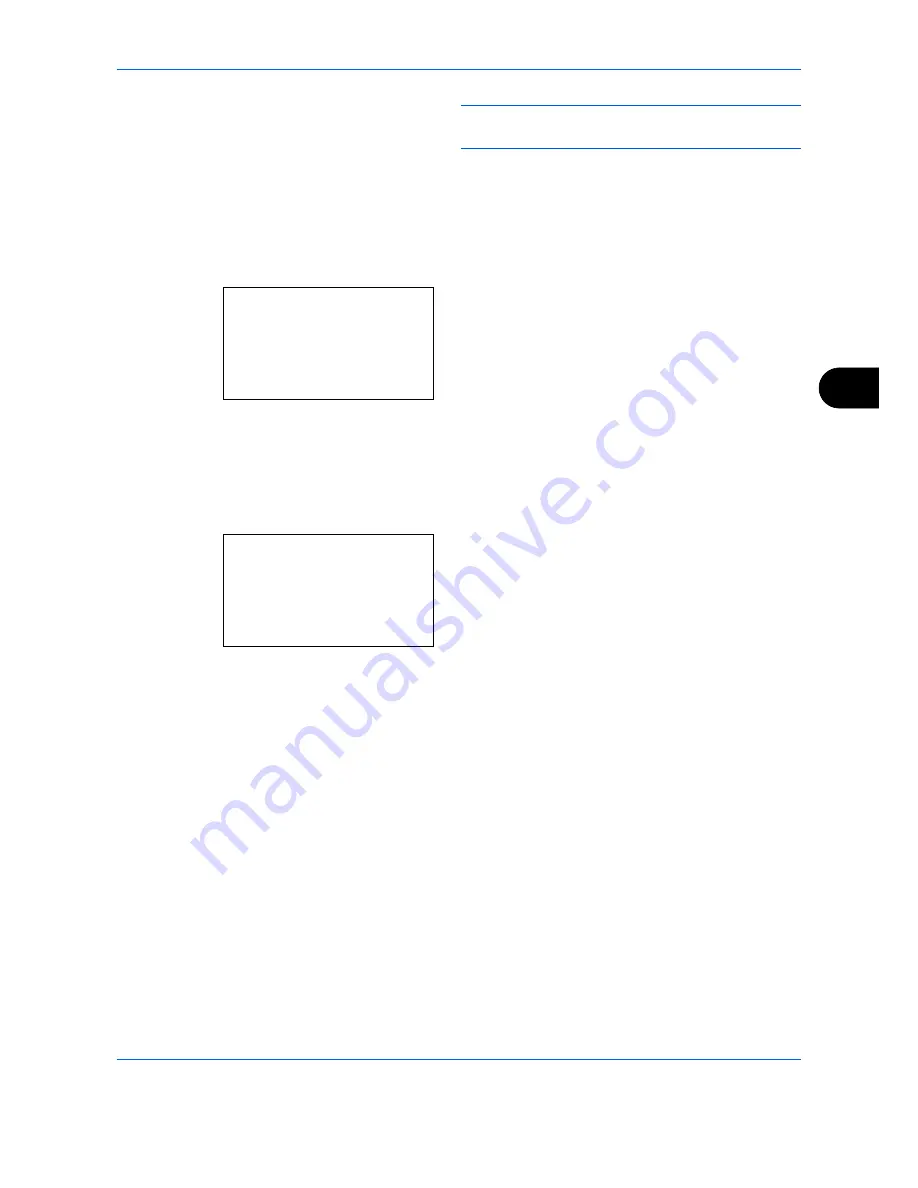
Cassette 1 Size:
a
b
*********************
2
Legal
a
3
Statement
a
1
*Letter
a
Cassette 1 Type:
a
b
*********************
2
Rough
3
Recycled
1
*Plain
Summary of Contents for P-C2665
Page 2: ......
Page 20: ...Part Names and Functions 1 6...
Page 28: ...Preparation Before Use 2 8...
Page 58: ...FAX Operation Basic 3 30...
Page 112: ...FAX Operation Advanced 4 54...
Page 126: ...Checking Transmission Results and Registration Status 5 14...
Page 180: ...Troubleshooting 8 8...
Page 196: ...Appendix 16...
Page 200: ...Index 4...
Page 201: ......
Page 202: ...2PWGEEN500 First edition 2013 11...


