GB
GB
Do not use the sander in wet
or damp conditions.
• The sander can be used for most sanding
operations on materials such as wood,
plastic, steel and painted surfaces.
Do not use the sander on plaster
as the fine particles can enter the
motor and shorten the life of the tool.
Product faults resulting from plaster dust are
not covered by the tool warranty.
• Chips and grindings from material such
as fibreglass are highly abrasive and can
cause irreparable damage to the motor.
Avoid prolonged sanding on any fibreglass
material, spackling compounds or plaster.
During any use on these materials clean
out frequently using an air jet.
1. Secure your workpiece using clamps etc.
to prevent it from moving during sanding.
2. Set the desired sanding speed.
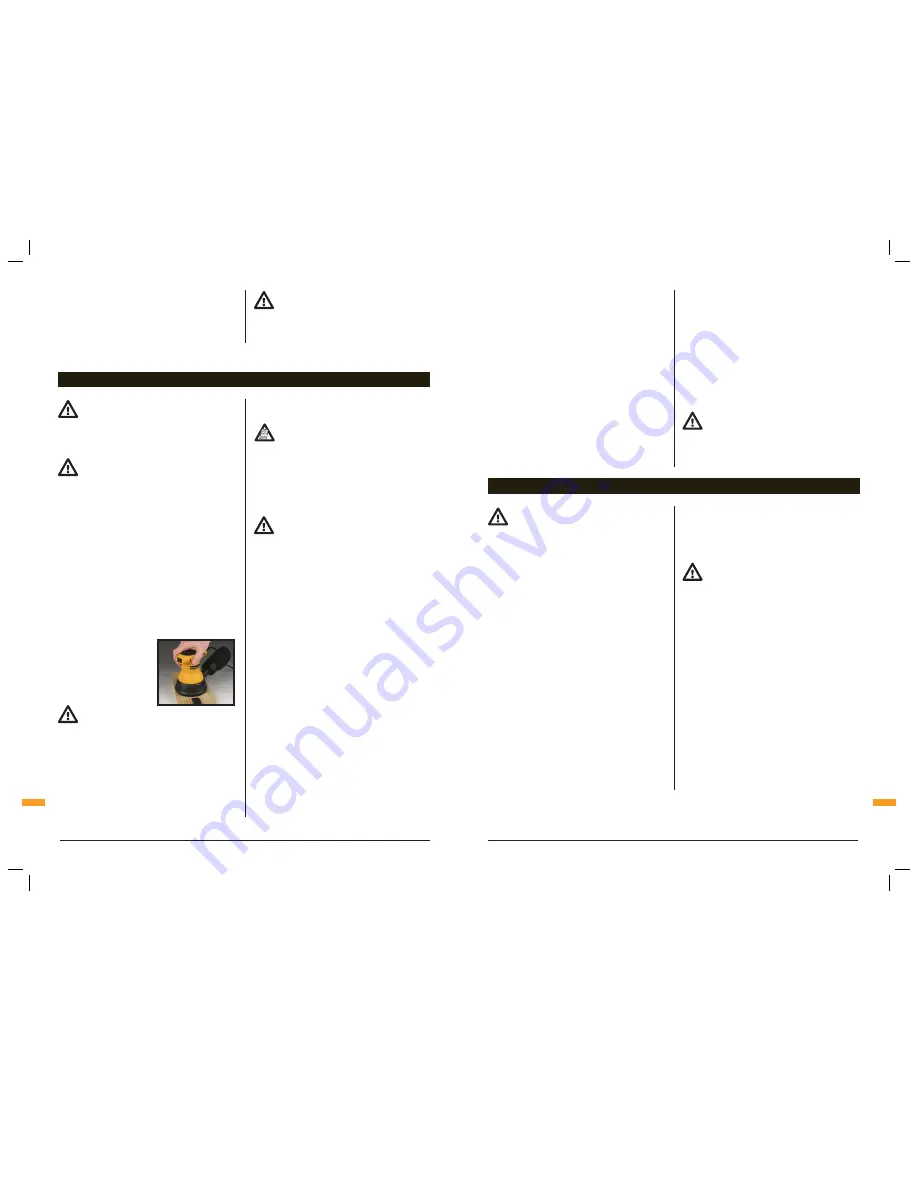
3. Switch on the sander
and place it flat
against your work
surface. Use one hand
on the palm grip (1)
to control the sander.
Avoid covering
the cooling vents
on either side of the sander.
4. Move the sander slowly over the
workpiece making successive passes
in parallel lines, circles or crosswise
movements. Do not press down heavily
or sand in the one spot for too long.
This can overload the motor and produce
a poor finish on your workpiece. Let the
sandpaper and the weight of the sander
do all the work.
Because the random orbital motion of
the sanding disc moves in tiny circles,
it is not necessary to move the sander with
the grain or in a uniform direction.
5. Carefully raise the sander from the work
surface before switching off. Wait until the
sander comes to a complete stop before
placing it down.
Extended periods of sanding may tend
to overheat the motor. If this occurs,
turn the sander OFF, wait until the sanding
disc comes to a complete stop and remove
it from the workpiece. Check to make sure
your hand has not been covering the cooling
vents. Let the motor cool before continuing
sanding operation.
SELECTING THE RIGHT GRADE
OF SANDPAPER
• Use only 5" diameter sanding discs
with 13/32" ventilation holes and hook
& loop backing.
• Aluminum oxide, silica carbide and
other synthetic abrasives are best for
power sanding. Natural abrasives such
as flint and garnet are too soft for
economical use in power sanding.
• Different grades of sanding paper
can be purchased from your local
hardware store. Available grades are:
Coarse, Medium and Fine.
• Do not to let the sandpaper wear
completely down before replacing it.
• Never use the sander unless the entire
base is completely covered by the
sanding disc.
Failure to observe these precautionary
measures can lead to damage to
the hooks and loops on the base and the
sandpaper will not attach properly.
OPERATION
• In general, coarse grit will remove most
material and finer grit will produce the
best finish in all sanding operations. The
condition of the surface to be sanded
will determine which grit will do the
best job. If the surface is rough, start
with a
Coarse grit
and sand until the
surface is uniform.
Medium grit
may
then be used to remove scratches left by
the coarser grit.
Fine grit
should be used
for finishing the surface. Always continue
sanding with each grit until the surface
is uniform.
• It is best to make a trial run on a scrap
piece of material to determine the
optimum grades of sandpaper for a
particular job. If there are still marks on
your work after sanding, try going back to
a coarser grade and sanding the marks out
before recommencing with the original
choice of grit. Alternatively try using a
new piece of sandpaper to eliminate the
unwanted marks before going on to a finer
grit and finishing the job.
Do not use the same sanding sheet
for wood and metal. Metal particles
become embedded in the sandpaper and
will scour a wooden surface.
Always ensure that the tool is
switched off and the plug is removed
from the power point before making any
adjustments or maintenance procedures.
• Any damage to the sander should be
repaired and carefully inspected before
use, by qualified repair personnel. Service
or maintenance performed by unqualified
personnel could result in a risk of injury.
• Servicing should only be carried out by
authorised Triton Repair Centres using
original Triton replacement parts. Use
of unauthorised or faulty parts may
create a risk of electric shock or injury.
• Triton Manufacturing & Design Co. will
not be responsible for any damage or
injury caused by unauthorised repair of
the sander or by mishandling of the tool.
1. Keep the tool’s air vents unclogged and
clean at all times.Regularly check to see
if any dust or foreign matter has entered
the grills near the motor and around the
on/off switch. Use a soft brush to remove
any accumulated dust. Wear safety glasses
to protect your eyes whilst cleaning.
2. If the body of the tool needs cleaning, wipe
it with a soft damp cloth. A mild detergent
can be used but nothing like alcohol, petrol
or other cleaning agent. Never use caustic
agents to clean plastic parts.
Water must never come into contact
with the tool.
3. Lubricate all moving parts at
regular intervals.
4. Periodically check that all the fixing
screws are tight. They may vibrate loose
over time.
POWER CORD MAINTENANCE
If the supply cord needs replacing, the task
must be carried out by the manufacturer,
the manufacturer’s agent, or an authorised
service centre in order to avoid a
safety hazard.
SERVICE & MAINTENANCE
8
Operation
9
Service & Maintenance
Summary of Contents for TCROS 4.5 Amps
Page 13: ......


