Installation
8
Websense TRITON RiskVision
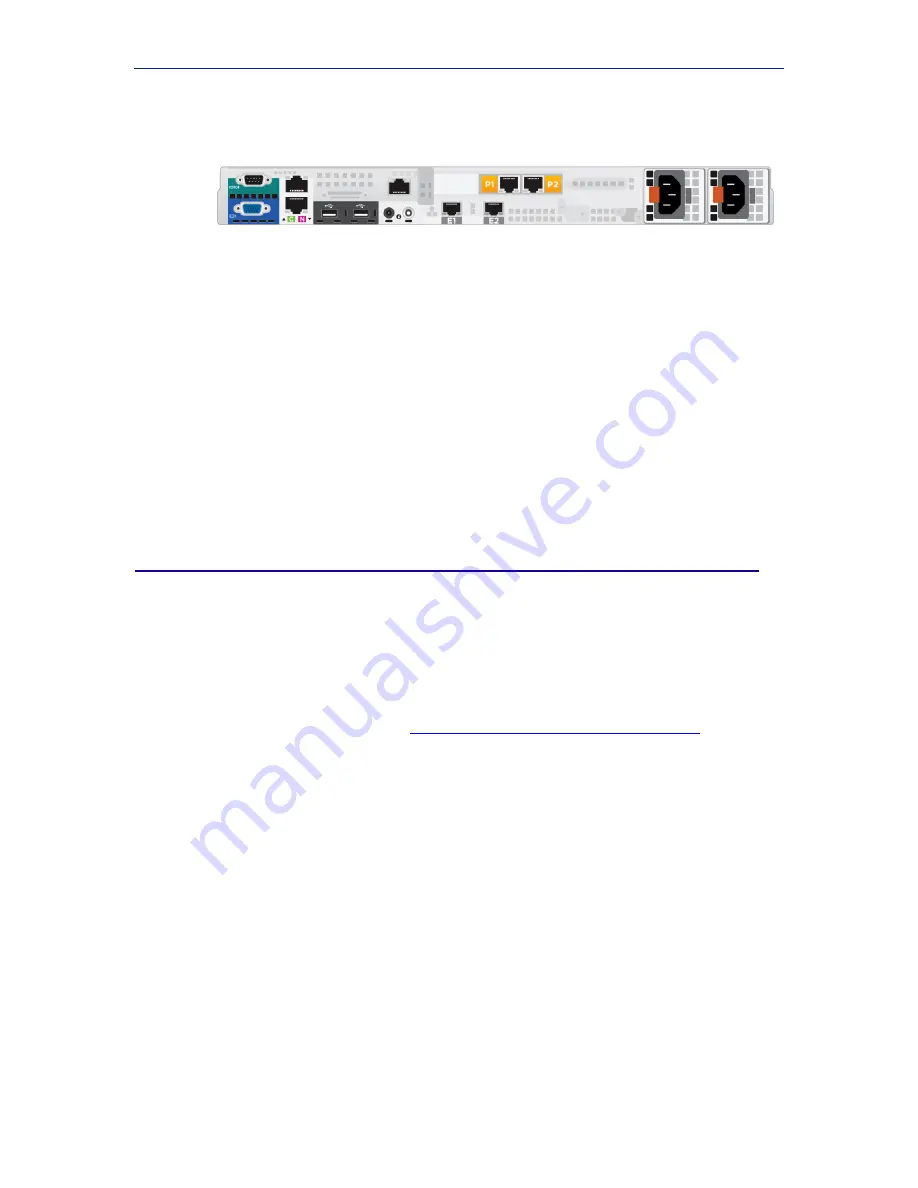
Connect the C (eth0) and N (eth1) appliance interfaces as described below. Cat 5E
cables (or better) are required. Do not use crossover network cables.
Management console communication, analytic database downloads, and system
updates use network
interface C
. The interface:
Must be able to access a DNS server
Has continuous access to the Internet
Ensure that interface C is able to access the download servers at
download.websense.com
. This URL must be permitted by all firewalls, proxy
servers, routers, or host files controlling the URLs that the C interface can access.
Network
interface N
connects either to a port mirror on the switch or to a network tap
that supports aggregation. This allows RiskVision to monitor and analyze HTTP and
SMTP traffic on all ports.
Step 2: Set up the RiskVision appliance software
You can attach a monitor and keyboard to the appliance, or access the appliance via
the iDRAC, to complete this procedure.
1.
Power on the appliance.
The CentOS 6.6 operating system and TRITON RiskVision software are pre-
installed on the appliance. (If you need to re-install the operating system and
RiskVision software, see
Reinstalling RiskVision from a USB Drive
.)
2.
Log in as
root
with the default password
websense123
, then immediately create a
new password, as prompted.
3.
If DHCP is enabled in your network, the startup process automatically acquires an
IP address for the C interface. If you are not using DHCP, or if you want to
configure a specific IP address:
a.
Use the
system-config-network
command to update your eth0 configuration.
b.
Use the
service network restart
command to restart your network interfaces.
c.
Use the
/opt/websense/rvadmin.sh restart
command to restart all of the
TRITON RiskVision services.
4.
Optionally also:
Set the system timezone using the
timezone
command.
Configure your keyboard or language settings with the
system-config-
keyboard
and
system-config-language
commands.


