3: USB 2.0 Storage Setup & First-Time Use
3.7
USB 2.0 Portable Storage
3.6
Setting Up A Host Computer
The USB 2.0 Storage Portable Storage Device comes with a CD-ROM
support disc that has Microsoft Windows driver software for a host com-
puter on it. All versions of Windows from Windows 98 and later are
supported. You have to install this software on the host computer in
order to use the USB 2.0 Storage with it.
Installing the Windows Driver
Installing the Windows driver for the USB 2.0 Storage is simple. Your
computer must have a CD-ROM or other optical drive that can read the
CD-ROM support disc that comes with the USB 2.0 Storage. Follow the
procedure below. The appearance of the windows that appear during
the installation process will vary according to which version of Windows
the computer has installed on it, but the procedure is essentially the
same. The example shown here is for Microsoft Windows XP Home
Edition.
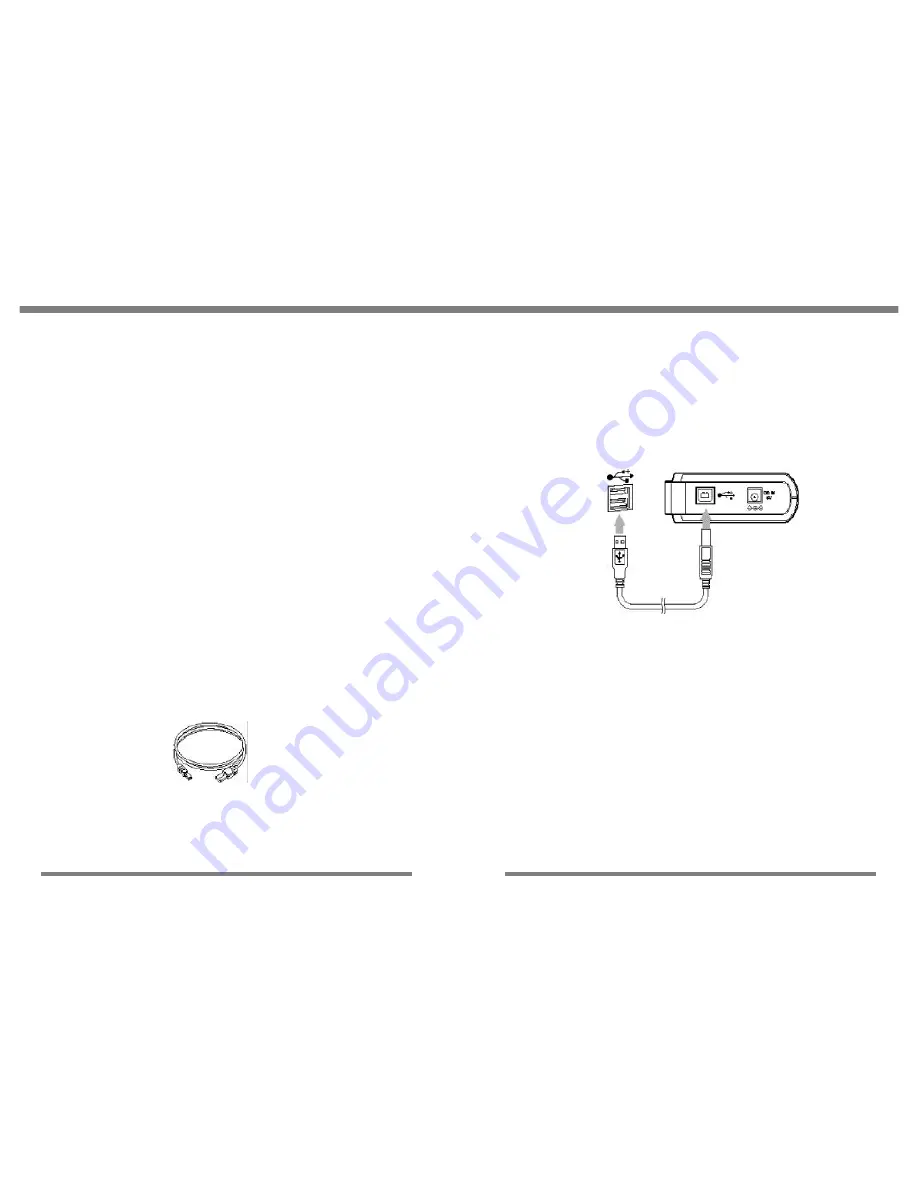
Connecting the USB 2.0 Storage to a Host Computer
To install the driver software you must connect the USB 2.0 Storage to
the host computer with a USB cable. The USB 2.0 Storage has a USB
2.0 port that can connect to either a Full Speed USB 1.1 or Hi Speed
USB 2.0. It will operate with either type of USB interface, but USB 2.0 is
much faster. You must use a USB cable that is a type B to type A cable.
You can use either the optional cable available for the USB 2.0 Storage
or its equivalent.
Type
B
Type
A
To connect the USB 2.0 Storage to the host computer do as follows:
1. Turn on the USB 2.0 Storage.
2. Plug the type B connector into the USB 2.0 Storage.
3. Plug the type A connector into the host computer, which should be
turned on and ready to use.
USB connector
Host computer
USB port
Type
A
Type
B


