


QUICK START GUIDE
2
4.
Pre-installation instructions
Disconnect all computers from the power supply.
Place cables away from fluorescent lights, air conditioners, and machines that are likely to
generate electrical noise.
5.
The KVM Extender cables
The Transmitter comes with built-in KVM cables that connect to the computer’s Video card,
Mouse and Keyboard ports.
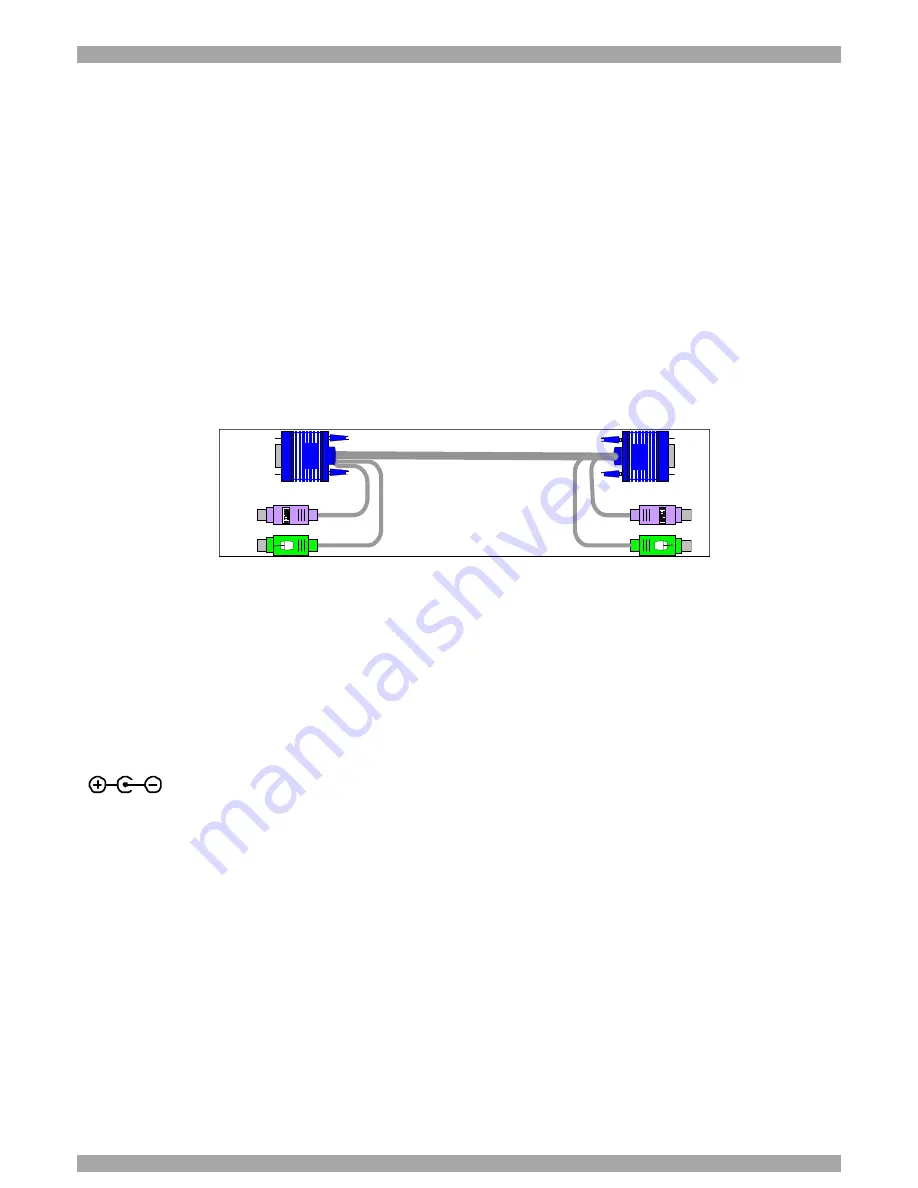
The 3 in 1 CPU cable
The 3 in 1 CPU cable –illustrated below – is only used when the Receiver connects to a
computer. The cable connects to the Computer section of the Receiver rear panel.
Figure 5 3 in 1 CPU cable
6.
Power supply
Connect the Receiver to the power supply with the Power adapter and cord provided.
The Transmitter receives its power from the connected computer and does not generally need
an external power supply. However, when cascading Smart Extenders, some of the
Transmitters need an external power supply. Use a Minicom Power adapter p/n 5PS20025.
The power supply specifications are: Regulated 6VDC 2 Amp, minus on internal pin
.
7.
Using the KVM Extender as an extender
Extend the KVM workstation from the computer up to a distance of 110m/360ft.
1. Connect the Transmitter to a computer.
2. Connect a KVM workstation to the Receiver.
3. Connect a CAT5 FTP cable to the System ports of the Transmitter and Receiver.
4. Connect a Power adapter to the Receiver.
Figure 6 illustrates the connections.


