background image

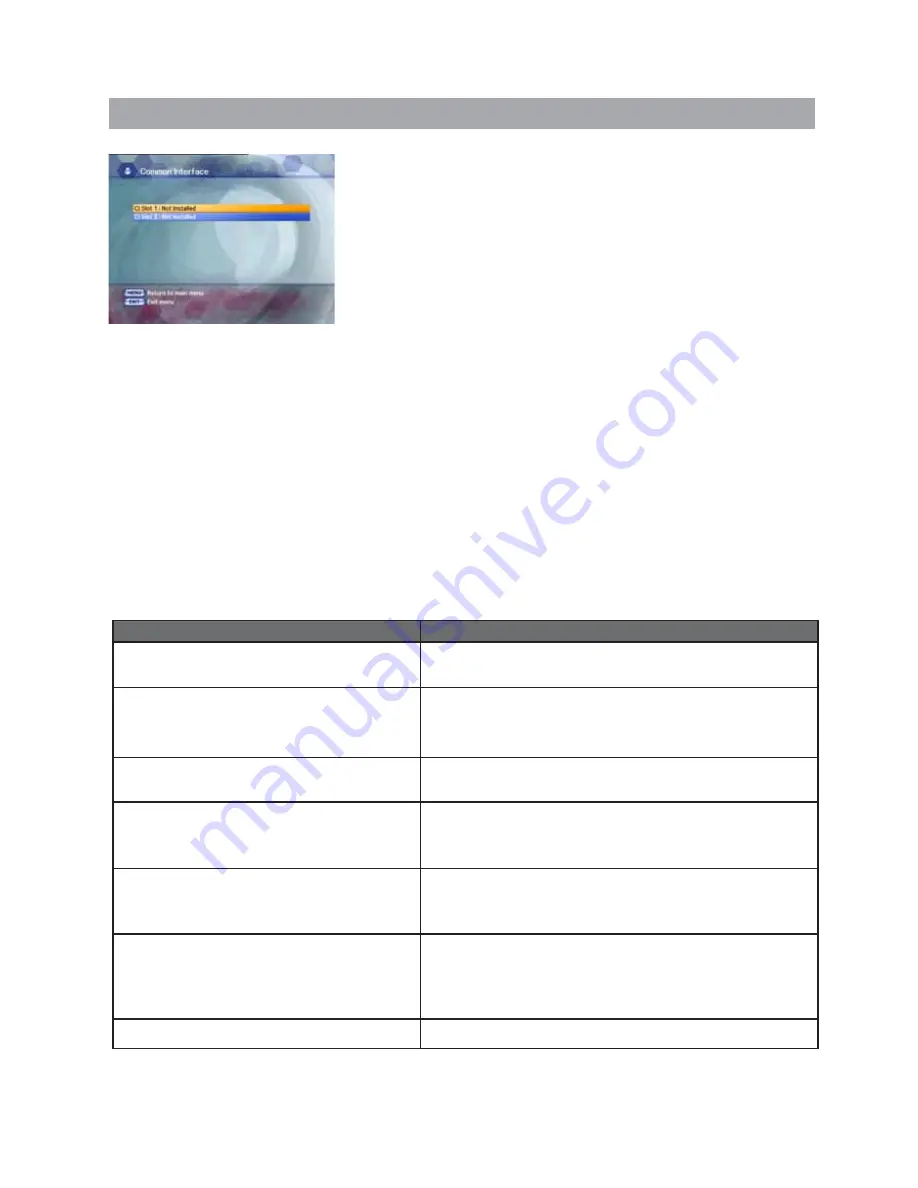
4.6  Common Interface

The menus are provided by the CA module and its smart card.
Your receiver is equipped with two slots of Common Interface(CI), 
accepting both Type 1 and Type 2 PCMCIA modules.  


Plug in the appropriate CI module together with a valid smart card. 
You will then have access to the respective scrambled and 
Pay-Per-View services.
Insert the smart card into the CI module, and the CI module into the 
slot behind the flap on the front panel.
The CI and smart card modules determine the programs that can be 
de-scrambled.

5. Troubleshooting 

Problem

Solution

No display LED on the front panel.
No power supply

Power cord plug in correctly.

No Picture

Ensure that the STB is switched on.
Check connection and correct.
Check channel and video output and correct

Poor picture quality

Check the signal level, if this is low then try adjusting 
the alignment of your dish. 

No Sound

Check the volume level of the TV and STB.
Check the mute status of the TV and STB.
Check the connection of audio cord. 

Remote Control does not operate

Point remote control directly towards the receiver.
Check and replace batteries.  
Check that nothing blocks the front panel.

Service is not running or scrambled

Check the whether the Common Interface module and 
smart card is correctly inserted. 
Check that the smart card is appropriate for the selected 
service.

You have forgotten your secret PIN code

Refer to Change PIN code of this owner's manual.  

The receiver supports two CI slots so you can plug in two different modules, automatically provide access 
to both services. Each smart card contains your subscription details. You can view your entitlement via the 
COMMON INTERFACE menu by using the MENU button as below.

• Press the 

MENU

 button and select Common Interface then Slot1 and Slot2 will be showed up on the screen 

and the menu will be appeared. Select the item and then you will see information for card. 
Press

EXIT

 button if you wish to exit from this menu.

• If you inserted the smart card with CAM into the receiver, and switch on the receiver.  


Then you will see “CAM Initializing icon” on the top screen.

• If you do not insert the smart card, you will see the message “Insert the valid smart card”. 

If you insert the smart card into the CI module then you can watch your selected channel.

34

Summary of Contents for SR 322

Page 1: ...N1_ENGLISH 104160 TRIAX SR 322 User Manual Digital Satellite Receiver with Dual Tuners and PVR...

Page 2: ...y objects including the product itself on top of the power cord If it is damaged it could result in fire or electric shock Do not place metal objects on top of the apparatus If metal objects fall into...

Page 3: ...o so Warning If the product is mishandled it might cause minor damage If the apparatus becomes marked clean it gently with a soft cloth or towel Never use chemical solvents such as benzene thinner ace...

Page 4: ...Access Module and Smart Card 7 1 5 Connecting and Installation 8 2 Easy Installation 10 3 Basic Operation 14 4 Main Menu Guide 18 4 1 PVR Record Play 18 4 2 Edit Channel List 24 4 3 Program Guide 26 4...

Page 5: ...OLUME UP DOWN To increase or decrease the volume 19 Up Down To move up or down on the menu 20 Left Right To move left or right on the menu To increase or decrease the volume 21 OK To confirm your choi...

Page 6: ...VCR via SCART cable 11 SCART for TV Connect this port to the TV via SCART cable 12 S VHS Video connection port to a TV or other equipment via super video 13 POWER Switch Provide power to the main unit...

Page 7: ...apart from menus given by the receiver Watching Free To Air channel is available regardless of the CAM and smart cards As service providers download new information to smart cards if necessary those w...

Page 8: ...rious other systems There are several ways of connecting the receiver to your TV VCR and or Hi Fi SYSTEM Consult your local supplier for assistance in setting up your system that is best suited to you...

Page 9: ...onnect one end of the coaxial cable to the Loop Through on the receiver and connect the other end to the LNB IN on your second receiver Satellite Receiver PC 1 5 8 Connecting to the PC Turn the receiv...

Page 10: ...enu Audio or Subtitle Place the cursor on the sub menu by pressing the keys and press the OK button to change the language The Language of the Menu Audio or Subtitle will be changed to the selected la...

Page 11: ...ess the YELLOW button to select delete mode And press the OK button To Edit Add or Delete TP list When the GREEN button is pressed it can be toggled Satellite list and TP list Press the YELLOW button...

Page 12: ...nputting freq Using the NUMERIC buttons press the OK button None DiSEqC Switch LNB Power Select the LNB Power On or OFF 22KHz Depending on the user s antenna switch box or LNB You can supply either 22...

Page 13: ...oop Though when you have one Press the UP DOWN button to select either Separated or Loop Through and then press the OK button 2 2 6 USALS Set Longitude and Latitude when you use USALS Press the UP DOW...

Page 14: ...get Now Information Banner Using Now Information Banner you can get a simple EPG of Now Information 3 1 3 Next Information Banner During Channel Banner is appearing when you press the YELLOW button y...

Page 15: ...channel sort list press the SORT Green button Pop up window will be displayed on the screen Select the sort list you want with the UP DOWN buttons and then press the OK button to get it There are seve...

Page 16: ...DOWN LEFT RIGHT button to change the location of the PIP screen Press the MODE button once again and press the the UP DOWN LEFT RIGHT button to change the size of the PIP screen If you press the MODE...

Page 17: ...to watch several channels in one screen simultaneously It can be used to watch one channel from among several channels Press the Multi Video button while you are watching TV the Multi Video pop up wi...

Page 18: ...displayed 4 1 3 Multi Channel Recording If you change channels while recording and press the RECORD button recording starts You can record two channels simultaneously in the manner described above 4 1...

Page 19: ...QUICK REPLAY FORWARD button you can rewind or fast forward the screen with 4X speed If you release the button the screen will play back 4 1 9 Quick Search You can move to the desired location using t...

Page 20: ...software related files GAME This is the directory that the ROM file downloaded from the Internet site can be saved on Select the saved ROM file and press the OK button to play the game IMAGE Directory...

Page 21: ...u can change the position of the files Using the UP DOWN buttons select the files you want to move and press the OK button Play List Sort If you press the GREEN button on the File List screen the File...

Page 22: ...nnel Appears when you set the Type to PVR Press the OK button to set the channel you want to record Power off If you select Yes the receiver turns to the Stand by mode automatically after the recordin...

Page 23: ...the UP DOWN button on the PVR menu to select Format HDD and then press the OK button When the format confirmation pop up window appears press the OK button 4 1 18 HDD Information You can see the HDD...

Page 24: ...Favorite 1 31 Lock Delete Skip Move Genre Press the OK button to add from edit list at right folder To remove the channel list from edit list at right folder press the OK button The edited list will b...

Page 25: ...d press the OK button 4 2 4 Skip You can skip the TV or Radio channel from the current list Select the channel you want to skip and press the OK button To recover the skipped channel press the OK butt...

Page 26: ...o check the existing EPG info as per its time In case detailed info content is too long to check you can check its information as a long lists form and resize its lists by pressing BLUE button Press G...

Page 27: ...In this menu you can change default language for audio when changing services Use the UP DOWN buttons to move to language you want and then press the OK button Note Select the audio language between...

Page 28: ...uttons to select either Local Time or GMT and then press the DOWN button to move to the time setting item Local Time You can set your local time according to your location To set year month and date p...

Page 29: ...will have to enter the PIN code every time you start the receiver from standby Change PIN Code From here you can change the PIN code from the standard 0000 DO NOT FORGET IT Without it you are not able...

Page 30: ...eiver and then press the OK button A V Output If your TV input supports SCART RGB control select SCART RGB Otherwise select SCART CVBS If your TV input supports S VHS select S VHS Scart Screen Type Se...

Page 31: ...The transparency will be applied on the screen 4 4 6 System Information Displays the system information MODEL name Last Update S W H W Loader version C A Press the UP DOWN button on the Setup list to...

Page 32: ...ease check if there is new software as pressing OK button after entering Frequency Symbol Rate Const Updated software will be downloaded 4 4 9 Other Setting Simple Channel List Hide If you select ON i...

Page 33: ...on completely 4 5 4 Zoom Select Zoom in the Utility menu with the UP DOWN buttons and press the OK button the white frame will appear Select the size and position of video you want to expand with the...

Page 34: ...remote control directly towards the receiver Check and replace batteries Check that nothing blocks the front panel Service is not running or scrambled Check the whether the Common Interface module an...

Page 35: ...nput Bit Rate Transport Stream Audio Decoding Audio Mode 720 x 576 Max 90 Mbit s MPEG 2 ISO IEC 13818 1 MPEG Musicam Layer 1 2 Single Dual Channel A V Data Input Output Video Audio RS 232C USB RCA Cin...

Page 36: ...www triax com...

Reviews: