background image

EPG 

 Electronic Programme Guide 


12 

EPG 

 Electronic Programme Guide 

Almost all TV and radio broadcasters provide further information on their programme. Your 

receiver stores and decodes these data and  displays them in the so called Electronic 

Programme Guide (EPG). 

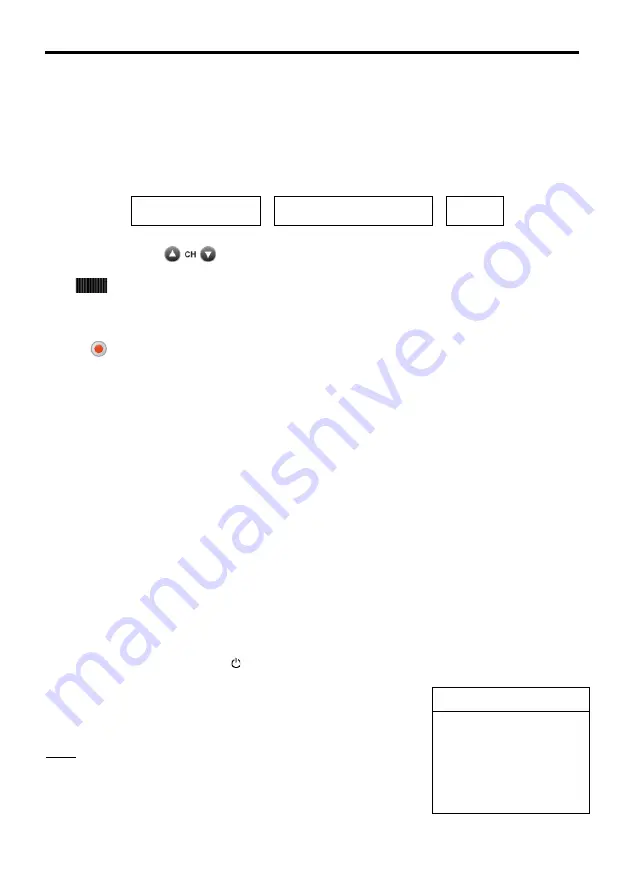
This programme preview is activated by using the 

EPG 

button. The appearing list contains all 

programmes of the current channel.  


In the headline of the menu channel name, date and time are shown. 


By using the buttons 

 the channel can be changed without leaving the EPG-menu. 


With 


or ◄ ► you can select the 

broadcast you want to be informed about. You can get 

more detailed information by pressing 

OK

.  


Also you can use the EPG list to program a record timer very easily: Just press the 

Record 

button 

 and activate the record timer in the corresponding menu. 


Please use

 EXIT 

to leave this on screen dialog.  


Settings 

The basic functionality of the receiver is defined in the 

Settings

 menu.  


The derivation of your local time against the GMT (Greenwich Mean time) time needs to be 

corrected, otherwise the displayed times may be wrong. 


Hint:  

At each on screen display the possible user inputs are explained in the help bar at the lower 

screen brink. 


By  pressing  ◄  and  ►  you  can  change  the  corresponding  settings.  When  leaving  a  menu 

(

EXIT

  button) you will be asked to store the performed modifications (Yes) or to keep the 

previous  settings (No). Please choose one of these possibilities by pressing 

◄  and  ► 

and 

confirm your choice by 

OK

.  


Turn on the receiver by pressing  .  

For entering the main menu, please press the 

MENU 

button.  

The main menu is displayed: 


Note: 

“Mass


Storage Device” is only displayed, 

when an external 

mass storage device is connected at the USB-Socket of the 

receiver.  


Das Erste HD 

20:07 

Monday 19 .12.2011 

Main menu 

Settings 

Installation 

Channel list 

Timer 

Information 

Mass Storage Device 

Summary of Contents for C-HD207CG

Page 1: ...Model Item no Triax C HD207CG 305207 305208 Version 01 2011 EN triax com Triax C HD207CG Digital Cable TV Receiver...

Page 2: ...e 15 Settings OSD Configuration Option 15 Settings Parental lock 17 Parental lock device lock 17 Parental Lock changing the PIN 17 Installation 18 Installation channel search 18 Manual channel search...

Page 3: ...invoice etc Keep the documents carefully Our warranty service refers to our warranty terms valid at the time of buying the apparatus In case you require technical service please take or send the devi...

Page 4: ...e the receiver s power socket and its electrical connections when connecting the power cord If the mains adapter should fail to fit contact your supplier FAILURE If the mains adapter or the power sock...

Page 5: ...ader 2 Connector for mains adapter 12VDC 3 TV Scart port for connecting the TV 4 HDMI Output digital Audio and Videosignal for connecting the TV 5 USB socket for external mass storage device Option 6...

Page 6: ...ive the signals from the remote control When installing the receiver always be sure to follow the safety and installation instructions Connecting an external mass storage device For recording of TV pr...

Page 7: ...Remote control 7 Remote control...

Page 8: ...y Therefore press and then OK If you want to get back to the language selection you have to use the EXIT button NOTE The choice of the country affects the the channel list sorting In the next step ple...

Page 9: ...list informations are sent by the broadcast station Use the buttons or to select NO or YES and confirm with OK The menu for automatic channel search and the search process will be started During the s...

Page 10: ...ns with the remote control during this time You can switch on the receiver by pressing OK or by using one of the numeric buttons 1 0 The last activated channel will be displayed e g 0015 The digital r...

Page 11: ...by pressing OK In alphabetic list mode the channels are sorted alphabetically It helps you searching a certain channel Therefore press LIST for displaying the alphabetic channel list and its char loca...

Page 12: ...use EXIT to leave this on screen dialog Settings The basic functionality of the receiver is defined in the Settings menu The derivation of your local time against the GMT Greenwich Mean time time need...

Page 13: ...setting has to be updated at each summertime shift 2 Menu language Choose your language by pressing or 3 Initial volume The initial volume after a power reset of the receiver is adjusted here by press...

Page 14: ...solution 720 x 576 1280 x 720 1920 x 1080 a Television connected to Scart Socket If your TV is only connected to the scart socket of the receiver you get the best picture quality if you choose in the...

Page 15: ...ing the previous parameters choose No keys Confirm your choice by pressing the OK button Settings Subtitle 1 Subtitle By using you can activate deactivate the display of DVB subtitles if transmitted 2...

Page 16: ...n modify the display duration of the channel change graphics 1 10 seconds 2 OSD colour You can choose the colour of the OSD display by pressing or Press EXIT to leave this menu If you want to store yo...

Page 17: ...choice with the OK button Parental Lock changing the PIN To change the PIN code move the cursor to the line Change Pin and press OK The following menu will appear The PIN code is set at the factory t...

Page 18: ...e Encrypted select whether the channel search should also include encrypted channels using the or buttons No encrypted channels will be ignored Yes encrypted channels will be included in the search Mo...

Page 19: ...rched Move the cursor onto the line Start channel search using the buttons and start the search process by pressing the OK button Now two windows are shown listing the newly found TV and radio program...

Page 20: ...the slot at the front panel of the receiver To open the menu of the smartcard first select Installation in the main menu and press OK to confirm A submenu generated by the smartcard appears on the scr...

Page 21: ...favourites list Therefore please press OK in line Edit favourites list Now two lists are displayed the Main list all stored channels are listed max 4000 the favourites list contains your favourite ch...

Page 22: ...lace with 3 Select lines Start at Stop time or date of recording with using and confirm with OK 4 Enter the required time or date by pressing 0 9 5 Confirm your input with using OK 6 Select line Stati...

Page 23: ...al power After pressing the or the yellow button two further charts with channel software and hardware information are displayed With you can change the channel Use EXIT to leave this menu Teletext Pr...

Page 24: ...e Type size etc Use EXIT to leave this window Formatting Allows you to format the mass storage device Formatting the mass storage device will completely delete all data which is recorded on it Afterwa...

Page 25: ...OK The list of recordings will be sorted as follows Alphabet The recordings will be put in alphabetical order Date of recording Sorted according to the date of the recording newest recording first En...

Page 26: ...mme While the recording is running the programme continues to be shown on the screen To stop an immediate recording press the stop button 2 Timer recording You can record programmes onto a connected m...

Page 27: ...vailable audio channels will be shown Use the buttons to select the audio channel you want to use and press the OK button Pressing the EXIT button to hide the menu again Fast forward and rewind During...

Page 28: ...s Press the button once the marker is interpreted as a loop When the playback reaches a loop marker it jumps to the previous marker A loop marker is labelled L in the list of markers A yellow vertical...

Page 29: ...manufacturer s homepage Make a contribution to environmental protection Do not throw batteries into domestic waste As a consumer you are obliged to return used batteries You can bring them to a public...

Page 30: ...e is set too low Increase volume Cable damaged or plugged in incorrectly Check cable and ports Remote control does not work Distance to big Come closer to receiver point remote control directly toward...

Page 31: ...or SCART and Digital SWAP function DVB subtitling DATA interface for updates and channel list transfer updates available via website Hardware CPU 32 bit RISC CPU HDMI with Upscaler USB USB 2 0 Video 1...

Page 32: ...eries should not be disposed of with other household waste but should be disposed of separately As the end user it is important that you submit your used batteries to the appropriate and designated fa...

Reviews: