


Other Features and Settings
55
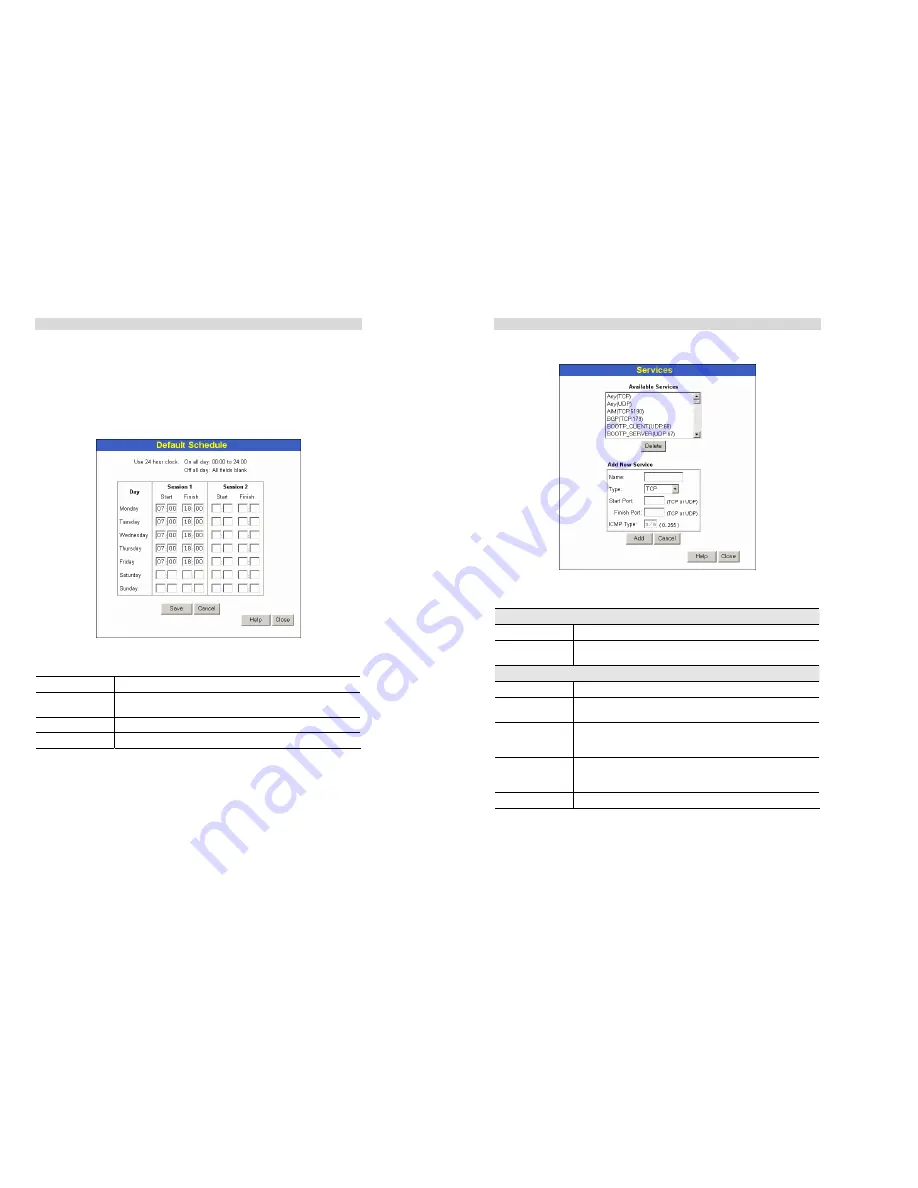
Default Schedule Screen
This screen is displayed when the
Define Schedule
button on the
Access Control
screen is
clicked.
•
This schedule can be (optionally) applied to any Access Control Group.
•
Blocking will be performed during the scheduled time (between the "Start" and "Finish"
times.)
•
Two (2) separate sessions or periods can be defined.
•
Times must be entered using a 24 hr clock.
•
If the time for a particular day is blank, no action will be performed.
Figure 36: Default Schedule Screen
Data - Default Schedule Screen
Day
Each day of the week can scheduled independently.
Session 1
Session 2
Two (2) separate sessions or periods can be defined. Session 2 can be
left blank if not required.
Start Time
Enter the start using a 24 hr clock.
Finish Time
Enter the finish time using a 24 hr clock.
TW100-BRF114 User’s Guide
56
Services Screen
This screen is displayed when the
Edit Service List
button on the
Access Control
screen is
clicked.
Figure 37: Access Control - Services
Data - Services Screen
Available Services
Available Services
This lists all the available services.
"Delete" button
Use this to delete any Service you have added. Pre-defined Services
can not be deleted.
Add New Service
Name
Enter a descriptive name to identify this service.
Type
Select the protocol (TCP, UDP, ICMP) used to the remote system or
service.
Start Port
For TCP and UDP Services, enter the beginning of the range of port
numbers used by the service. If the service uses a single port number,
enter it in both the "Start" and "Finish" fields.
Finish Port
For TCP and UDP Services, enter the end of the range of port num-
bers used by the service. If the service uses a single port number,
enter it in both the "Start" and "Finish" fields.
ICMP Type
For ICMP Services, enter the type number of the required service.


