


© Copyright 2012 TRENDnet. All Rights Reserved.
TRENDnet User’s Guide
TEW-712BR
31
Set up DHCP reservation
Main > LAN & DHCP Server
DHCP (Dynamic Host Configuration Protocol) reservation (also called Static DHCP) allows
your router to assign a fixed IP address from the DHCP server IP address range to a
specific device on your network. Assigning a fixed IP address can allow you to easily
keep track of the IP addresses used on your network by your computers or devices for
future reference or configuration such as virtual server (also called port forwarding, see
“Virtual Server” on
page 35
) or special applications (also called port triggering, see
“Special Applications” on
page 36
).
1. Log into your router management page (see “Access your router management page”
on
page 27
).
2. Click on
Main
, and click on
LAN & DHCP Server
.
3. Review the DHCP reservation settings.
•
Static DHCP
– Enable or Disable the DHCP reservation feature.
•
Name
– Enter a name for the reservation.
•
IP Address
– Enter the IP address to assign to the reservation. (e.g.
192.168.10.101)
Note:
You cannot assign IP addresses outside of the DHCP range. The IP address is
required to be within the DHCP IP address range (Start IP & End IP).
•
MAC Address
– Enter the MAC (Media Access Control) address of the computer
or network device to assign to the reservation. (e.g.
00:11:22:AA:BB:CC)
•
Add
- Saves the reservation.
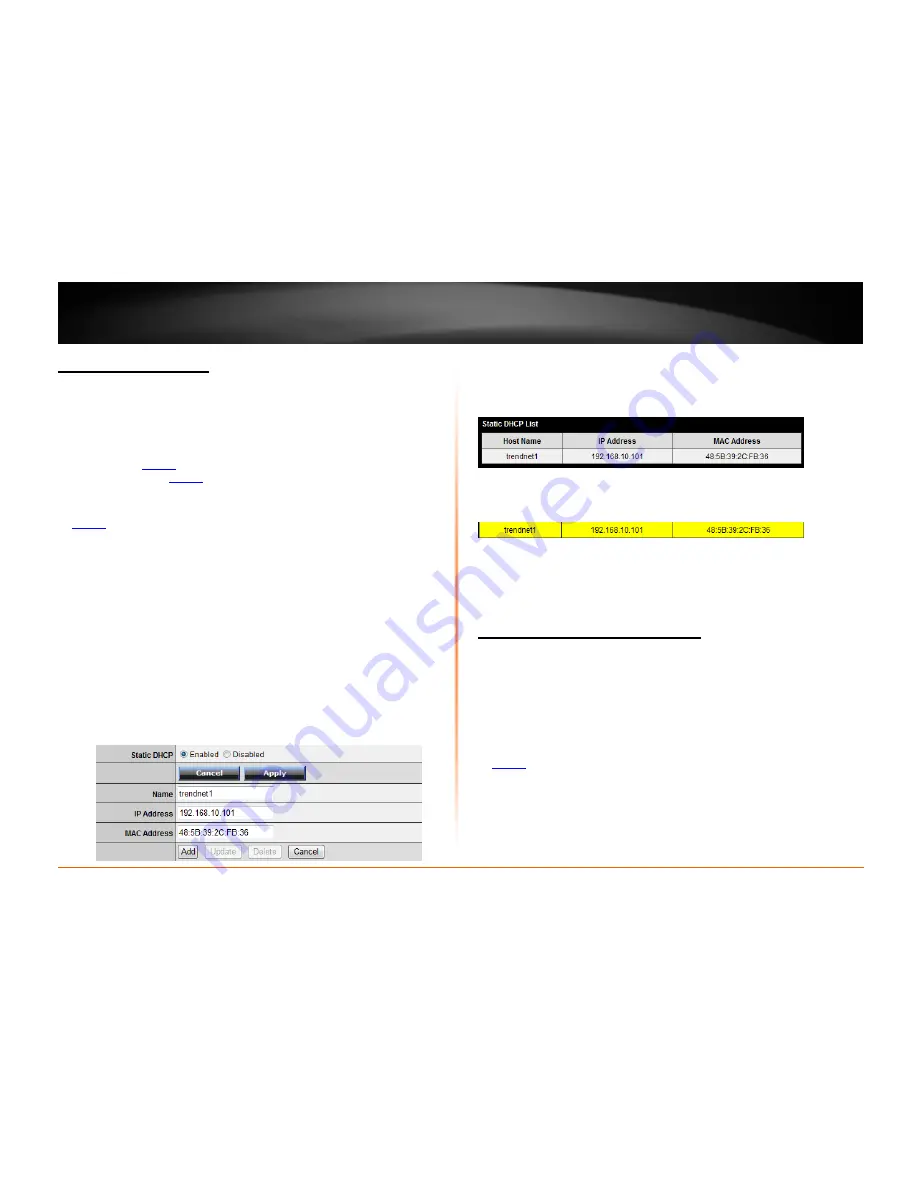
Static DHCP List
– You can view the list of reservations for computers or devices that
have been created in this list.
To modify an existing reservation, click on the entry in the Static DHCP list. When
selected, the entry will be highlighted.
•
Update
– Saves changes to an existing reservation.
•
Delete
– Removes an existing reservation.
•
Cancel
– Discards changes to existing reservation.
Enable/disable UPnP on your router
Management > Remote Management
UPnP (Universal Plug and Play) allows devices connected to a network to discover each
other and automatically open the connections or services for specific applications (e.g.
instant messenger, online gaming applications, etc.) UPnP is enabled on your router by
default to allow specific applications required by your computers or devices to allow
connections through your router as they are needed.
1. Log into your router management page (see “Access your router management page”
on
page 27
).
2. Click on
Management
, and click on
Remote Management
.
3. Next to
UPnP
, click
Enabled
or
Disabled
to turn the feature on or off on your router.


