


11
Rack Mounting
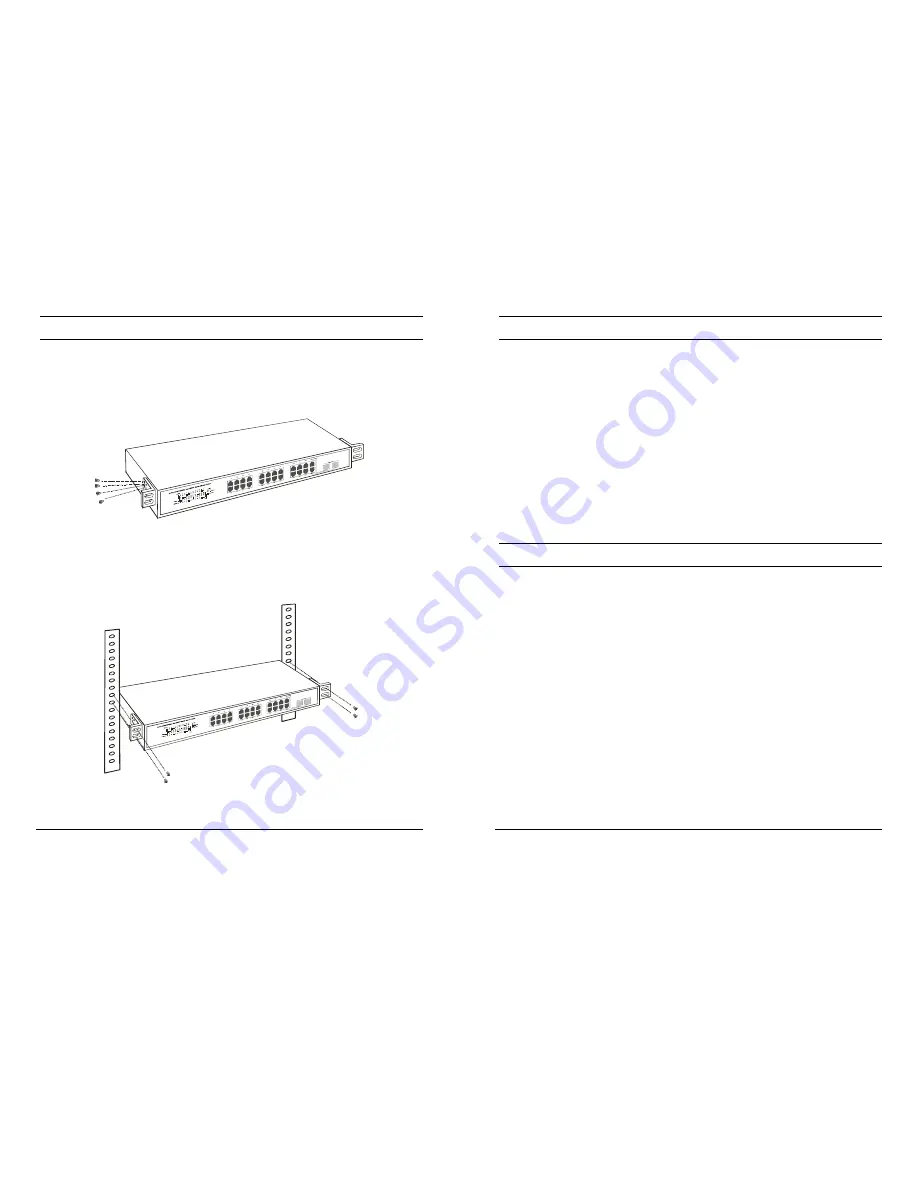
The switch can be mounted in an EIA standard-size, 19-inch rack,
which can be placed in a wiring closet with other equipment. Attach
the mounting brackets at the switch’s front panel (one on each side),
and secure them with the provided screws.
Figure 2. Combine the Switch with the provided screws
Then, use screws provided with the equipment rack to mount each
switch in the rack.
Figure 3. Mount the Switch in the rack
12
Connecting Network Cable
The Switch supports 1000Mbps Gigabit Ethernet that runs in Auto-
negotiation mode and 10Mbps Ethernet or 100Mbps Fast Ethernet that
runs both in half and full duplex mode and 1000Mbps Gigabit
Ethernet runs in full duplex mode using four pairs of Category 5
cable.
These 1000BASE-T ports are Auto-MDI type port. The Switch can
auto transform to MDI-II or MDI-X type, so you can just make an
easy connection that without worrying if you are using a standard or
crossover twisted-pair cable.
There are additional 2 ports combo mini-GBIC slot for optional mini-
GBIC module.
AC Power
The Switch used the AC power supply 100-240V AC, 50-60 Hz. The
power switch is located at the rear of the unit adjacent to the AC
power connector and the system fan. The switch’s power supply will
adjust to the local power source automatically and may be turned on
without having any or all LAN segment cables connected.
Summary of Contents for TEG-240WS
Page 27: ...47...