


27
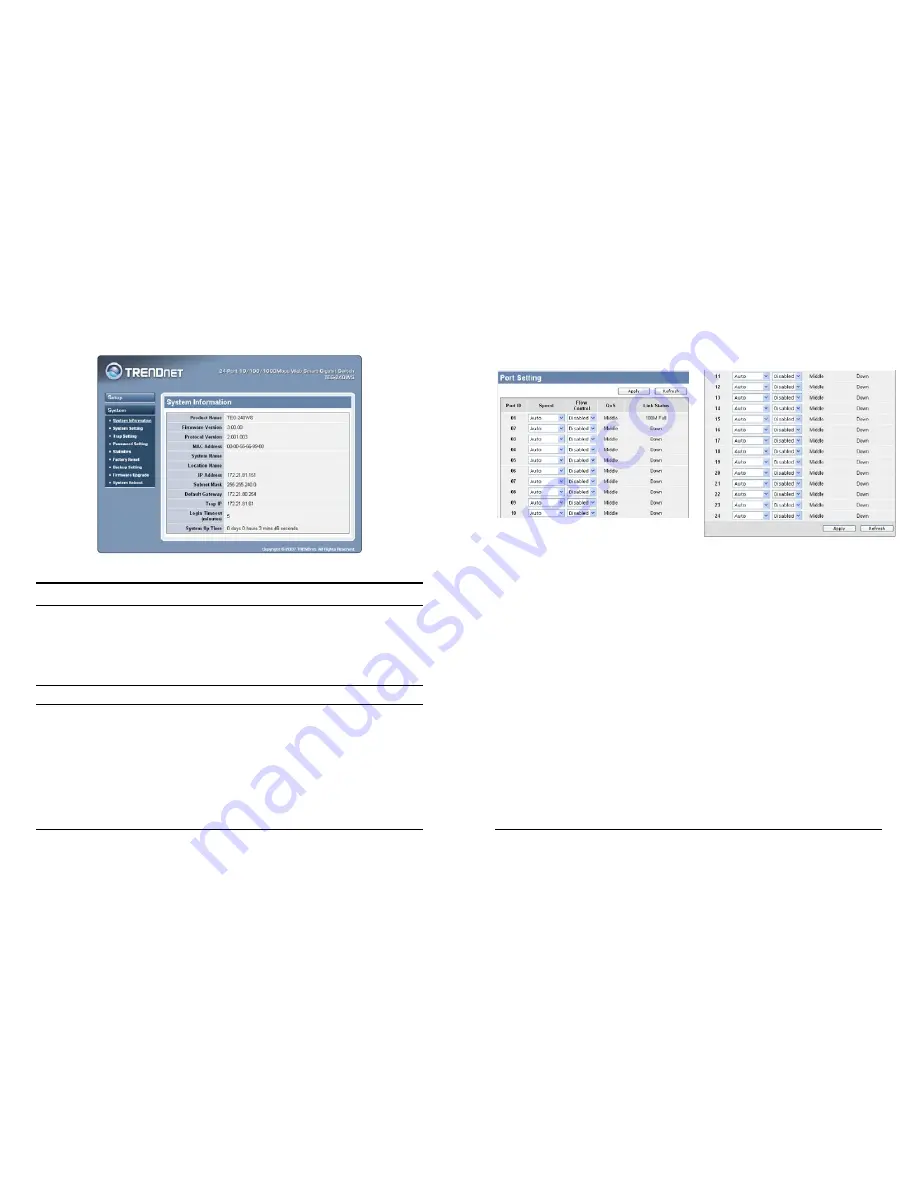
After entering the password, the main page comes up, the screen will
display the device status.
Figure 15. System Information
Setup Setting
Find that there are seven items, including
Port Setting, IEEE 802.1Q
VLAN Settings, Trunk Setting, Mirror Setting, IEEE 802.1p Default
Priority, Broadcast Strom Control Setting, Jumbo Frame Setting
in
Setup menu.
Port Settings
In Port Settings menu (Figure 16), this page will show each port’s
status, selected drop down menu to set each port’s
Speed, and QoS
priority
then press
“Apply”
button to activate changes
.
To refresh the
information table to view the latest port setting and Link Status, press
the Refresh button.
28
The
Link Status
in the screen will show the connection speed and
duplex mode; else this dialog box will show
Down
when the port is
disconnected.
Figure 17. Port Setting
Note: The priority of Gigabit Fiber port is higher than Copper.
Speed:
The 1000BASE-T connections can operate in Forced Mode settings
(1000M Full, 100M Full, 100M Half, 10M Full, 10M Half), Auto, or
Disable. The default setting for all ports are Auto. The mini-GBIC
(Gigabit Fiber) connections can operate in Forced Mode settings
(1000M Full), Auto, or Disable
Flow Control:
This setting determines whether or not the Switch will be handling
flow control. Set Flow Control
to
Enable
for avoiding data transfer
overflow. Or it sets to
Disable
; there is either no flow control or other
hardware/software management.
When the port is set to
forced mode
, then the flow control will
automatically set to
Disable.
Summary of Contents for TEG-240WS
Page 27: ...47...