12
Administrator Manual – US10C Time Clock
14.
Once the fingerprint reader takes 3 good quality images of your fingerprint, the message Enrollment
Successful displays.
You are now ready to begin clocking In and Out from the time clock.
Tips to Punch In/Out
Entering your employee card ID number before scanning your finger will put the system in Verify Mode and will
improve the fingerprint acceptance.
Use hand lotion or blow warm breath on your hand for a higher quality scan.
Press down with gentle pressure when scanning your finger.
If your fingerprint is rejected at a high rate, have your manager help you enroll again.
Clocking In and Out
Using the US10C-ID Biometric Time Clock to clock In and Out is easy.
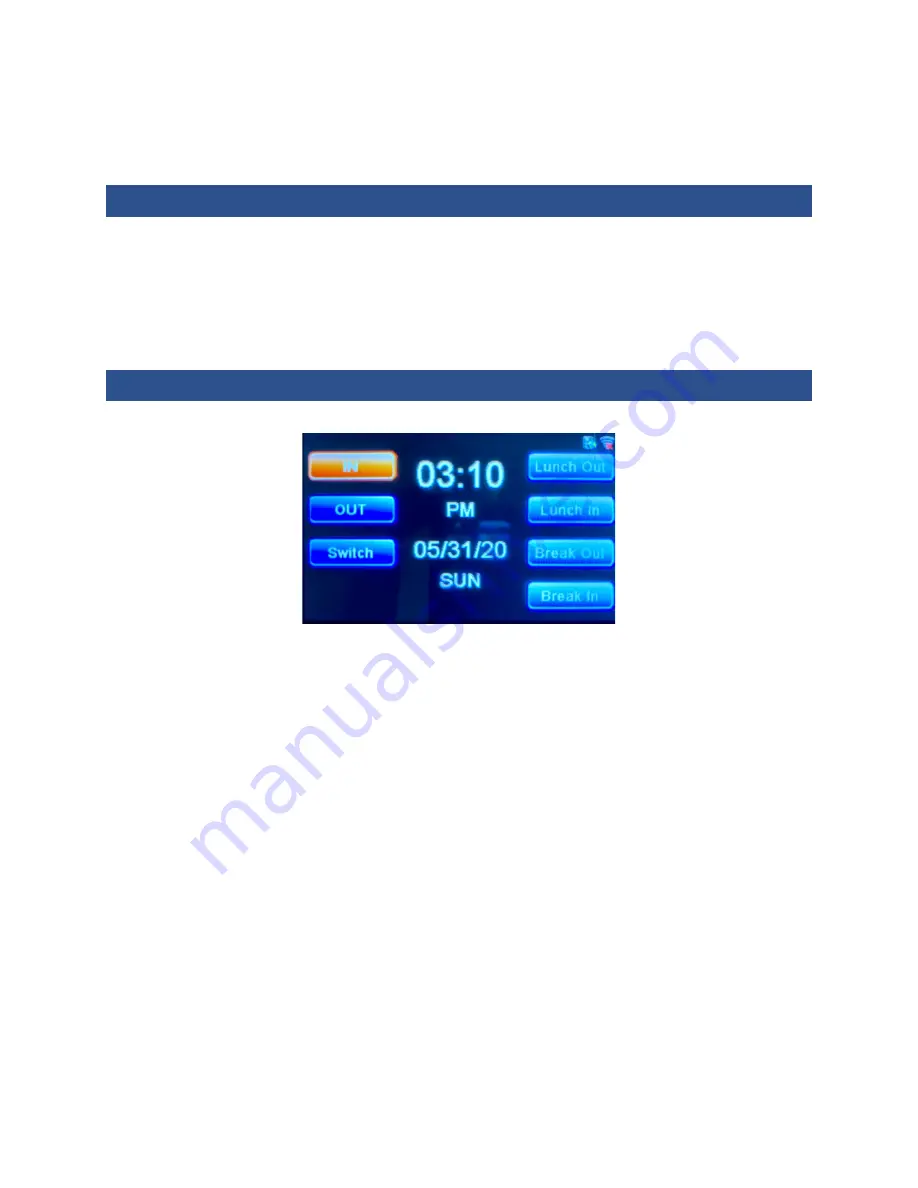
The currently selected punch type is displayed as the orange highlighted punch type button. The display mode
determines how the time, date, and day of week are displayed on the screen. The time of day is displayed on a
clock in the center of the screen, with the date and day of week shown below.
The punch type selection is changed by scrolling with the
▲
or
▼
keys through the list of available types, or by
using the functions keys, described below. The punch types consist of Start, Switch, End, Lunch Out (leave), Lunch
In (return), Break Out (leave), and Break In (return). Buttons will not be visible, and the punch modes not
selectable, if the corresponding punch type is disabled in TCS device setup.
The function keys in the right-hand column of the device keypad can also be used to toggle punch modes, and are
implemented as follows:
•
F1 key toggles between Start & End
•
F2 key selects Switch
•
F3 key toggles between Lunch Out & Lunch In (Lunch Leave /Return)
•
F4 key toggles between Break Out & Break In (Break Leave /Return)
1.
Employees select the desired punch function, which is not necessary if the desired punch function button is
already highlighted in orange.
2.
Type your card ID or scan your card in the reader, and/or apply your enrolled finger to the reader.


