TRX 2.5R • 33
These instructions are for the rebuilding
of the Traxxas TRX 2.5R engine once the
engine has been removed from the
chassis. These instructions were
performed on an engine equipped with
the EZ-Start electric starting system.
Engines equipped with pull starters or
backplates (without starter) are similar.
It is very important to clean the exterior
of the engine and EZ-Start system
thoroughly before disassembly. These
instructions show you how to replace the
entire internal reciprocating assembly.
Rebuilding the TRX 2.5R Racing Engine
The following instructions are for engines
equipped with IPS crankshafts using Traxxas
clutch components. For multi-shaft
™
crankshafts in non-Traxxas applications,
follow the manufacturer’s directions for
clutch installation removal.
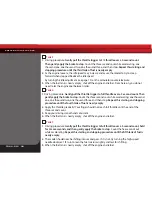
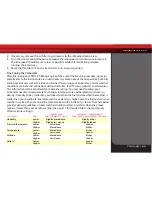
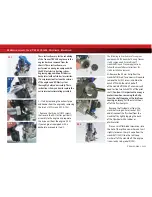
2.
Remove the 5.0mm E-clip from the
crankshaft (Nitro 4-Tec owners will need to
remove the 3x10CS screw) and slide the
5x8x0.5TW with the clutch bell off
of the crankshaft
(
Nitro 4-Tec owners will
need to slide two 5x8x0.5TW off the pilot
shaft.)
Caution: It’s important to use eye
protection when removing the E-clip
from the shaft to prevent the clip from
causing an injury.
Pull the clutch shoes
off of the flywheel pins.
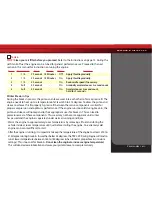
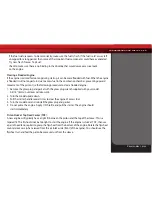
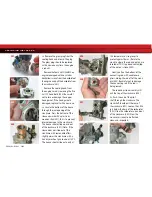
Remove the flywheel nut from the
crankshaft using an 8mm socket (202)
and disconnect the flywheel from the
crankshaft by lightly tapping the back
of the flywheel with a rubber or
plastic mallet.
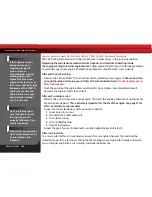
Place a small flat blade screwdriver into
the slot of the split cone washer and twist
slightly to loosen the split cone from the
crankshaft (203). Slide the split cone
washer off of the crankshaft. The engine
is now ready to be rebuilt (204).
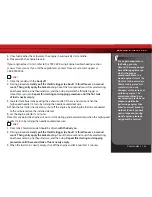
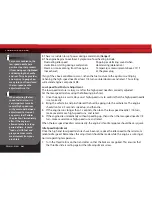
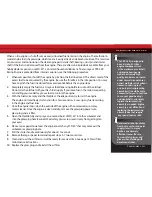
1.
Start by removing the exhaust pipe
and header from the engine by removing
the two 3x15CS screws (102 & 103).
Remove the three 3x12BCS screws
that secure the EZ-Start (or pull start)
assembly to the engine and separate
the drive unit from the engine (104).
If your engine is equipped with a
backplate, proceed to step 2.
101
102
103
104
201
203
204
202

