12 • 1/16 SUMMIT VXL
TRAXXAS TQ
i
RADIO & VELINEON POWER SYSTEM
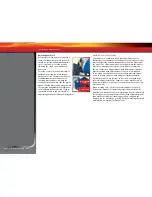
Battery iD
Your model’s included battery
pack is equipped with Traxxas
Battery iD. This exclusive
feature allows Traxxas battery
chargers (sold separately)
to automatically recognize
connected battery packs
and optimize the charge
settings for the battery.
This eliminates the need to
worry over charger settings
and menus for the easiest
and safest charging solution
possible. Visit Traxxas.com to
learn more about this feature
and available Traxxas iD
chargers and batteries.
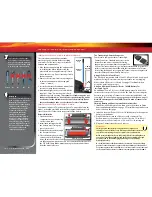
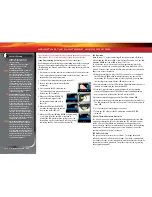
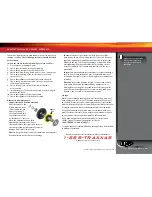
To prevent loss of radio range,
do not kink or cut the black wire,
do not bend or cut the metal tip,
and do not bend or cut the white
wire at the end of the metal tip.
Correct
No
No
No
No
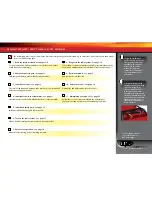
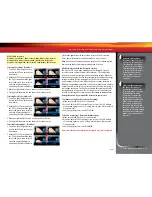
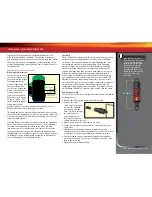
INSTALLING THE RECEIVER ANTENNA
The receiver antenna and antenna tube
must be properly installed before operating
your model. Follow these steps to install the
antenna and antenna tube:
1. Slide the antenna wire into the antenna tube
to its full extent. When fully inserted, the
wire should reach to approximately 1/2 inch
below the tube cap. Do not leave any slack in
the antenna wire.
2. Remove the set screw from the opening next
to the antenna mount with the supplied
1.5mm “L” wrench.
3. Insert the tube into the antenna mount. Take
care not to crimp the antenna wire.
4. Reinstall and tighten the set screw with the
supplied 1.5mm “L” wrench until it is flush
with the top of the opening.
To prevent loss of radio range, do not
kink or cut the black wire, do not bend or cut the metal tip, and do
not bend or cut the white wire at the end of the metal tip. Do not
shorten the antenna tube. See the sidebar for more information.
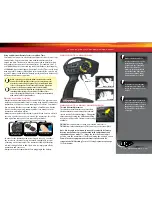
INSTALLING THE BATTERY PACK
Your model includes a 7.2-volt battery pack. To properly balance the
model, it should be installed in the battery compartment on the left
side of the model. Follow these steps to install the battery:
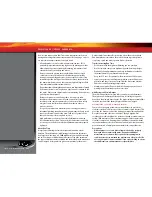
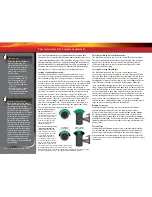
Battery Installation
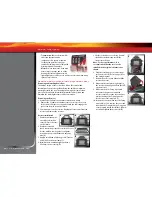
1. Open the battery
compartment door by pressing
on the release tabs.
2. Install the battery pack with
the battery wires facing the
rear of the model.
3. Route the battery wire through
the slot near the vent.
4. Close the battery door, making
sure not to pinch the battery
wires. Be sure both release tabs
are fully engaged with the door. Do not connect the battery pack to
the ESC at this time.
Note
: Always unplug the battery and remove
from the model after use.
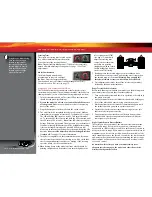
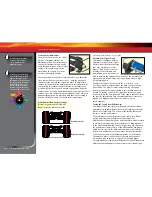
The Traxxas High-Current Connector
Your model is equipped with the Traxxas High-
Current Connector. Standard connectors restrict
current flow and are not capable of delivering
the power needed to maximize the output of the
VXL-3m. The Traxxas connector’s gold-plated terminals with large contact
surfaces ensure positive current flow with the least amount of resistance.
Secure, long-lasting, and easy to grip, the Traxxas connector is engineered
to extract all the power your battery has to give.
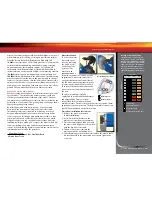
Using LiPo Packs in Your Model
The VXL-3m is compatible with 2S and 3S LiPo packs, and is equipped
with Low-Voltage Detection circuitry to prevent over-discharging.
Make certain LiPo mode is selected (see page 17 for details) when
using LiPo packs in your model.
Using an Additional Power Cell Series 1 NiMH Battery For
Increased Speed
An additional Power Cell Series 1 NiMH battery may also be used to
increase the top speed of your model to 50+mph by connecting the
batteries in series using a Traxxas series connector (part #3063, sold
separately). This also requires a gearing change as described on page 23.
Note: LiPo battery packs should NOT be used with a Traxxas series
connector.
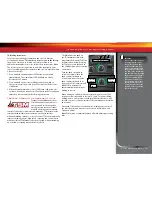
50+mph Battery and Gearing Installation Instructions
1. Install the included high-speed pinion gear as described in Pinion
Gear Installation Instructions
on page 23. Install the supplied battery
as described on this page.
2. Install an identical Power Cell Series 1 NiMH battery in the opposite
battery compartment.
3. Plug both batteries into the Y-harness (sold separately). The
harness connects the two packs in series. The two 7.2-volt 6-cell
battery packs will operate as one 14.4-volt 12-cell battery pack.
4. Plug the Y-harness into the speed control.
Precautions
•
The High Speed dual-battery configuration is for high-speed
running on smooth surfaces only. Avoid repetitive hard acceleration
to prevent overstressing the motor, speed control, and batteries.
•
Make certain both batteries are fully charged before installing them in
your model. Installing a fully charged pack and a partially discharged
pack may lead to overdischarging and damage to the partially
discharged battery.
•
Do not mix batteries of different brands, chemistries, or capacities. Only
genuine Traxxas batteries are approved for dual-battery use in this model.
•
Stop running your model and allow it to cool if the speed control’s thermal
overload protection activates or if the motor temperature exceeds 200°F.
Antenna
Tip
Antenna
Tube
1.5mm
Wrench
Set
Screw
Antenna
Mount
Battery Wire Slot
Battery Orientation


