Basic Operations
1
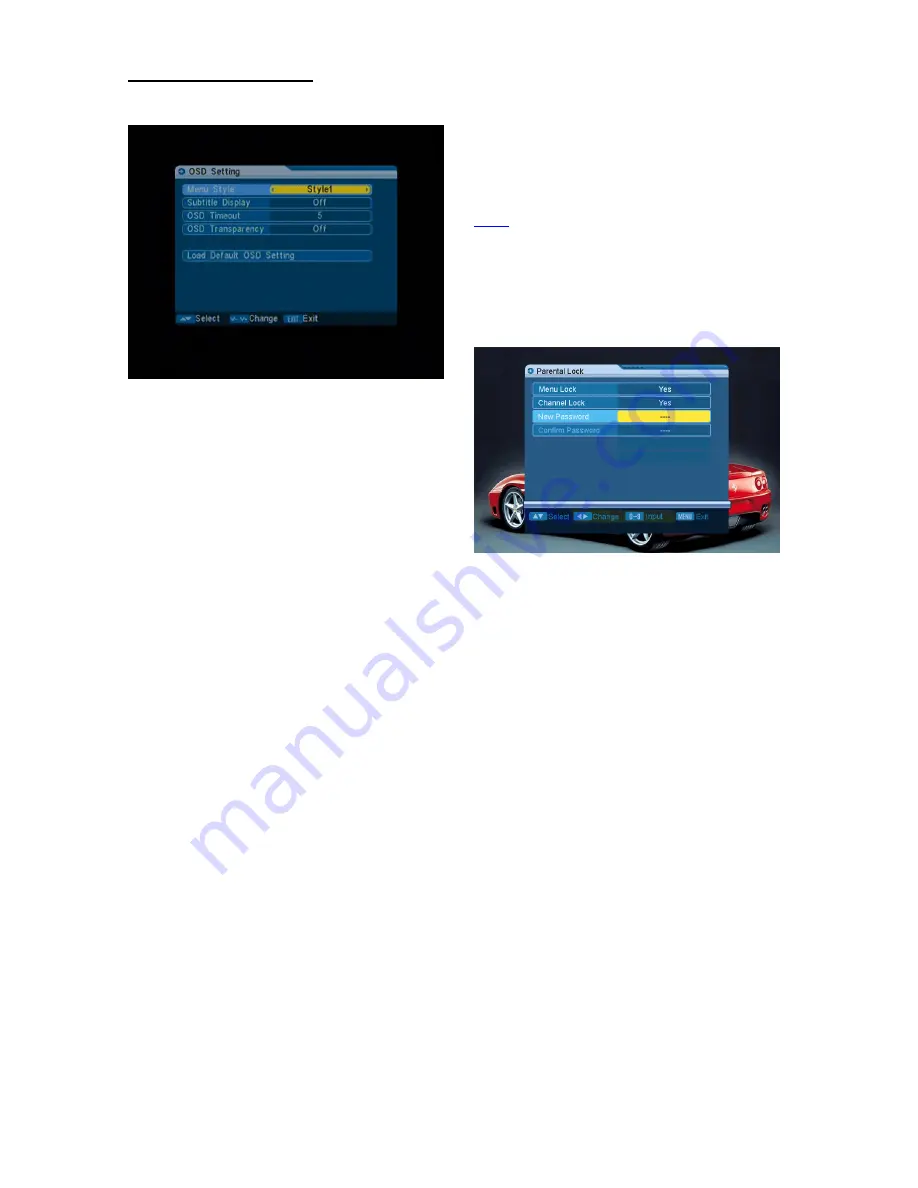
Menu Style: offers five different colors;
you can press
/Volume -
keys to select
your favorite style.
2
Subtitle Display: You can press /Volume
-
keys to select “On” or “Off”. If the current
channel has subtitle information, it will show
up while this function is “On”. If this function is
“Off”, no subtitle information will be shown.
3
OSD Timeout: When you switch channels in full
screen, it will show inf ormation about
current channel on the bottom of the screen. In
regards to the duration of this information
showing up on the screen, you can press
Volume
+/Volume -
keys to set the time. The range of the
duration is “1 second ~ 10seconds”.
4
OSD Transparency: Besides the setting of “OSD
Menu Style”, you can also set the transparency of
OSD. You can press /Volume - keys to
select the values. There are 5 levels of
transparency: 10%, 20%, 30%, and 40% and “NO”
(means no transparency function).
5
Load OSD Setting Default: If you are not satisfied
with your setting, you can move highlight to this
item and press key
OK
to reset parameters as
default value.
6
Press key
Exit
to exit out of the “OSD
Setting” menu.
5.6
Parental Lock
You can set a password in the "Installation"
menu, and you can also set the
p assword for the locked channels. (Please refer to
LOCK
to see
how to set the locked channe
l) It will
show you how to set and revise the password.
1
In “Parental Lock” function, press key OK , it
will show a dialogue for you to input the password.
When you input the correct password, you will see
a screen like below:
2
Menu Lock determines whether users have to
input password or not when they want to enter
“Installation” menu. If the setting of “Menu Lock” is
“Yes”, it means users have to key in password.
“No” means unlock.
3
Channel Lock determines whether users have to
input the password or not when they wish to play
the locked channels. If the setting is “Yes”, play
the channels with lock mark will show a
dialogue on the screen and ask for the password.
If the setting of “Channel Lock ”is “No”, that means
the function of locking will be invalid.
4
New Password is used for revising password; you
can input the new password in this item by using
number keys directly. After you fill in 4 digital
numbers, the highlight will automatically skip to
confirm password and ask you to input the new
password again. If the password is correct, the
screen will show a message of “Saving Data,
Please Wait… ”. After saving and exiting
back to “System Setup” menu, the revised password
is complete.
19
Summary of Contents for DBS 3500
Page 1: ...Digital Satellite Receiver ...
Page 6: ...Remote Control Panel Description 1 2 Remote Control 5 ...
Page 23: ......


