69
Connecting to a printer
Photos can be printed out directly on a printer compatible with PictBridge.
1. Switch on printer.
2. Check that the printer contains paper and displays no error message.
3. Use the USB cable to connect the camera to the printer.
4. Use
S
/
T
buttons to select “Printer” and then press OK button.
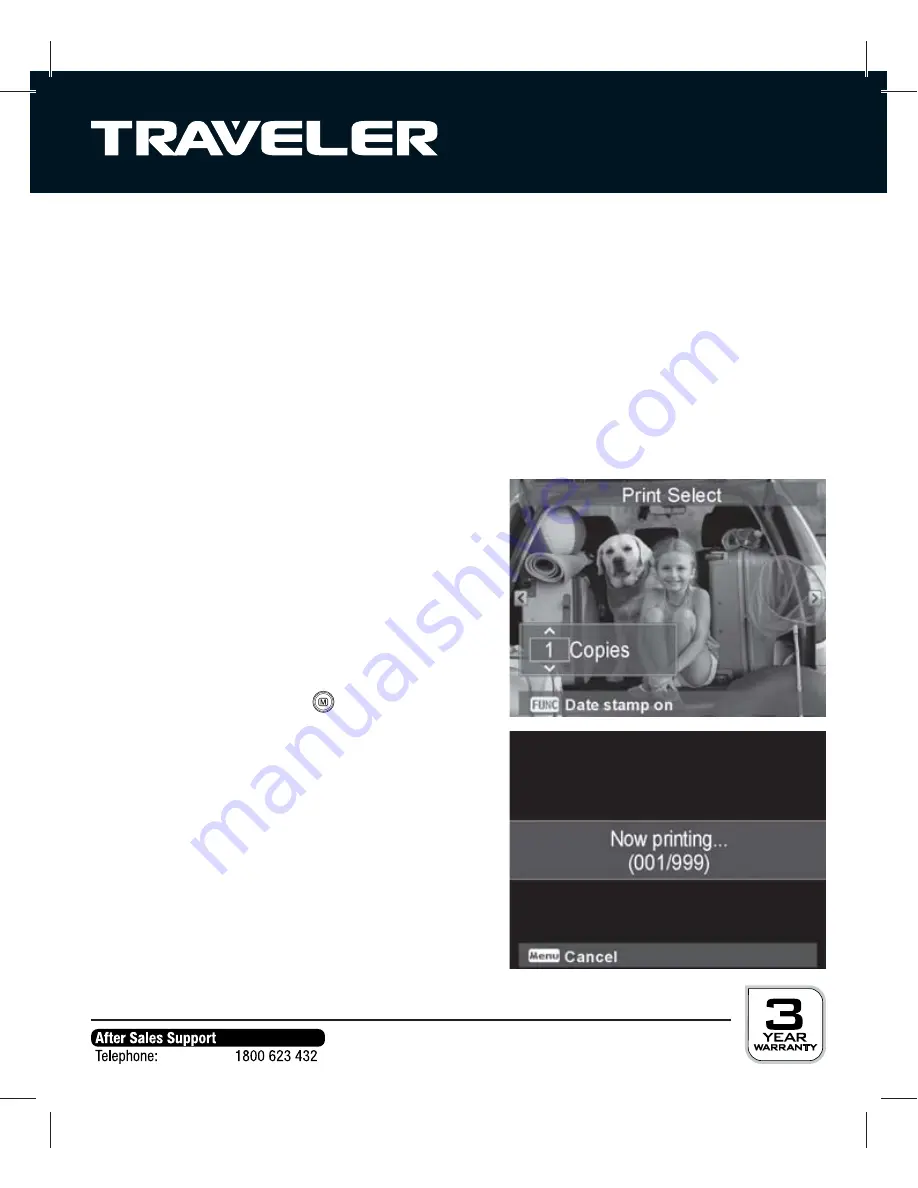
5. The camera display shows the Print mode menu. Select whether a single image
(“Print selection“), all images (“Print all“) or all thumbnails images (“Print index“)
should be printed.
6. Where applicable, select the individual image and the number of copies.
7. Press
Fn
button, to switch on/off date stamp.
8. Press
OK
button.
9. Where applicable, select paper format and
print quality and start printing operation by
pressing the “Print” button.
10. During printing, the camera display shows
“Now Printing...” and the number of images
already
printed.
The printing operation can be cancelled at
any time by pressing the
button.


