

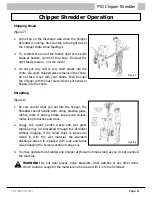


PTO Chipper Shredder
Page 8
TWT/BIO100/0617
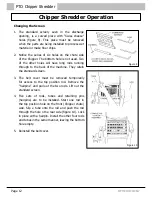
Setting up the Chipper Shredder
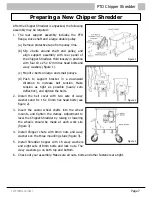
1. Couple the Chipper Shredder to the power unit.
Before transporting it to the work site, be sure the
two rear supports are in a raised position to clear the
ground and the front castor wheels are in contact
with the ground.
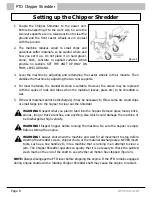
2. The machine reduces wood to small chips and
pulverizes softer materials, so be careful where and
how you set it up. Do not place it on hard gravel,
stone, brick, concrete ro asphalt surfaces which
provide no cushion. SET THE UNIT UP ONLY ON
FIRM, LEVEL GROUND.
3. Level the machine by adjusting and reclamping the castor wheels in their mounts. Then
stabilise the machine by adjusting the two rear supports.
4. For most materials, the standard screen is suitable. However, the screen may be replaced
with the series of rods and tubes when the material (leaves, grass etc) to be shredded is
wet.
5. If the wet material cannot be discharged, it may be necessary to throw some dry wood chips
or small twigs into the hopper to clear out the Shredder.
WARNING!
Inspect what you plan to feed into the hopper. Remove glass, metal, brick,
stones, long or thick branches, and anything else which could damage the machine or
be discharged at high velocity.
WARNING!
Inspect hopper before running the machine. Be sure the hopper is empty
before starting the engine.
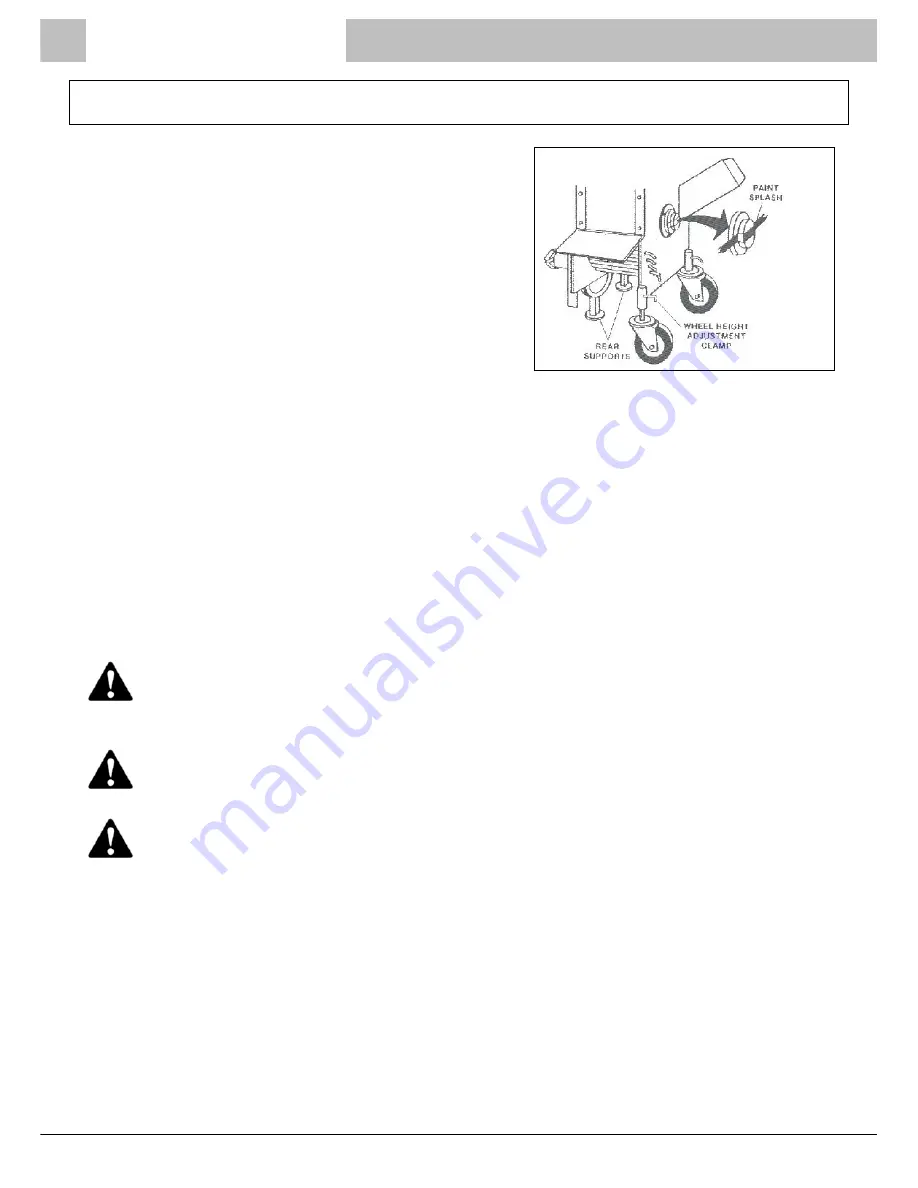
WARNING!
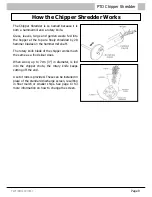
Always shut down the machine and wait for all movement to stop before
clearing the shredder screen, chipper chute, or the material discharge area. NEVER insert
tools, such as a hoe handle etc, into a machine that is running in an attempt to clear a
jam. The Chipper Shredder operates so quietly that it is necessary to check the painted
slash mark on the end of the shaft to see whether all motion has stopped (figure 4).
NOTE:
Always disengage the PTO lever before stopping the engine. If the PTO remains engaged
during engine shutdown the rotating Chipper Shredder shaft may cause the engine to restart.
Figure 4


