8
❏
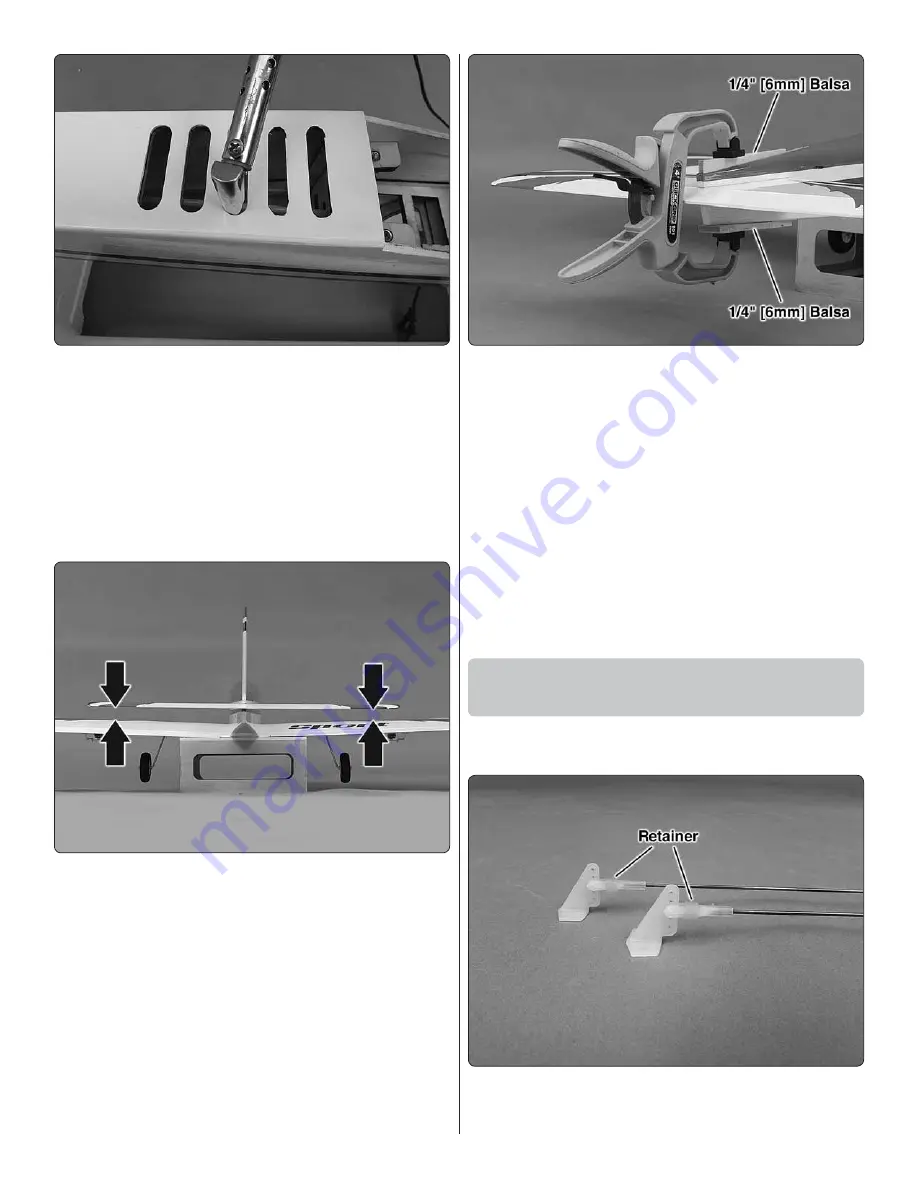
2. If powering your Sport with a brushless motor, cut the
covering from the air exit vents in the bottom of the fuselage.
For a better fi nish, cut the covering about 1/32" [1mm] inside
the edges of each opening and use a trim iron with a rounded
tip to seal the covering neatly down around the edges.
❏
3. Mount the wing to the fuselage with two 10-24 x 2"
[50mm] nylon wing bolts (for convenience, you may shorten
the wing bolts by cutting off up to 5/8" [15mm]).
❏
4. Test fi t the horizontal and vertical stabilizers (
stab
and
fi n
) into the fuselage.
❏
5. View the model from behind and check the alignment
of the stab to the wing. If necessary, adjust the slot in the
fuselage to get the stab horizontally aligned with the wing—
in most cases, all that will be required is a small amount of
weight on the high side of the stab. If necessary, the stab
saddle can be sanded slightly to get the stab to align.
❏
6. Remove the stab and fi n and prepare for gluing into
the fuselage. Typically, the fi n and stab are glued into the
fuselage together. An alternate method is to glue in the stab
fi rst, clamping the fi n fairing to the top of the stab with 1/4"
[6mm] balsa (not included) for a perfectly tight glue joint. If
done this way, be certain to
temporarily
position the fi n to
center the stab laterally. After the epoxy has hardened glue
in the fi n.
If gluing in the stab and fi n together, apply 30-minute epoxy to
all joining areas, fi t them into position and wipe away excess
epoxy before it hardens. If any weight was required to level
the stab don’t forget to reposition the weight and double-
check the alignment before the epoxy hardens.
❏
7. After the epoxy gluing the stab and fi n to the fuselage
has hardened remove the wing.
Install the Pushrods and
Mount the Nose Gear
❏
1. Cut two of the long wire pushrods including the threaded
end to a length of 27" [685mm].
❏
2. Prepare the two pushrods as shown with control horns,
clevises and silicone tube retainers.


