17
❏
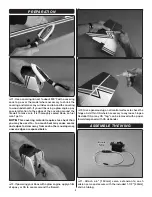
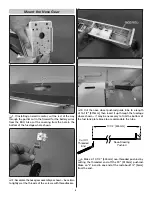
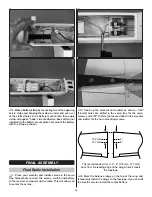
4. Lift the model upside-down supporting the wings
with your fingertips inside the balance range. Position the
receiver battery, receiver and switch on the fuselage where
necessary to get the model to balance – if building the
electric version you may also have to shift the motor battery.
This is approximately where these items should be installed.
❏
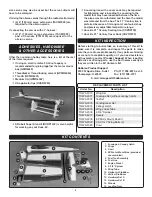
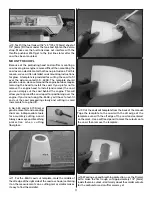
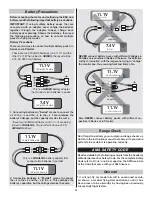
5. It’s likely you’ll need to mount the Rx battery, Rx and
switch as far aft as possible. If using the aft radio mount
plate, test-fit the four mount blocks – trim any blocks
necessary that interfere with the servos, then glue the
blocks into position.
❏
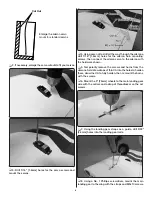
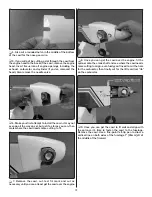
6. Place the radio mount plate into position on the blocks,
then drill 3/32" [2.4mm] holes into the blocks.
❏
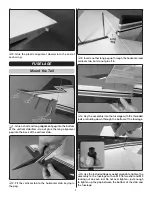
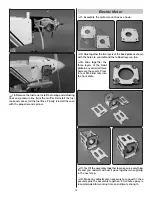
7. Securely mount the receiver and Rx battery to the
radio plate – for quick removal of the battery for charging
purposes, we used adhesive-back Velcro (not included)
and a Velcro strap made from the included Velcro strips.
For the receiver we used 1/8" [3 mm] foam mounting tape
(not included).
❏
8. Mount the radio mount plate to the mount blocks
with four M3 x 10 screws, then finalize radio installation
by mounting the on/off switch in one of the pre-cut mount
openings (or in another preferred location) and taping the


