


21
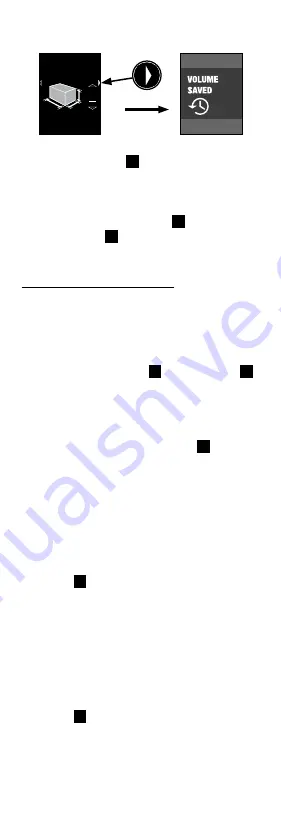
that the Volume Measurement has been saved
and will be available in the Memory Menu.
9. To begin measuring a new Volume, press
the Action Button
3
. The screen will
return to step 2.
10. To add or subtract another Volume
Measurement from the current Volume
value, press the Up Button
2
to add or the
Down Button
2
to subtract and proceed to
the Volume Calculator instructions below.
To use the Volume Calculator:
1. The previous Volume value will be
displayed at the top of the screen. Below
this will be the selected mathematical
function, either a plus or a minus. This
function can be changed at any point by
pressing the Up Button
2
or Down Button
2
,
whichever is active. Below the function, the
Length “L” Measurement and corresponding
Icon Arrow will blink until a measurement is
taken by laser-marking the desired target,
then pressing the Action Button
3
.
2. After the new measurement is taken, the
Length Active Measurement, corresponding
Icon Arrow and Labels will briefly flash
yellow, then turn white.
3. Now the Width “W” Active Measurement and
corresponding Icon Arrow will blink until a
measurement is taken by laser-marking the
desired target, then pressing the Action
Button
3
.
4. After the new measurement is taken, the
Width Active Measurement, corresponding
Icon Arrow and Labels will briefly flash
yellow then turn white.
5. Now the Height “H” Active Measurement and
corresponding Icon Arrow will blink until a
measurement is taken by laser-marking the
desired target then pressing the Action
Button
3
.
6. After the new measurement is taken, the
Height Active Measurement, corresponding
Icon Arrow and Labels will briefly flash
yellow, then turn white. At the bottom of the
screen, the mathematical Result will briefly
flash yellow, then turn white. The Save
+
15
,
051.7
FT3
8
FT
1
IN
11
FT
9
1/2 IN
157
FT
10
31/32 IN
L
W
H
L
W
H


