Installation
Step 5: First Time Installation
12
Strata CTX Attendant Console Installation 03/03
7. Click Next to start installation of your choice. Follow the instructions below for the Setup type
that you have chosen:
Setup type Primary: The Primary setup installation automatically installs the “CTX Attendant
Data Base Utility” and creates the directory database as if it were a first time installation.
During this process, the MSDE V1.0 (SQL 7) component is automatically installed by the
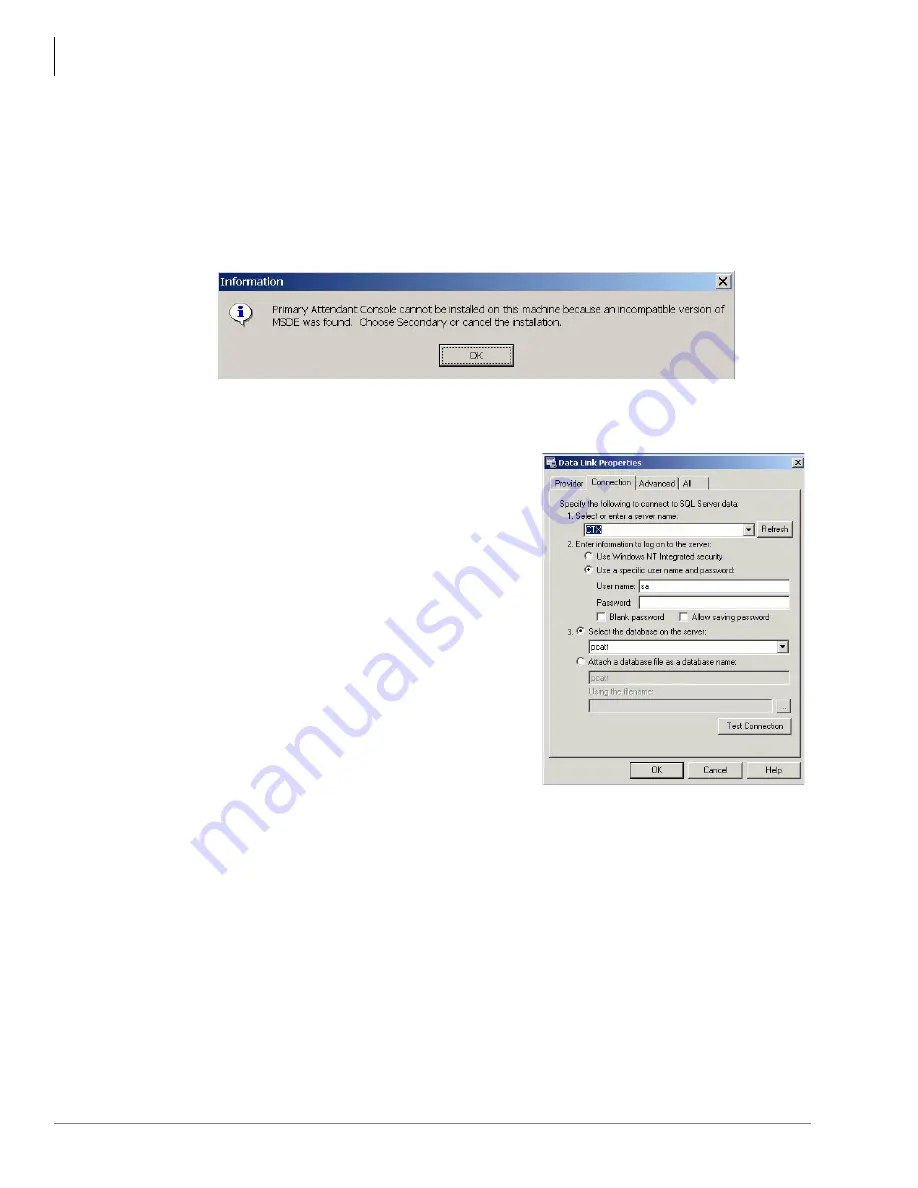
installer if it did not exist in the target PC. If a higher version is detected (MSDE V2.0 –
SQL2000) the installer prompts the following:
Setup type Secondary: During the Secondary Type installation, when you are prompted to
configure the Database Link Properties, click on the Connection tab (see below).
•
In the box “Select or enter a server name,”
enter the name of CTX Attendant database PC.
This is required even if the CTX Attendant
Console and CTX Attendant database share the
same machine.
•
User Name and password is default set
•
Database name: “pcatt” is automatically shown
as the proper server name.
•
Test Connection button: press to ensure the
connection is established. A message box “Test
connection succeeded” should appear less than
30 seconds.
If this message does not appear, the connection
to the shared database has failed. If so, the
CTX Attendant will not run – contact
Technical Support.
•
Click OK to continue installing with the
modified Data Link Properties
...or click Cancel to proceed installing without the modification.
Wait for the installation to finish.
8. To complete the installation, you need to verify the TSP Configuration Data, which requires
restarting your PC. From the InstallShield Wizard Complete screen, select Yes to restart or No
to Restart later, click Finish.
6604


