


219
Hot Keys
Hot Key Functions
5.375 x 8.375 ver 2.3
Keyboard hot key functions
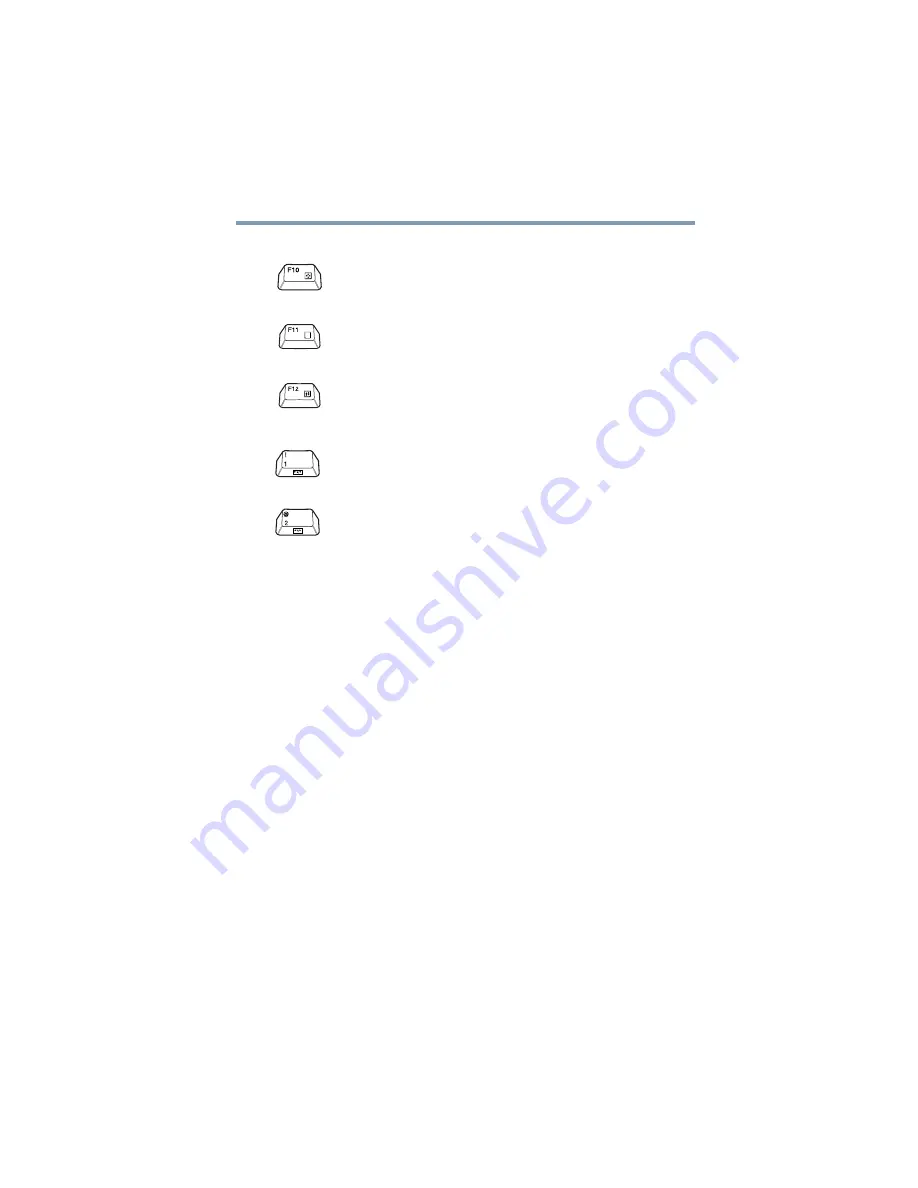
Fn
+
This hot key turns the cursor control overlay on and off.
Fn
+
This hot key turns the numeric overlay on and off.
Fn
+
This hot key turns the scroll lock feature on and off.
Fn
+
This hot key turns the Zooming utility to zoom-out.
Fn
+
This hot key turns the Zooming utility to zoom-in.


