


22
SETTING UP YOUR TV
Channels may be moved and saved to the position of your
choice.
a
Select
ATV Manual Tuning
from the
Channel
Tuning
menu.
b
With the list of channels showing, press
B
/
b
to
highlight the position to be moved and press
c
.
c
Press
B
/
b
to move through the list to your
preferred position. As you do so, the other
channels will move to make room.
d
Press
C
to save your move.
Repeat as necessary and press
EXIT
.
DTV Manual Tuning
This feature is available for service engineers or can be
used for direct channel entry if the multiplex channel is
known.
a
Select
DTV Manual Tuning
from the
Channel
Tuning
menu and press
OK
.
b
Enter the multiplex number using the number
buttons or use
C
/
c
to adjust the number up or
down.
c
Highlight
Start Scan
and press
OK
. The television
will automatically search for that multiplex.
When the multiplex is found, any channels that are
not currently in the channel list will be added and
the channel information at the top of the screen will
be updated.
d
Repeat as necessary. Press
EXIT
to finish.
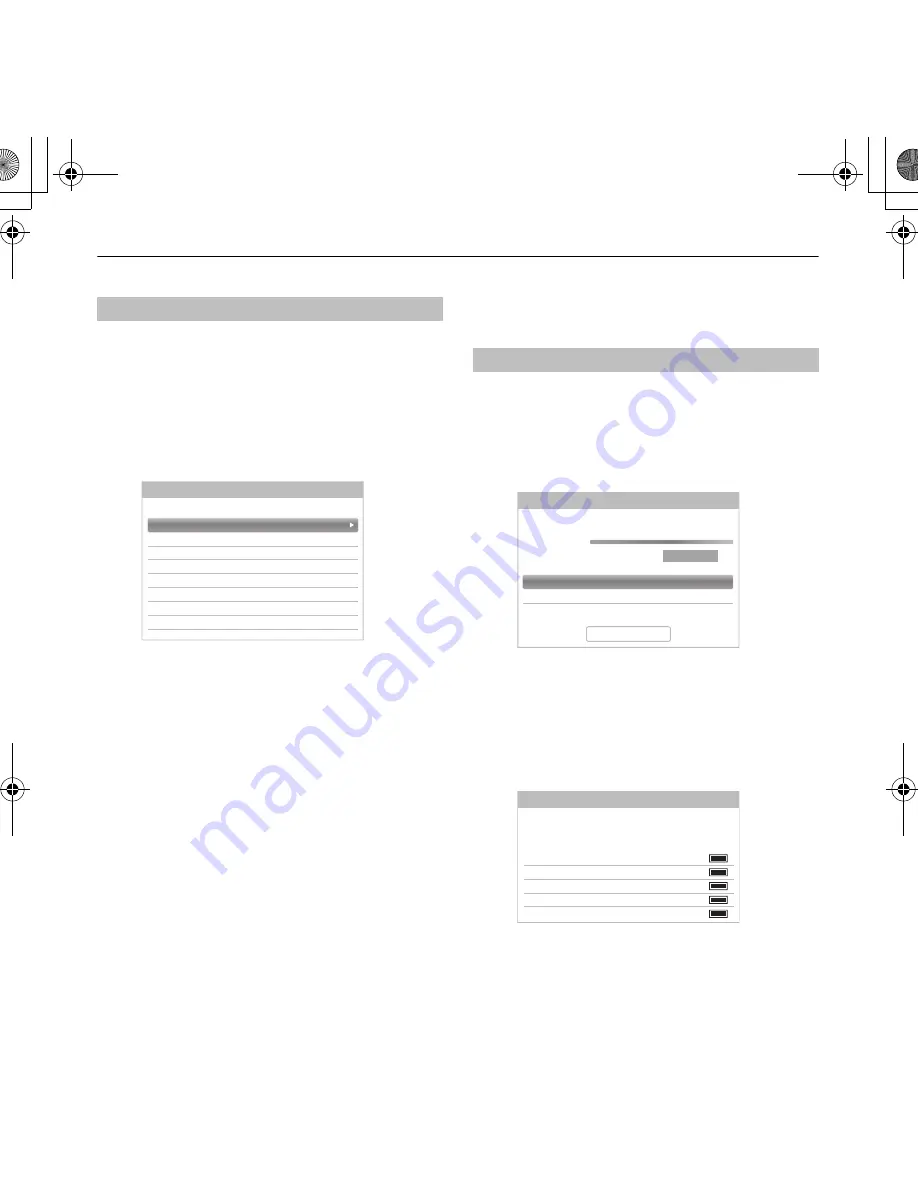
Sorting positions
0
C2
1
S10
2
C7
3
S40
4
C22
5
C25
6
C28
7
C30
ATV Manual Tuning
Pos.
Channel
Station
Manual Tuning
Channel
22
Frequency
xxx.x MHz
Bandwidth
7 MHz
DTV Manual Tuning
Signal Strength
WEAK
AVERAGE
STRONG
Quality
GOOD
Start Scan
C2
ABC ONE
C4
ABC TWO
C5
ABC THREE
C7
ABC NEWS 24
C12
ABCi
DTV Manual Tuning
New
Pos.
Name
Type
0 New Channels - Total 6
00GB03Tune.fm Page 22 Wednesday, June 12, 2013 1:33 PM
Summary of Contents for L7300A Digital Series
Page 1: ...USER MANUAL L7300A Digital Series L7300A_AU book Page 1 Wednesday June 5 2013 3 36 PM ...
Page 102: ...00GB07Info fm Page 102 Wednesday June 12 2013 1 39 PM ...
Page 103: ...00GB07Info fm Page 103 Wednesday June 12 2013 1 39 PM ...
Page 104: ... L7300A_AU book Page 1 Wednesday June 5 2013 3 36 PM ...