GD-1300 INSTALLATION PROCEDURE 3 - 3
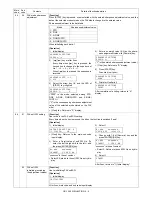
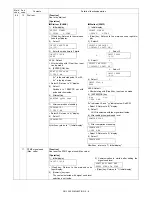
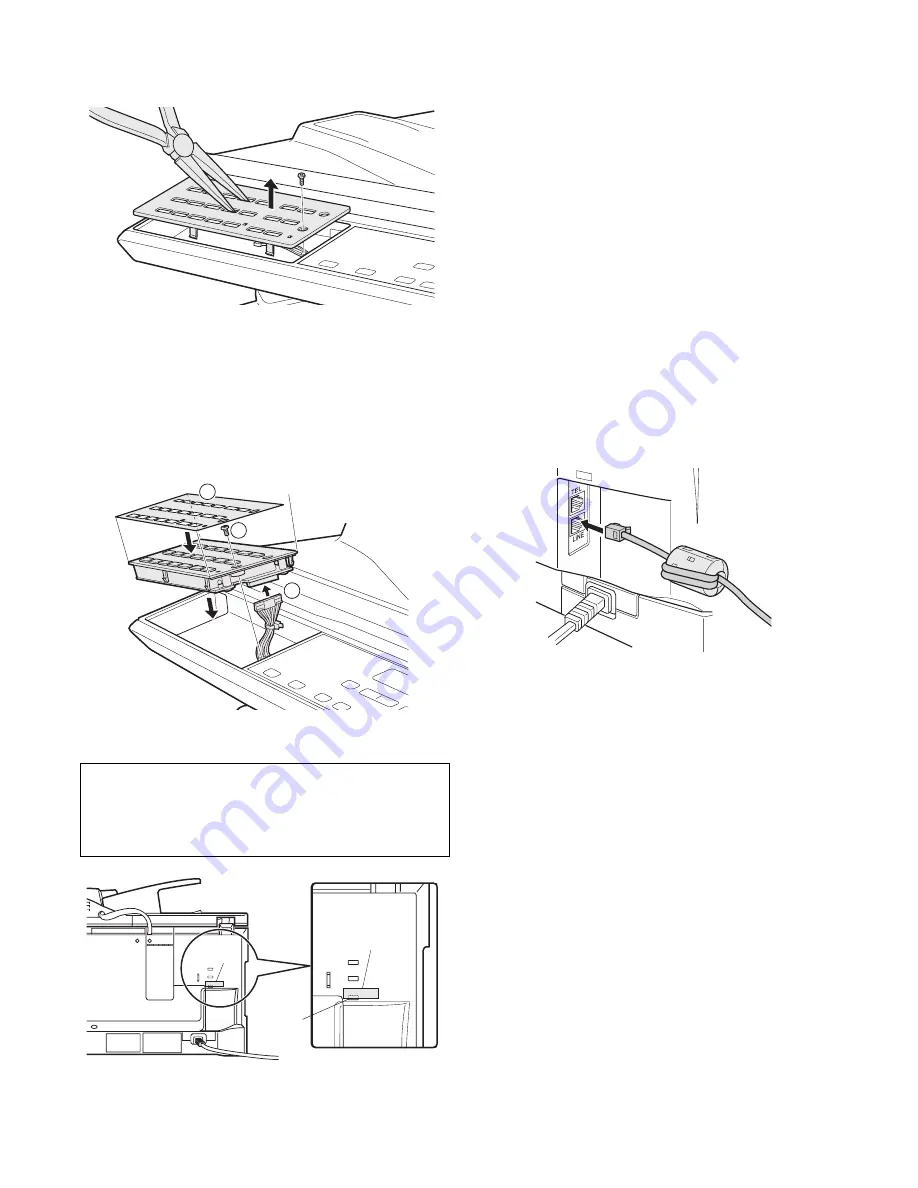
(9) Remove the dummy keyboard.
Unscrew the screw, and remove the dummy keyboard with a tool
like a pillar as shown below. (Save the screw.)
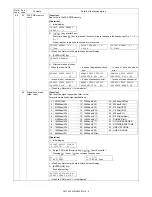
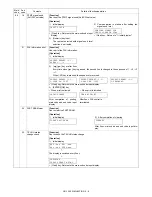
(10) Attach the FAX keyboard.
1) Remove the tape which is fixing the harness to the operation
panel.
2) Connect the copier cable to the FAX keyboard. Note that the
cable should be folded as shown below and placed under the
keyboard.
3) Place the FAX keyboard and secure it using the screw
removed earlier.
4) Affix the key sheet to the FAX keyboard.
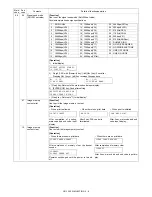
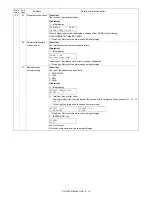
(11) Paste the label on the rear cabinet of the copier.
Paste the FCC label on the position shown in the illustration.
Insert the power plug of the copier to the outlet and turn on
the main switch of the copier. Then, carry out the following
procedure.
(12) Set the destination.
1) Execute SIM 66-01.
2) Set the following values to SW80-1 – 8 of the FAX soft switch.
U.S.A. (10110101)
Canada (00100000)
U.K. (10110100)
Germany (00000100)
France (00111101)
Sweden (10100101)
Spain (10100000)
Italy (01011001)
Switzerland (10100110)
Finland (00111100)
Denmark (00110001)
Norway (10000010)
Netherlands (01111011)
Luxembourg (01101001)
Belgium (00001111)
3) Only for U.K., France, Netherlands, Belgium, Luxembourg, set
the FAX soft SW67-1 to 0.
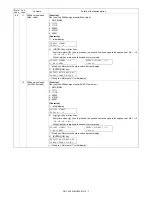
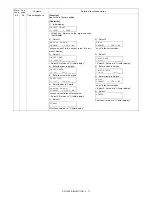
(13) Connect the FAX modem PWB line cable.
Wrap the line cable twice around the supplied core, and connect it
to the FAX modem PWB as shown.
In order to manifest the compliance with FCC Part 68 and ICES-03.
it is required to provide the machine with the FCC Registration
Number (USA), Ringer Equivalence (USA) and Ringer Equivalence
(Canada).
After installing the FAX expansion kit in the machine, please put the
registration label, packed with the kit, on the prescribed location.
2
3
4
Putting standard
FCC label
Putting
standard
FCC label


