Symphony Pro Main Menus
33
© 2005 TOSHIBA TEC AMERICA AMERICA RETAIL SYSTEMS, INC. R1.0a
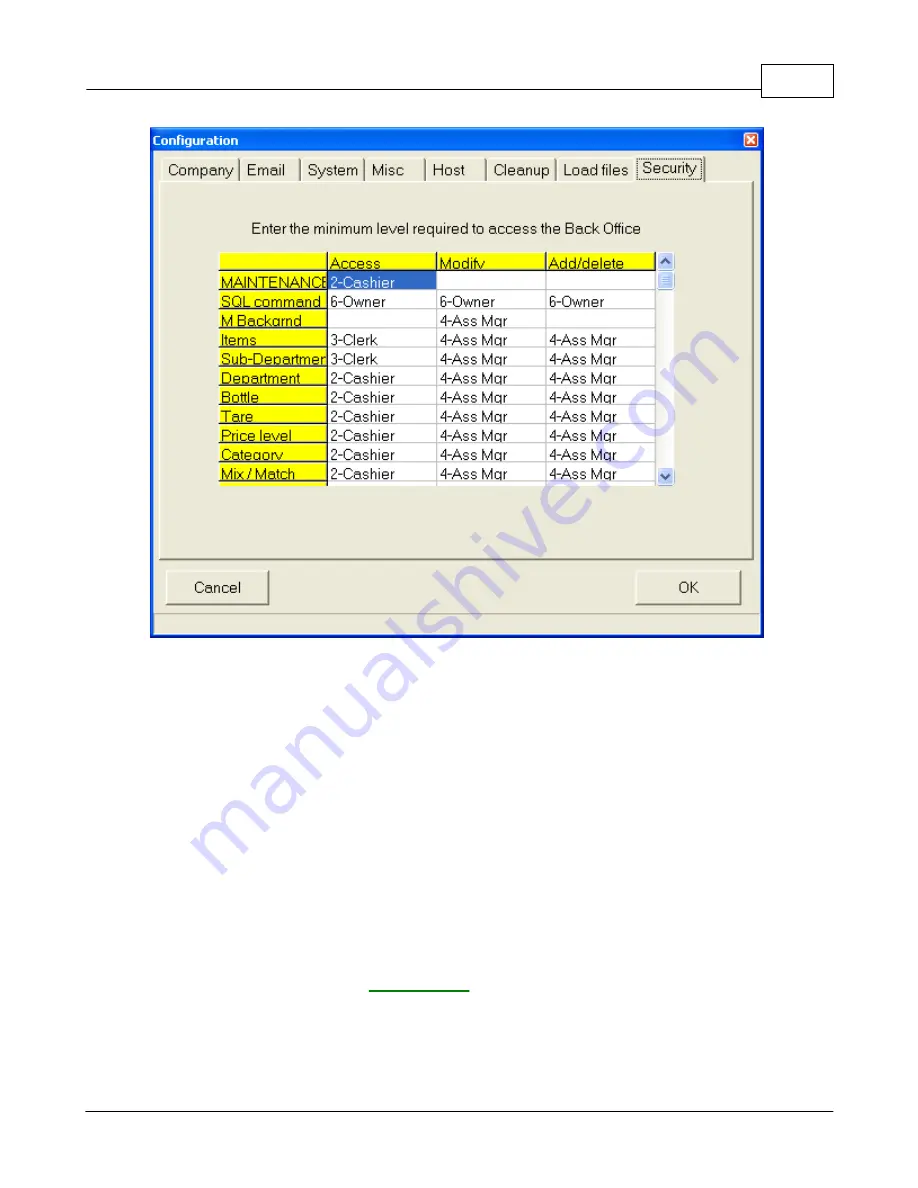
This example shows the Configuration panel's "Security" tab.
To assign security levels
:
·Start by assigning security levels in the "Access" column.
·Select an option or table from the "Access" column by clicking on it.
·Right click or double click to open a list of security levels.
·Choose the
minimum
security level required to access the selected option.
Once a security level is associated with accessing an option, continue by associating minimum
security levels to the "Modify" and "Add / Delete" columns of the option. For example, you may want to
allow a cashier to have access to view items, but not modify, add or delete them from the system.
Once the required access level to items is set to "Cashier", assign the security level required to
"Modify" items, then the level required to "Add / Delete".
If an option requires a high security level to access it you may not have to bother assigning security
levels to the "Modify" or "Add / Delete" columns, since
a user must have access to an option before
they can modify, add or delete it
.
Once the required security levels have been assigned to options or data tables, the last step is to
associate a security level to each operator in the system. For help on assigning security levels to
operators, click here to go to the
Operator Table
help page now.
NOTE:
If you are using the security system, be sure to
use the "
logout
" option to sign off the system
when leaving the work station, leaving the application on the "no user" security level. Symphony Pro
will still execute any scheduled operations, including polling or other communications, even if no user is
logged.


