


English
12
You must allow the television to complete the search.
When the search is complete the television will
automatically select programme position 1. This may not
be a clear picture, so the station order can be changed
using
Manual tuning
,
see page 9
.
B/G
– Continental Europe,
I
– UK
D/K
– Eastern Europe,
L
– France
5
Your
System
will have been selected, if there is a
choice, press
left
or
right
to select from the
systems displayed, then press
OK
.
To select a programme position use the numbered
buttons on the remote control.
Programme positions can also be selected using
P
f
and
P
e
.
To revert to the previous programme position press
^
^
.
To display on-screen information
i.e.
programme position,
input mode or stereo/mono signal, press
. Press
again to cancel.
i
+
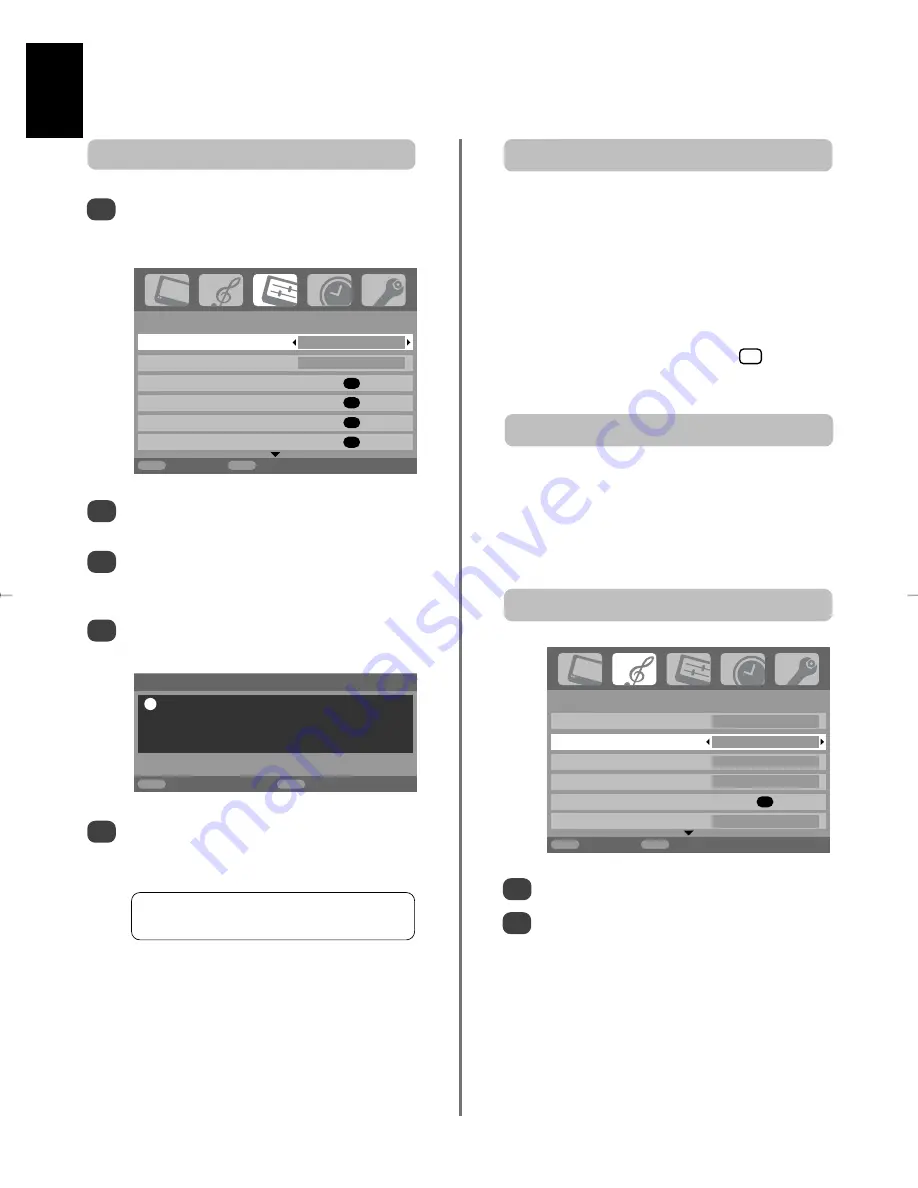
1/2
SET UP
Language English
Country
UK
Auto tuning
OK
Manual tuning
OK
AV connection
OK
Picture position
OK
MENU
Back
EXIT
Watch TV
Auto tune, general controls, sound controls
Using Auto tuning
1
2
3
4
To set up the television using
Auto tuning
, press
MENU
and use
left
or
right
to select the
SET UP
menu.
Volume
Press
j
–
or
j
+
to adjust the volume.
Sound Mute
Press
k
once to turn the sound off and again to cancel.
Selecting programme positions
Sound controls
Press
MENU
and
left
or
right
to select
SOUND
.
Press
down
to highlight
Bass
,
Treble
or
Balance
and
left
or
right
to change the setting.
Bass, Treble and Balance
1
2
Press
down
to highlight
Language
and
left
or
right
to select.
Using
down
highlight
Country
, then
left
or
right
to select. The television will now tune the stations
for your country.
Press
down
to highlight
Auto tuning
, then press
OK
.
SOUND
Dual
Dual 1
Bass
0
Treble
0
Balance 0
WOW
OK
Stable sound
On
MENU
Back
EXIT
Watch TV
Auto tuning
Previous settings will be lost !
Press EXIT for no change.
Press OK to start Auto tune.
MENU
Back
EXIT
Watch TV
!
1/2
g
Summary of Contents for DL66/67 Series
Page 29: ......


