


12
General Operation
Channel Edit
MENU
> Settings > Channel > Channel Edit
Manually edit the channel list order to your preference.
Edit the channels
Press
OK
button on the selected channel then a checkbox will
appear. You can select more channels at the same time to move
or delete them.
Delete: Press
►
button to delete the selected channel.
Restore: Press [
RED
] button to enter the list of deleted channels.
Press
◄
button to restore the deleted channel.
Move: Press
◄
button to move the selected channel.
NOTE
Moving the channels could be restricted by the operator. If you
want to be able to move channels, we recommend not to choose
an operator during channel scan and LCN should be set to Off.
Filter: Press [
YELLOW
] button, the filter screen will pop up. Press
OK
button to select Options, the channel list can be updated.
Edit the favorite channels
You can add favorite channels or move/remove favorite channels.
Export to USB
Allows you to export the current channel list to a USB storage
device.
Import from USB
Allows you to import a previously exported channel list via a USB
storage device.
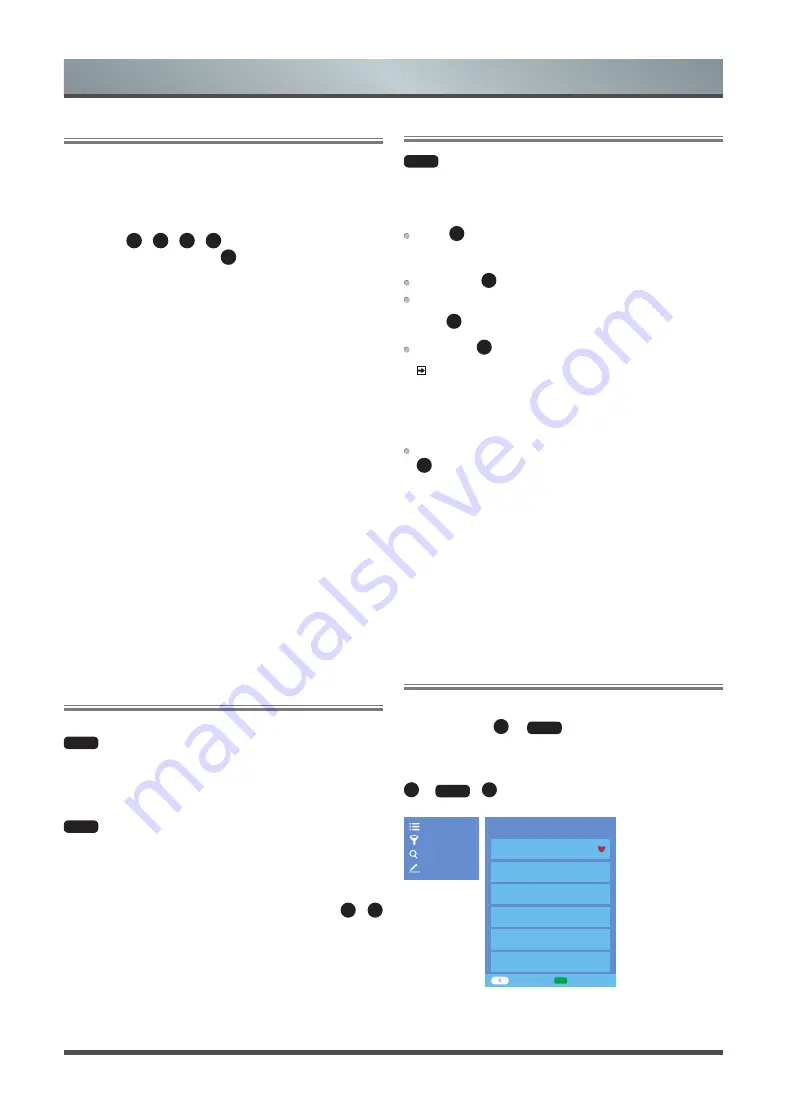
Channel List
Display the channel list
In Live TV, press
OK
or
LIST
button on the remote control to
display the Channel List menu.
Enter the sub-menu of channel list
OK
or
LIST
>
◄
Cable FAV1 FAV2
1 BBC
2 3D-HD
3 DX-HD
CH List Select
Add to Favourite
Channel List
Filter
Search
Edit
Channel list menu
Sub-
menu
Turning the TV on for the First Time
1. Connect the mains cable to the mains socket after you have
completed all the connections.
2. The first time you turn the TV on, it will go straight into the
Installation Guide.
3. Press the
▲
/
▼
/
◄
/
►
button to navigate the menu and
change the settings. Press the
OK
button to confirm.
Language
Select your desired language to be displayed on the menu.
Location
Select the location where you will operate the TV.
Time Zone
Select the local time zone according to your country/region.
Disclaimer
Your use of this device and all related services is governed by the
End User License Agreement and relative policies. Please review
these documents carefully and make sure that you have read and
agree to the provisions of the End User License Agreement.
Network Connection
If your TV does not automatically detect an Ethernet connection,
then use a wireless network,
select your network from the list that
displays, also you can add a hidden network. When you’re
done,
move to the next screen.
Success
Congratulations, you have finished the Wizard setup.
Press “Finish” to use your TV, for retailers press “Store Mode”.
Channel Scan
MENU
> Settings > Channel > Auto Scan
Auto Scan
Automatically scan for channels to view programmes from your
TV source.
MENU
> Settings > Channel > Advanced Settings > Manual
Scan
DTV Manual Scan
Manual scan TV programmes in digital signals.
When the DTV Manual Scan screen appears, press
◄
/
►
button to select Antenna, Cable or Satellite and then press
Start
to commence the search of that channel. When the signal has
been tuned, signal strength will be displayed on the screen.
ATV Manual Scan
Manual scan TV programmes in analog signals.