TORRID MARINE
YACHT QUALITY
Since 1979
www.torridmarine.com |8895 Three Tree Lane NE, Suite 8, Bainbridge Island, WA 98110 | 800-722-5123
Rev 319
.
.
Maintenance: How to Replace Anodes
1.
Shut off power to the unit and drain the water level in the Water Heater below the anode height.
2.
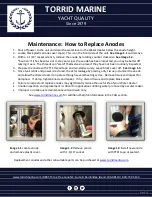
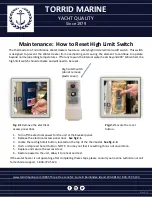
Locate black plastic anode cover cap(s). This is on the front/side of the unit.
See Image 1.1
and remove.
3.
With a 1-
1/16” so
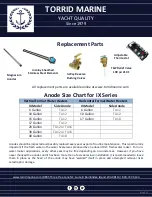
cket wrench, remove the anode by rotating counter clockwise.
See Image 1.2.
*Caution: if it has been two or more years since the anode has been inspected, you may be better off
leaving it as-
is. The threads can “weld” themselves in place if they have not
been routinely inspected.
4.
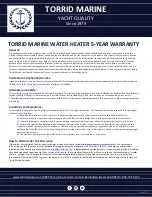
Prepare the anode with PTFE thread tape and reinstall securely. Leave black cover off.
See Image 1.3.
5.
Once tank refills and power is restored, check for leakage by placing a dry tissue just under the anode
and allow the Water Heater to operate through several heating cycles. Remove tissue and inspect for
dampness. If damp, tighten anode and repeat. If dry, discard tissue and replace black cover.
•
Failure to inspect and replace anodes may significantly reduce the useful life of your Water Heater.
•
Anode inspection and replacement is critical for applications utilizing water produced by a water maker.
•
Improper or inadequate maintenance will void warranty.
See
for additional helpful information in the FAQ section.
Replacement anodes and other consumable parts can be purchased at
Image 1.1
Locate anode
and remove plastic cover.
Image 1.2
Remove anode
with 1-
1/16” socket.
Image 1.3
Install new anode
with PTEF tape or sealant.


