
TDC+ QUICK START GUIDE
Page 6
/ 20
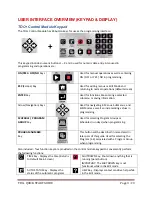
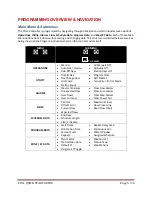
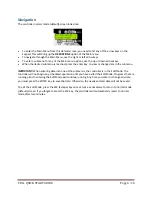
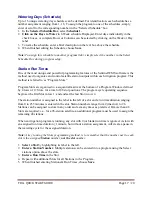
Navigation
The
controller
normal
mode
(default)
screen
looks
like:
•
To
enter
the
Main
Menu
from
this
default
screen,
you
need
to
hit
any
of
the
arrow
keys
on
the
keypad:
This
will
bring
up
the
OPERATIONS
option
of
the
Main
menu.
•
To
navigate
through
the
Main
Menu,
use
the
right
or
left
arrow
keys.
•
To
enter
a
submenu
for
any
of
the
Main
menu
options,
use
the
up
or
down
arrow
keys.
•
When
the
desired
submenu
is
reached,
press
the
enter
key
to
view
or
change
data
in
the
submenu.
IMPORTANT:
When
entering
data
into
one
of
the
submenus,
the
controller
is
in
the
Edit
Mode.
The
controller
will
not
begin
any
scheduled
operation
until
you
have
exited
the
Edit
Mode.
Programs
that
are
running
prior
to
entering
the
Edit
Mode
will
continue
running.
Any
time
you
enter
or
change
any
data,
you
must
press
the
ENTER
key
to
save
the
data.
Otherwise,
the
newly
entered
data
will
not
be
saved.
To
exit
the
Edit
Mode,
press
the
ESC
(Escape)
key
once
or
twice
as
necessary
to
return
to
normal
mode
(default)
screen.
If
you
forget
to
press
the
ESC
key,
the
controller
will
automatically
revert
to
normal
mode
after
two
minutes.