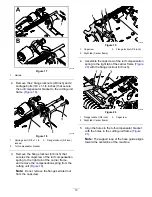
g378789
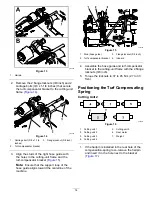
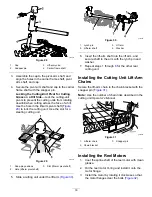
Figure 21
1.
Turf-compensator bracket
3.
Flange locknut (3/8 inch)
2.
Carriage bolt (3/8 x 1-1/4
inches)
4.
Inboard
6.
Assemble the turf-compensator bracket to the
cutting-unit frame with the 2 carriage bolts (3/8 x
1-1/4 inches) and 2 flange locknuts (3/8 inch).
7.
Torque the locknuts and bolts to 37 to 45 N∙m
(27 to 33 ft-lb).
Installing the Kickstand
For each cutting unit, secure the kickstand to the
chain bracket with the snapper pin (
).
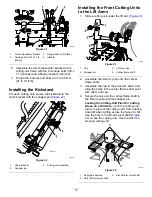
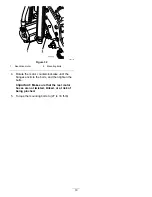
g004144
Figure 22
1.
Chain bracket
3.
Cutting-unit kickstand
2.
Snapper pin
Installing the Front Cutting Units
to the Lift Arms
1.
Slide a cutting unit under the lift arm (
).
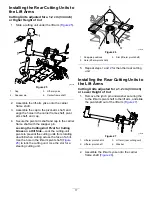
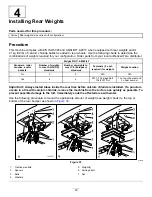
g375274
Figure 23
1.
Cap
3.
Lift-arm yoke
2.
Snapper pin
4.
Carrier frame shaft
2.
Assemble the lift-arm yoke onto the carrier
frame shaft.
3.
Assemble the cap to the pivot-arm shaft, and
align the holes in the carrier frame shaft, pivot
arm shaft, and cap.
4.
Secure the cap and the carrier-frame shaft to
the lift-arm yoke with the snapper pin.
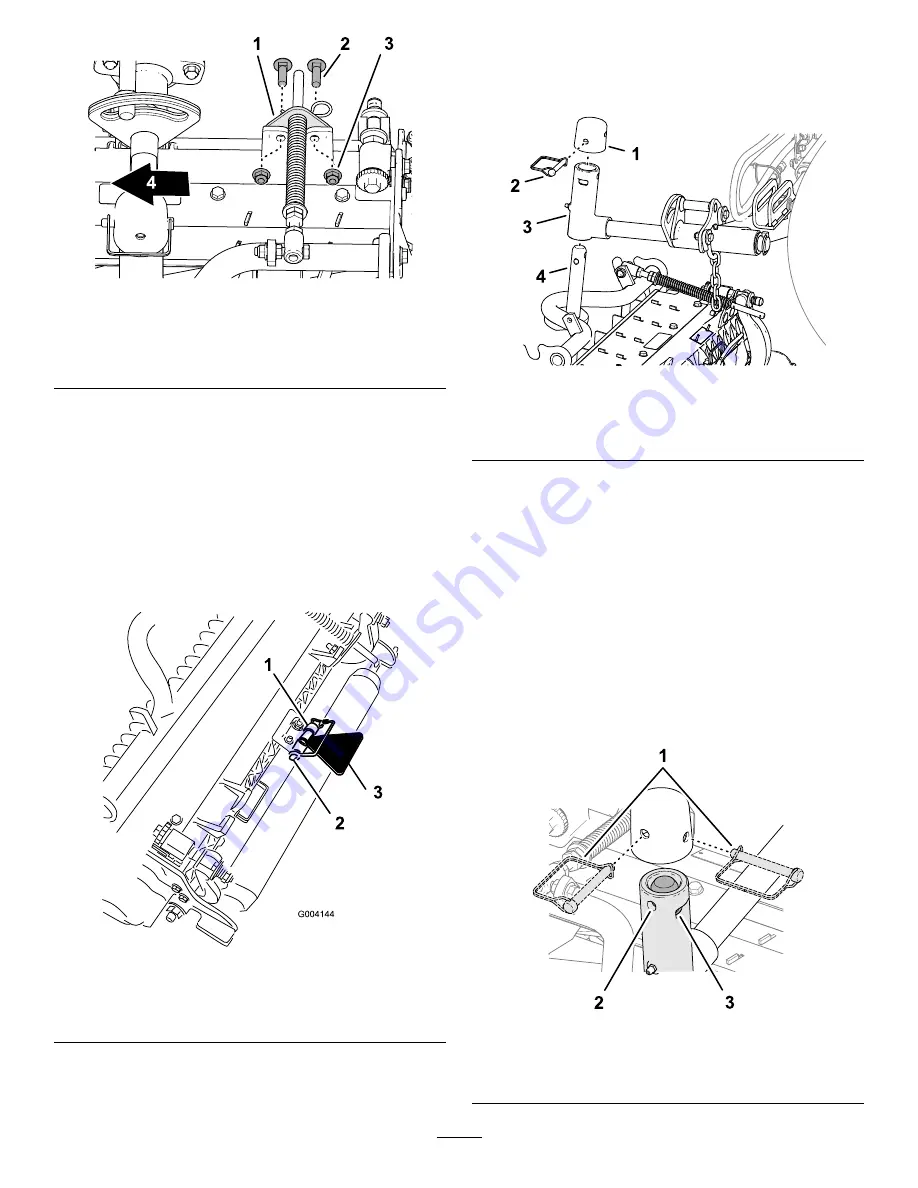
Locking the Cutting-Unit Pivot for Cutting
Grass on a Hill Side
—Lock the cutting-unit
pivots to prevent the cutting units from rotating
downhill when cutting across the face of a hill.
Use the hole in the lift-arm pivot shaft (
) to lock the cutting unit. Use the slot for a
steering cutting unit.
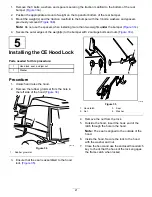
g375251
Figure 24
1.
Snap-pin positions
3.
Slot (lift-arm pivot shaft)
2.
Hole (lift-arm pivot shaft)
16
Summary of Contents for Reelmaster 5610
Page 68: ......

