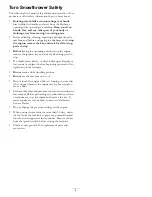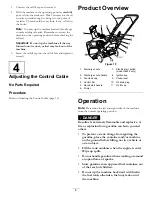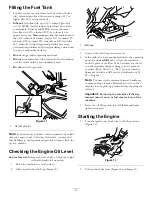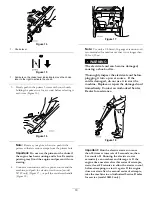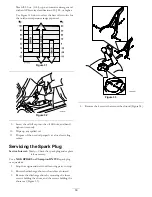
Figure 34
1.
Screw (4)
3.
Spark plug
2.
Shroud
4.
Spark-plug wire
5.
Remove the fuel tank cap.
6.
Remove the shroud (Figure 34).
7.
Install the fuel tank cap.
8.
Disconnect the wire from the spark plug.
9.
Clean around the spark plug.
10.
Remove the spark plug from the cylinder head.
Important:
Replace a cracked, fouled, or dirty
spark plug. Do not clean the electrodes because
grit entering the cylinder can damage the engine.
11.
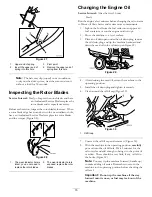
Set the gap on the plug to 0.030 inch (0.76 mm) (Figure
35).
Figure 35
1.
Center electrode insulator
3.
Air gap (not to scale)
2.
Side electrode
12.
Install the spark plug and torque it to 20–22 ft-lb
(27–30 N-m).
13.
Connect the wire to the spark plug.
Note:
Ensure that the breather tube is routed above
the spark plug wire as shown in Figure 36.
Figure 36
1.
Breather tube
2.
Carburetor drain bolt
14.
Remove the fuel tank cap.
15.
Install the shroud with the screws you removed in step
4.
Note:
Ensure that the upper and lower shrouds fit
together in the side grooves.
16.
Install the fuel tank cap.
17.
Install the chute seal, the discharge chute, and the
discharge chute handle onto the machine using the
hardware you removed in step 3.
Note:
The small screw goes through the small hole
in the chute seal at the front of the discharge chute
opening.
Replacing the Drive Belt
If drive belt becomes worn, oil-soaked, excessively cracked,
frayed, or otherwise damaged, replace the belt.
1.
Remove the drive belt cover by removing the 3 bolts as
shown in Figure 37.
17
Summary of Contents for Power Clear 721 E 38742
Page 20: ...Notes 20 ...
Page 21: ...Notes 21 ...


