Form No. 3418-967 Rev B
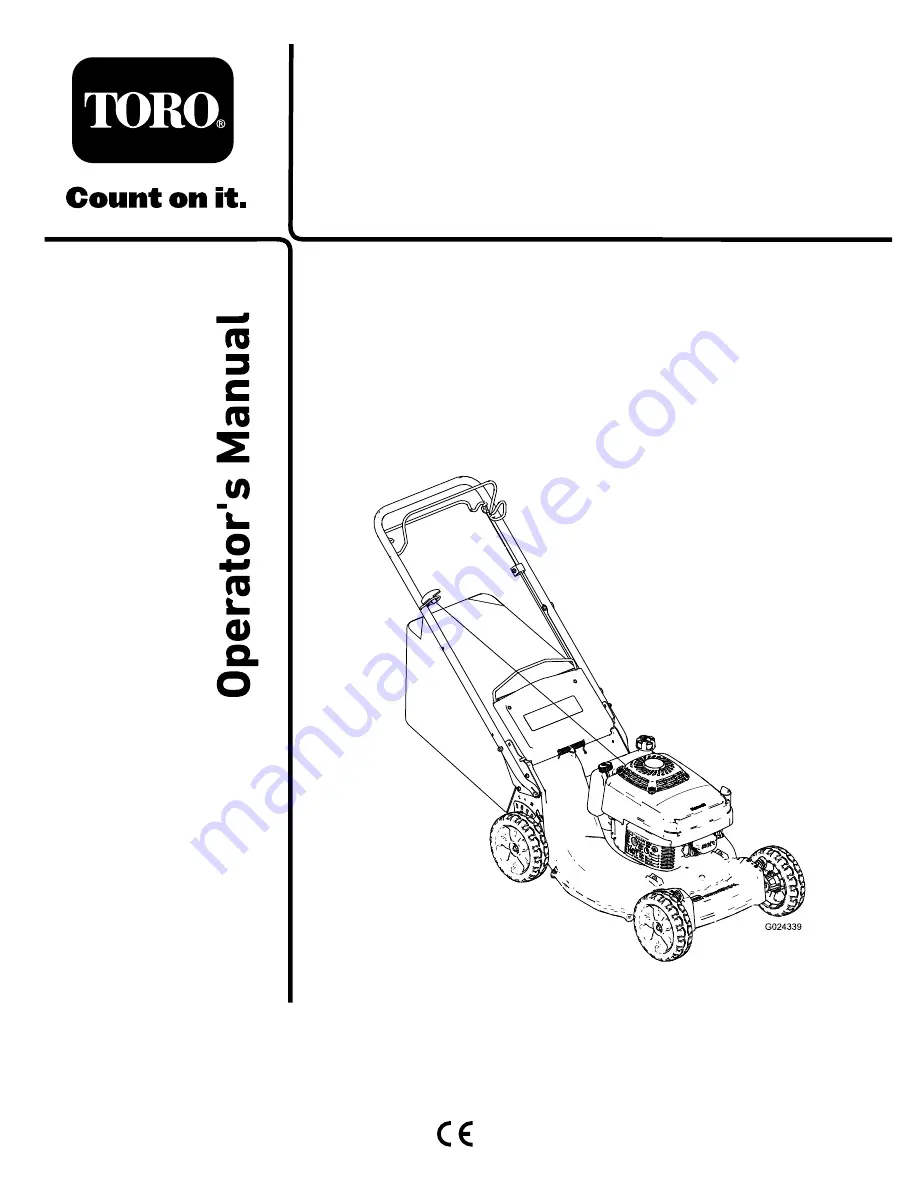
53cm Heavy-Duty Recycler
®
/Rear
Bagger Lawn Mower
Model No. 22291—Serial No. 402100000 and Up
Register at www.Toro.com.Original Instructions (EN)
*3418-967* B
Page 1: ...Form No 3418 967 Rev B 53cm Heavy Duty Recycler Rear Bagger Lawn Mower Model No 22291 Serial No 402100000 and Up Register at www Toro com Original Instructions EN 3418 967 B...
Page 2: ...rial number decal to access warranty parts and other product information g226628 Figure 1 1 Model and serial number plate Model No Serial No This manual identifies potential hazards and has safety mes...
Page 3: ...the engine is ever started Pay particular attention to the safety alert symbol Figure 2 which means Caution Warning or Danger Read and understand the instruction because it has to do with safety Failu...
Page 4: ...ct hazard keep bystanders a safe distance away from the machine 2 Cutting dismemberment of hand or foot stay away from moving parts decal125 8403 125 8403 Kawasaki Non BBC Units 1 Push the primer once...
Page 5: ...ep bystanders a safe distance away from the machine 5 Warning wear hearing protection 3 Thrown object hazard do not operate the machine without the rear discharge plug or bag in place 6 Cutting dismem...
Page 6: ...e and any other plastic or wrapping on the machine Note Determine the left and right sides of the machine from the normal operating position 1 Installing the Handle Parts needed for this procedure 1 H...
Page 7: ...most comfortable for you Figure 5 g024166 Figure 5 1 Handle 4 Medium handle height 2 Handle bracket 2 5 Lowest handle height 3 Highest handle height 6 Secure the handle onto the handle brackets at you...
Page 8: ...Crankcase with Oil No Parts Required Procedure Important Your machine does not come with oil in the engine Before starting the engine fill the engine with oil Engine Oil Specifications Engine oil cap...
Page 9: ...r too high and you run the engine you may damage the engine 8 Install the dipstick into the oil fill tube securely 4 Adjusting the Self Propel Drive No Parts Required Procedure Important You must adju...
Page 10: ...rview g024344 Figure 11 1 Handle 7 Spark plug 2 Self propel drive bar 8 Cutting height lever 4 3 Blade control bar 9 Oil fill dipstick 4 Rear door 10 Grass bag 5 Fuel tank cap 11 Recoil start handle 6...
Page 11: ...al if swallowed Long term exposure to vapors can cause serious injury and illness Avoid prolonged breathing of vapors Keep your hands and face away from the nozzle and the fuel tank opening Keep fuel...
Page 12: ...Height You can change the cutting height at each wheel by adjusting a cutting height lever Cutting heights are 25 mm 1 inch 38 mm 1 1 2 inches 51 mm 2 inches 64 mm 2 1 2 inches 76 mm 3 inches 89 mm 3...
Page 13: ...t for all moving parts to stop and disconnect the wire from the spark plug before examining the machine for damage Make all necessary repairs before resuming operation Before leaving the operating pos...
Page 14: ...that make it easier to pull the machine rearward To disengage the clutches you may need to push the machine forward about 2 5 cm 1 inch or more after you release the self propel drive bar Recycling t...
Page 15: ...se serious personal injury or death to you or to bystanders Never remove the grass bag and then start the engine without the discharge plug installed on the machine Never open the rear deflector on th...
Page 16: ...again at a lower setting for the best lawn appearance If the grass is too long and the leaves clump on top of the lawn the machine may plug and cause the engine to stall Alternate the mowing direction...
Page 17: ...out the clippings Let the water run until you no longer see clippings being washed out from under the machine 4 Shut off the engine and wait for all moving parts to stop 5 Turn off the water 6 Start...
Page 18: ...coil starter and the air intake screen Every 200 hours Have an authorized engine servicing dealer check for leaks in the fuel system and or a deteriorating fuel hose Replace parts if necessary Every 3...
Page 19: ...re it with the screw Changing the Engine Oil Service Interval After the first 8 hours Every 50 hours Run the engine a few minutes before changing the oil to warm it Warm oil flows better and carries m...
Page 20: ...he drive cable 1 Move the machine outside and onto a paved surface near a solid wall to safely prevent the machine from moving forward while the engine is running 2 Position the machine with the front...
Page 21: ...ce the blade refer to Removing the Blade page 22 g002278 Figure 25 1 Sail 3 Wear 2 Flat part of the blade 4 Slot formed Note For the best performance install a new blade before the mowing season begin...
Page 22: ...Sharpen the blade at this angle only 2 Maintain the original radius here Balancing the Blade 1 Check the balance of the blade by placing the center hole of the blade over a nail or screwdriver shank...
Page 23: ...g the Wheels Service Interval Every 40 hours Important To prevent damage to the bearing seals do not use a high pressure water spray on the bearings Note If you operate the machine in extreme conditio...
Page 24: ...plug General Information 1 Clean under the machine refer to Cleaning under the Machine page 17 2 Clean any dirt and chaff from the cylinder cylinder head fins and blower housing 3 Remove grass clippin...
Page 25: ...Replace the spark plug if it is pitted fouled or cracked 3 The throttle lever is not in the FAST position 3 Move the throttle lever to the FAST position The engine runs rough 4 The air filter element...
Page 26: ...Notes...
Page 27: ...Notes...
Page 28: ...these activities We will not sell your personal information to any other company We reserve the right to disclose personal information in order to comply with applicable laws and with requests by the...