Adjusting the Shop Roller
Assemblies
Model 03192 Only
Before you lower the cutting units to the shop floor or
remove them from the traction unit, lower the shop
roller assemblies to protect the reel and bedknife
blades from hard surface contact.
Before operating the cutting units, install them to the
machine, raise the cutting units, and raise the shop
roller assemblies to prevent them from touching the
grass and interfering with operation.
1.
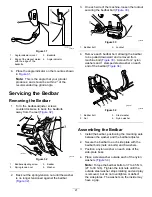
Remove the cotter pin from the clevis pin that
secures the shop roller bracket to the side plate.
2.
Position the shop roller assembly as needed:
•
Lower the shop roller brackets before the
cutting unit is lowered to the shop floor or
removed from the traction unit (
).
g341821
Figure 13
1.
Clevis pin (always installed
in the top square hole in
the side plate)
3.
Shop roller assembly (in
lowered/shop position)
2.
Side plate
•
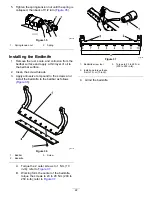
Raise the shop roller brackets after the
cutting unit is raised to the operating position
(
g341820
Figure 14
1.
Clevis pin (always installed
in the top square hole in
the side plate)
3.
Shop roller assembly (in
raised/operating position)
2.
Side plate
Note:
Ensure that the clevis pin is always
installed in the top square hole in the side
plate.
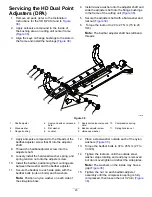
3.
Secure the shop roller bracket to the clevis pin
with the cotter pin.
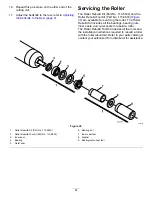
4.
Repeat this procedure on the opposite end of
the cutting unit, and for all other cutting units as
needed.
11


