7
Recording
and
Pla
ybac
k
7.1 Recording a programme 31
start recording at a specified time. When the recording comes to the
end, the digital receiver will switch back into standby mode again in
one minute. However, if you press any button on the remote control
or on the front panel even just one time, the digital receiver will not
switch into standby mode.
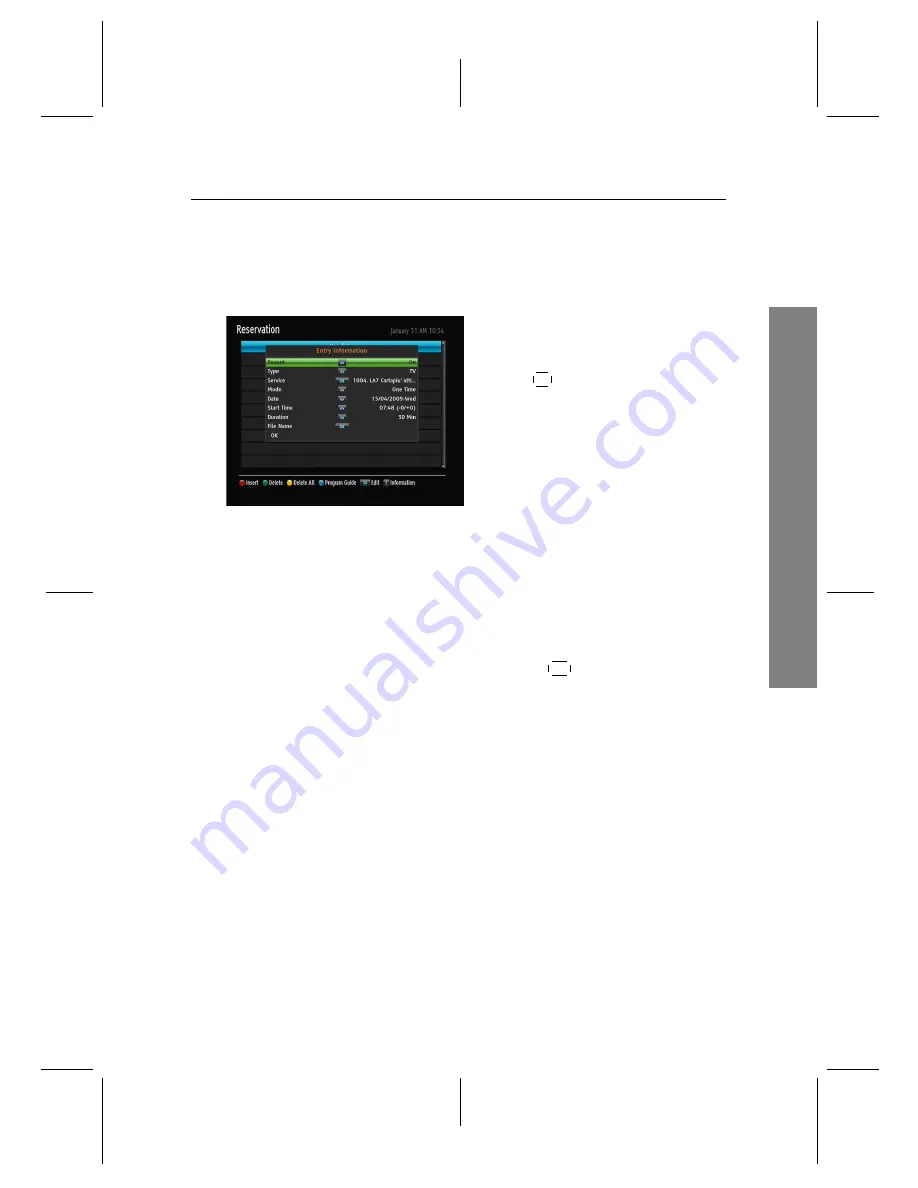
To add a timer recording, select the
PVR
>
Reservation
menu, then the timer list will
be displayed. To add a new timer event,
press the
F1
button, and a box like the left
figure appears. Take the following steps:
1. Set the
Record
option to
On
to make a recording. If this op-
tion is set to
Off
, the digital receiver will turn on at the specified
time but not record; instead, you may record with your video
recorder or suchlike in this case.
2. You may have three sources for recording: TV, radio, the video
from the external device linked to the digital receiver’s video
input. Set the
Type
option to your desired source.
3. Set the
Service
option to the service which provides the pro-
gramme you want. Pressing the
OK
button on this option dis-
plays a services list, from which you can select your desired ser-
vice.
4. Set the
Mode
option as you desire. There are five timer modes:
One Time
means literally ‘One time’.
Every Day
means literally ‘Every day’.
Every Weekend
means ‘Every Saturday and Sunday’.
Weekly
means ‘One day every week’.
Every Weekday
means ‘Every Monday to Friday’.
If your favourite programme is broadcast at weekends and you
wish to record every episode of the programme, set the
Mode
option to
Every Weekend
.
5. Set the
Date
option to a desired date, on which the digital re-
ceiver will turn on. The date format is
day/month/year-day of the
week
.
Set the
Start Time
option to a desired time, at which the record-
ing will be started. The time format is
hour:minute
.
Summary of Contents for TF-T6000
Page 64: ...110T U7AC6 701 1 ...


