Topfield TBF - 7110 User Manual Download Page 42

36

Firmware Update

NOTE

It is only allowed to update with the firmware of which system
identification is identical to that of yours. Otherwise you will
fail in firmware update.

7.2

From a USB memory

If you have a USB memory stick, you can update the firmware
by performing the following steps:

1. Download a new firmware from the Top-

field web site.

2. Copy the firmware file to your USB memory

stick.

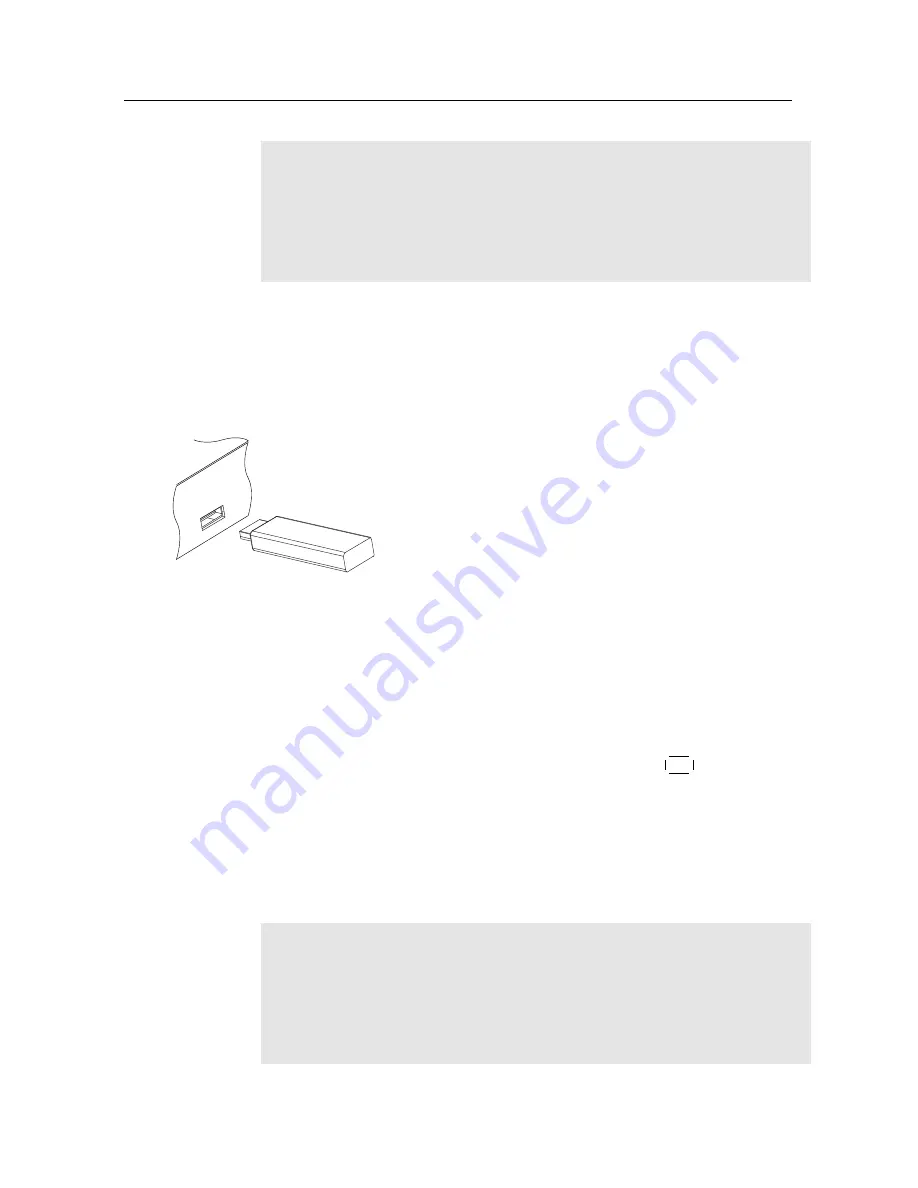
3. Insert the USB memory stick into the

USB

port on the back panel of the digital receiver.

4. Select the

Installation

>

USB Firmware Up-

grade

menu, then the files in the USB mem-

ory are listed.

5. Place the highlight bar on the right

firmware file and press the


OK

button, then

a countdown will be displayed on the front
display of the digital receiver.

6. When the ‘END’ message appears, restart

the digital receiver.

NOTE

Your USB memory must be formatted in the FAT file system.

Otherwise, the digital receiver cannot recognize your USB
memory. In addition, the digital receiver can only recognize

Summary of Contents for TBF - 7110

Page 1: ...TBF 7110 User Guide High Definition Digital Terrestrial Receiver...

Page 2: ......

Page 3: ...gerous voltage within the product s enclosure that may be of sufficient magnitude to constitute a risk of electric shock to a person The exclamation point within an equilateral triangle is intended to...

Page 4: ...ctions 8 2 4 Connecting up your digital receiver 9 2 4 1 Connecting the antenna 9 2 4 2 Connecting to your television set 10 2 5 Inserting batteries in the remote control 12 2 6 Switching on for the f...

Page 5: ...n 24 5 2 1 The services list 24 5 2 2 The favourite services list 26 5 2 3 Viewing programme information 27 5 2 4 Selecting audio tracks 27 5 2 5 Selecting subtitle tracks 28 5 2 6 Viewing teletext 28...

Page 6: ......

Page 7: ...equate a channel with a frequency However unlike analogue broadcasts digital broadcasts are not all as signed to their own frequencies instead multiple television broadcasts are transmitted through a...

Page 8: ...erview of scheduled programmes 1 2 Controlling the digital receiver You can operate the digital receiver with the remote control or the buttons on the front panel NOTE When the digital receiver is off...

Page 9: ...TANDBY button switches the digital receiver between standby mode and operation mode CHANNEL c a buttons switch to previous or next service They are also used to navigate in menus and interactive scree...

Page 10: ...5 P P buttons switch to previ ous or next service They are also used to navigate in menus and in teractive screens 6 switches between the current service and the previously viewed one 7 Numeric button...

Page 11: ...television 16 switches between television services and radio ser vices 17 GUIDE displays the electronic programme guide 18 A R changes aspect ratio See 3 2 1 for more details 19 MENU displays the main...

Page 12: ...with your digital receiver Remote control unit Two batteries for the remote control AAA 1 5 V One component cable RCA cable One composite cable RCA cable A copy of this user guide NOTE Accessories may...

Page 13: ...e to heat emitting units or in direct sunlight as this will impair cooling Do not lay any objects such as magazines on the digi tal receiver When placed in a cabinet make sure there is a minimum space...

Page 14: ...the digital receiver 1 ANT IN Terrestrial broadcasting signal input socket 2 ANT OUT Terrestrial broadcasting signal output socket through the ANT IN socket for another digital receiver 3 USB USB por...

Page 15: ...al audio output RS 232 115 2 kbps at maximum 2 4 Connecting up your digital receiver There are several ways to set up the digital receiver Set up the digital receiver suitably to your television and o...

Page 16: ...etailed description To use the HDMI connector If you have a high definition television set you should use a HDMI cable for best re sults Plug one end of the cable into the HDMI socket on the digital r...

Page 17: ...levision To make the audio connection You need to obtain an audio cable RCA ca ble to connect the audio connectors Plug one end of the cable into the AUDIO L white and AUDIO R red sockets on the digit...

Page 18: ...for the first time Now that you have your digital receiver connected you should plug it into a mains socket Ensure that your television set is turned on and on the correct AV channel so that you will...

Page 19: ...left figure Subtitle language Set the 1st Subtitle Language option and the 2nd Subtitle Lan guage option to your desired languages When you watch a programme if the programme has a subtitle track of...

Page 20: ...ed for the 1st Audio Language it will be outputted If the first language is not available but the second language is the audio of the second language will be outputted Apart from this setting you can...

Page 21: ...you have a normal screen television set the TV Aspect Ratio option to 4 3 You cannot fully enjoy wide screen programmes with your normal screen television as the above figures show The left figure sh...

Page 22: ...o Auto if you have a high definition television With that setting the digital receiver will present a programme as it is without any resolution conversion While watching television you can change the...

Page 23: ...If so set the DRC Type option to RF Mode to increase the sound 3 3 Local time setting You should set your local time for timer events Select the System Setting Time Setting menu You should see a scre...

Page 24: ...hdad Riyadh Moscow St Petersburg GMT 3 30 Tehran GMT 4 00 Abu Dhabi Muscat Baku Tbilisi GMT 4 30 Kabul GMT 5 00 Ekaterinburg Islamabad Karachi Tashkent GMT 5 30 Bombay Calcutta Madras New Delhi GMT 6...

Page 25: ...classification on the information box For the informa tion box see 5 2 3 You can prevent your children from watching specific pro grammes by specifying a programme classification Select the System Set...

Page 26: ...ewing the content of which is deep hardcore NOTE If a programme does not have any programme classification information your censorship setting will not take effect If anyone is trying to watch a progr...

Page 27: ...ou switch services However pressing the button will display the information box If you set this option to Never Hide the information box will always be displayed In addition you can raise or lower the...

Page 28: ...rch select the Installation Service Search menu You should see a screen like the left figure You should set the Search Mode option to Auto for the first time after connecting up the digital receiver t...

Page 29: ...search select the Start Search item then a list box appears in which found services will be listed When it has completed press the OK button to save found services To stop at any time or to exit witho...

Page 30: ...e button Press it again to restore the sound to previous level 5 2 Watching television To change services press the P or P button Pressing the button switches to the previously viewed service In ad di...

Page 31: ...ices list by pressing the button Pressing the F4 button displays the additional options with which you can do the following By setting the Show Provider option to On you can view service entries by gr...

Page 32: ...ght bar appears on its favourite services list Once you select a desired service with the OK button it will be presented Otherwise to select other group press the V button After you have selected a fa...

Page 33: ...Programme name Programme classification symbol Programme summary Broadcasting time Current time In addition you might see the following symbols Subtitle symbol if subtitle tracks are provided on the...

Page 34: ...able subtitle tracks Once you select a subtitle track it will be displayed 5 2 6 Viewing teletext On some services such information as weather reports news or stock quotations is provided by means of...

Page 35: ...over next days with the F3 button To see the programme guide for radio broadcasts press the button To switch it back press the button again Pressing the F1 button displays the programme guide in the f...

Page 36: ...imer Setting menu then the timer list will be displayed To add a new timer event press the F1 button and a box like the left figure appears Take the following steps 1 If you want a radio programme set...

Page 37: ...week Set the Wakeup Time option to a desired time at which the digital receiver will turn on The time format is hour minute 5 Set the Duration option to a desired time in which the digital receiver w...

Page 38: ...Favorites menu You should see a screen like the left figure There are three columns Group list left Favourites list centre Services list right The services list contains all available services whereas...

Page 39: ...e high light bar then moves to the services list 2 To add a service to the selected group put the highlight bar on a desired service entry and press the OK button The selected service entry gets added...

Page 40: ...buttons and vertically with the P and P buttons Press ing the OK button on a key en ters its letter in the input line To type a space select the Space key To type lower case letters or numerals selec...

Page 41: ...tool which runs on most versions of Windows from the Topfield web site http www itopfield com au 7 1 Checking the firmware information You have to check the firmware information of your digital re ce...

Page 42: ...stick 3 Insert the USB memory stick into the USB port on the back panel of the digital receiver 4 Select the Installation USB Firmware Up grade menu then the files in the USB mem ory are listed 5 Plac...

Page 43: ...b site http www itopfield com au To update the firmware by this method perform the following steps 1 Download a new firmware applicable to your digital receiver from the Topfield web site 2 Turn off t...

Page 44: ...11 Auto 22 AV 20 Button 4 Censorship 19 Center 15 Center extract 15 Change PIN Code 20 Channel 23 Daylight Saving Time 18 Dolby Output 17 download 37 DRC Type 17 Duration 31 DVB 1 Electronic Programm...

Page 45: ...e Search 22 services list 24 Show Provider 25 Sound Mode 16 specifications 7 9 Start Search 23 stereo 16 subtitle 28 System ID 35 System Setting 21 teletext 28 TFD Down 37 time format 18 Time Offset 1...

Page 46: ......

Page 47: ......

Page 48: ...where they purchased this product or their local government office for details of where and how they can dispose this product for environmentally safe recycling Business users should contact their sup...

Reviews: