TMC
Page 10
Installation Instructions
The TAPit cart is a plug and play solution, and has already been configured and tested for immediate use. Should you
experience any immediate technical issues upon plugging the unit into a power source, please proceed with the following
steps prior to contacting customer service:
1.
What should I do if the lift or extension systems won’t work?
a.
Confirm if the power cable of the unit is properly plugged into the appropriate power supply.
2.
What should I do if the lift or extension systems operate intermittently?
a.
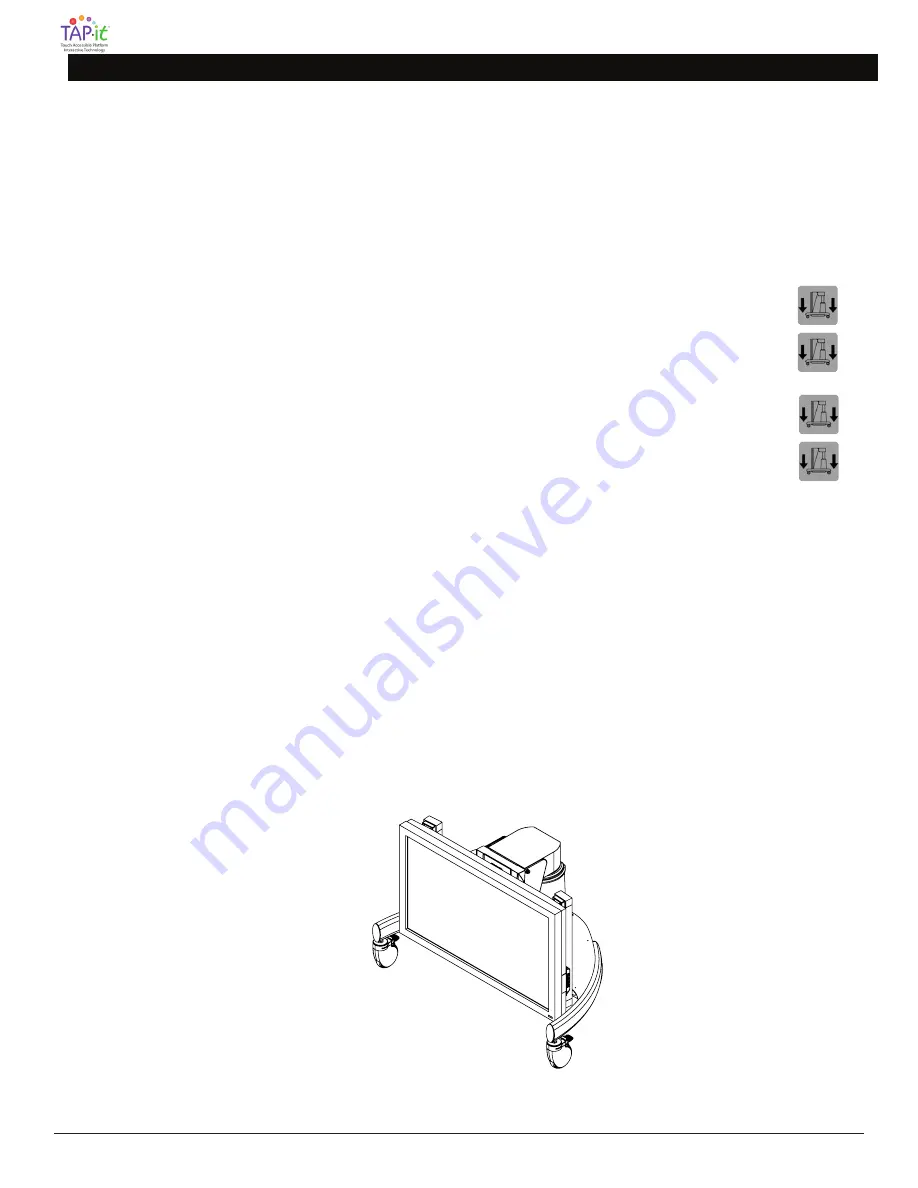
First retract the display so that it’s in the vertical home position, and then lower the lift until it comes
to a complete stop.
b.
Release the down button on the controller.
c.
Depress the down button again and hold it for a minimum of 10 seconds or until the unit both
visibly and audibly initializes. (The unit will noticeably move down as it is resetting itself to default.)
3.
What should I do if the lift system will only move down?
a.
First retract the display so that it’s in the vertical home position, and then lower the display until it
comes to a complete stop.
b.
Release the down button on the controller.
c.
Depress the down button again and hold it for a minimum of 10 seconds or until the unit both
visibly and audibly initializes. The unit will noticeably move down as it is resetting itself to default.
d.
If the system is allowed to move upwards, then this is confirmation that the initialization was successful.
4.
What should I do if I cannot see an image on the monitor?
a.
Confirm if the display power cable is properly plugged into the appropriate power supply.
b.
Power down the laptop or PC tower fully.
c.
Confirm that all of the cabling is properly connected to the laptop or PC tower terminals.
d.
Confirm that the main power switch located on right side bottom edge of the display is turned on
and that the LED light is illuminated.
e.
Utilizing the supplied NEC remote control, confirm that the computer input is the selected input source.
f.
Power on the laptop or computer source.
g.
For laptops, confirm that the Function and appropriate F# key has been pressed to send the local
monitor signal to the monitor and to extend the desktop.
5.
What should I do if I cannot hear any audio from the monitor speakers?
a.
Confirm that the 3.5 mm audio cable is properly plugged into the laptop or PC tower.
b.
Confirm that the laptop or PC tower volume level is turned up and/or not muted.
c.
Utilizing the supplied NEC remote control confirm that the monitor audio level is turned up and/or not muted.
6.
What should I do if the interactive touch capability of the monitor is not working?
a.
Confirm that the USB control cable is properly plugged into the laptop or PC tower.
b.
Confirm that the interactive software is properly loaded onto the laptop or PC tower.
Troubleshooting
Home Position


