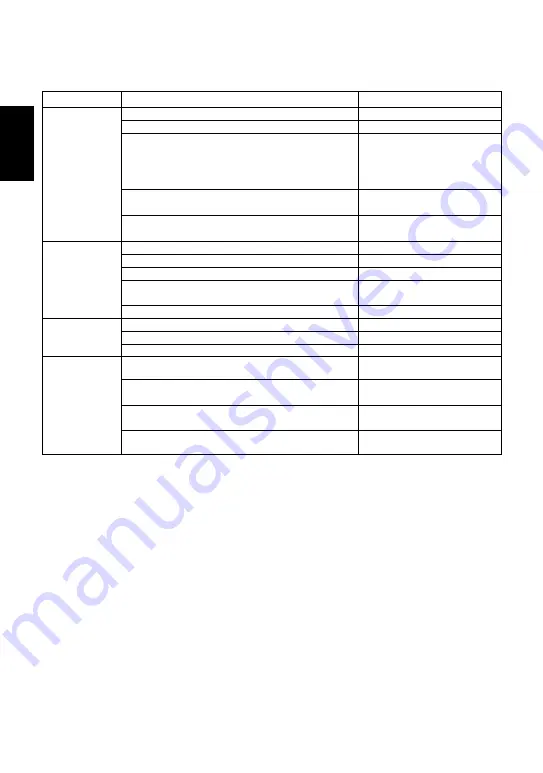
Problem
Remedy
No condensate
is discharged
(blocked) or
discharge is
poor
Steam leakage
or blowing
(from valve
seat)
9. Troubleshooting
If the expected performance is unachievable after installation of the trap, read chapter 5 and
chapter 6 again and check the following points for appropriate corrective measures.
Cause
Screen is clogged with rust or scale
Disc is sticking to valve seat (due to oil, etc.)
Clean
Valve closure is obstructed by scale, etc.
Clean or replace screen
Replace worn parts
Clean
Disc or valve seat is worn
Use within pressure range
Back pressure exceeds allowable value
Clean
Disc is sticking to top of cover (due to oil, etc.)
Steam-locking has occurred
Perform a bypass blow-
down, or close the trap inlet
valve and allow the trap to
cool. Piping correction may
also be required
Trap capacity is insufficient
Change to trap of suitable
capacity
Trap is being used below minimum operating
pressure
Use within pressure range
Differential pressure is low
Study inlet/outlet pressure,
including rise in outlet pipe
Valve
chattering
(Leakage)
Foreign matter or oil film on disc or valve seat
Clean
Scratches on disc or valve seat
Replace disc or trap
Disc or valve seat is worn
Replace disc or trap
Leakage from a
location other
than valve seat
Tighten cover, or replace
trap
Inlet and discharge channels may be
connected, due to erosion
Replace trap (study trap
capacity)
Screen holder is loose or screen holder
gasket is damaged
Tighten screen holder or
replace screen holder gasket
Cover is loose or sealing surface between
cover and body is damaged
Bypass valve is damaged or open
Replace or close bypass
valve
NOTE: When replacing parts with new, use the parts list on page 5 for reference, and replace with
parts from the Maintenance Kit and/or Repair Kit. Please note that replacement parts are only
available as part of a replacement parts kit.
English
― 11 ―


