


Page 7
After you select
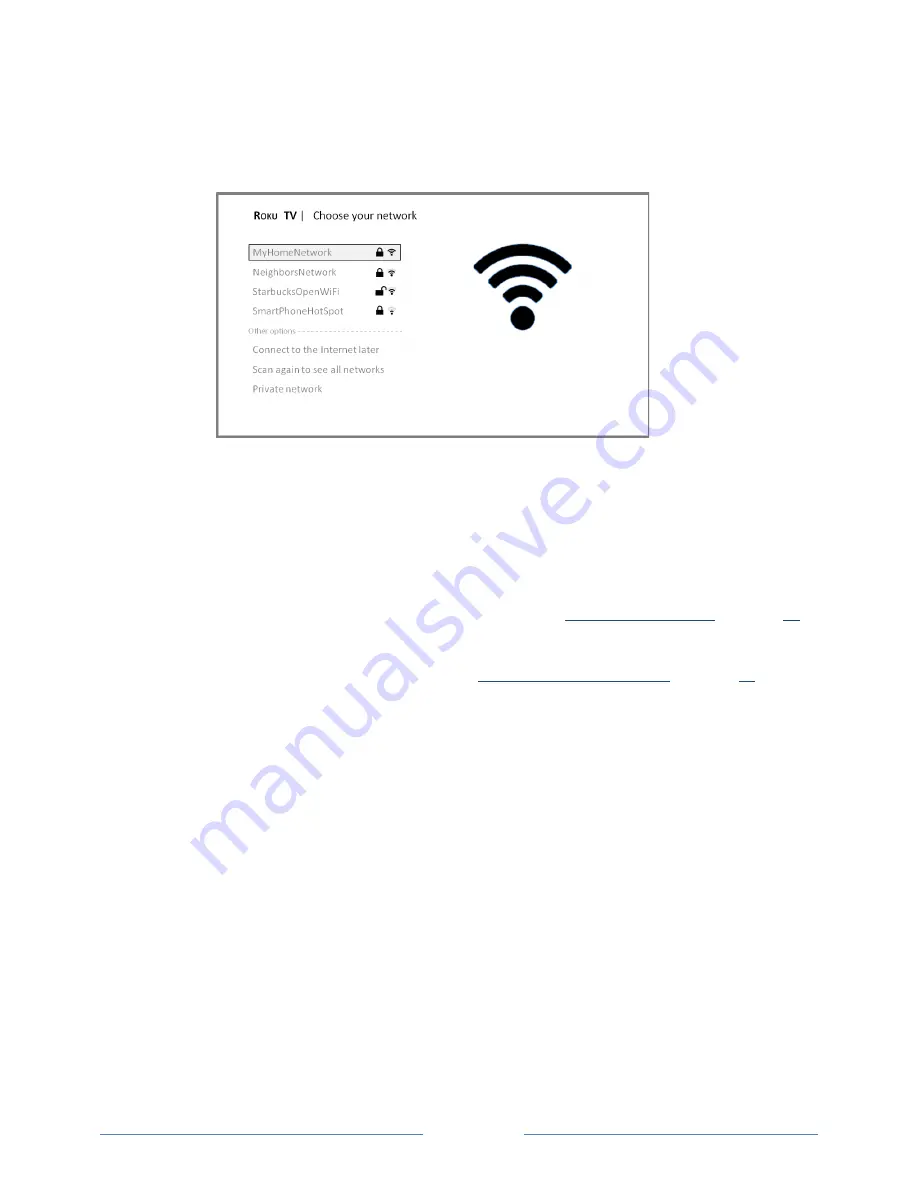
Set up for home use
, the TV scans for the wireless networks within range and
displays them in order, with the strongest signals first. In addition to your own wireless signal,
the TV might pick up signals from your neighbors.
3.
Press the
UP
or
DOWN
arrows to highlight the name of your wireless network, and then press
OK
to select it.
Other options:
•
Connect to the Internet later
– If you’re unable to connect to the Internet, that’s OK. You
can skip this step and use the TV to watch broadcasts, play games, and watch DVDs. If you
want to connect later, it’s easy. We’ll show you how in
“
Benefits of connecting
” on page
15
.
Note
:
If you decide not to connect, Guided Setup skips ahead to setting up the devices
that you’ve connected to your TV. See “
Non-connected Home screen
” on page
14
to get
started using your non-connected TV.
•
Scan again / Scan again to see all networks
– This option depends on the number of
wireless networks within range.
o
Scan again
appears if the list already shows all available wireless networks within
range. If you don’t see your wireless network name in the list, you might need to
adjust the location of your wireless router or the TV, turn on your router, or make
other changes. When everything is ready, select
Scan again
to see if your network
name now appears in the list.
o
Scan again to see all networks
appears if there are more wireless networks than the
strongest ones it initially listed. If you don’t see your wireless network name in the
list, this option displays the complete list. If you still don’t see your network name,
you might have your router configured to provide wireless service as a “private
network.”


