Original instructions:
MNL_TTK550L
WM_V1
RIDE-ON MOWER
OWNER’S MANUAL
WARNING!
Read this manual carefully before
using the machine.
TTK550LWM
EN
Supported by
For all your Warranty,
Parts and Service needs
0845 601 4221
www.servicelink.org.uk
Page 1: ...ons MNL_TTK550LWM_V1 RIDE ON MOWER OWNER S MANUAL WARNING Read this manual carefully before using the machine TTK550LWM EN Supported by For all your Warranty Parts and Service needs 0845 601 4221 www...
Page 2: ...of a greater value and or specification This guarantee does not cover defects caused by or resulting from Misuse abuse or neglect Trade professional or hire use Repairs attempted by anyone other than...
Page 3: ...before use and retain them for future reference Getting started Your product Technical data Accessory list Safety instructions Unpacking and assembly In more detail Operation Care and maintenance Tro...
Page 4: ...nds help convey the cut grass towards the collector channel 13 Collector channel this is the part connecting the cutting deck to the grass catcher 14 Grass catcher as well as collecting the grass cutt...
Page 5: ...everse 1 7 km h Tyres 13 15 Forward speed approximate in Forward gear 1 5 6 2 km h in Reverse 2 0 km h Hydrostatic transmission Tyres 11 13 Forward speed approximate in Forward gear 0 5 6 km h in Reve...
Page 6: ...hen the cuttings are not to be collected 3 KIT FOR MULCHING It finely chops the grass cuttings and leaves them on the lawn instead of collecting them in the grass catcher 2 TOWING HITCH For towing a s...
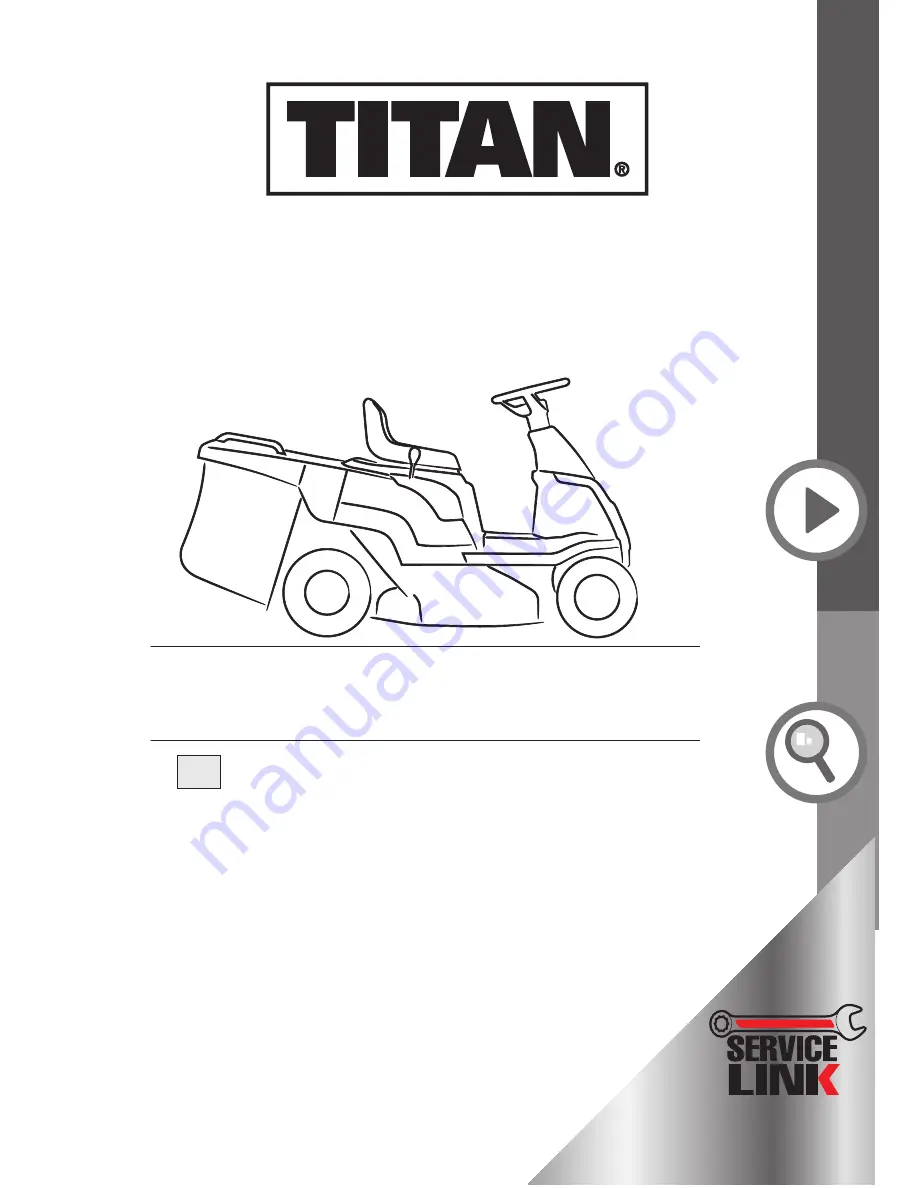
Page 7: ...eed the recommended loads stated on the label and follow the safety instructions 7 GB IE Getting started TTK550LWM by TITAN 1 Warning Read Owner s Manual before operating this machine 2a Electric Star...
Page 8: ...biding by the restrictions and conditions indicated in the instructions accompanying the equipment Improper use Any other usage not in keeping with the above mentioned ones may be hazardous and harm p...
Page 9: ...ATIONS Read carefully before using the machine A TRAINING 1 Read the instructions carefully Be familiar with the controls and the proper use of the equipment Learn how to stop the engine quickly 2 Nev...
Page 10: ...her side discharge guard or rear discharge guard C OPERATION 1 Do not operate the engine in a confined space where dangerous carbon monoxide fumes can collect 2 Mow only in daylight or with good artif...
Page 11: ...pment is in safe working condition Regular maintenance is essential for safety and for maintaining performance levels 2 Never store the equipment with fuel in the tank inside a building where fumes ma...
Page 12: ...pallet The standard packing contents the machine dashboard cover steering wheel column caster steering wheel seat blade engagement lever extension grass catcher components the lower part of the back...
Page 13: ...without tightening the screws completely Hydrostatic transmission Make sure the release lever 7 is inserted in the rear plate groove correctly and that it runs freely Tighten screws 6 FITTING THE DAS...
Page 14: ...ews 7 a b c supplied in the indicated order Fit the steering wheel cover 8 clicking the three fasteners into place FITTING THE SEAT Use equipment marked C Fit the seat 1 onto the plate 2 using the scr...
Page 15: ...ctor 3 to the machine connector 4 and arrange the wire 5 so that it is held firmly in place 7 Using the connector 6 charge the battery following instructions in the booklet then put the cover 2 back F...
Page 16: ...nd with a hammer Insert an end of the spring 4 in the deflector cap 2 opening and fasten it with the pin 5 inserted in the specific deflector cap 2 seat 6 Insert the other end of the spring 4 in the w...
Page 17: ...Before you start ASSEMBLY OF THE REAR DISCHARGE GUARD if provided Follow sequences on the instructions sheet supplied 17 GB IE Getting started TTK550LWM by TITAN...
Page 18: ...In more detail Operation Care and maintenance Troubleshooting Recycling and disposal EC declaration of conformity In more detail 18 TTK550LWM by TITAN GB IE...
Page 19: ...ed before leaving the machine The brake is engaged by fully pressing the pedal 11 21 and moving the lever to position A When you take your foot off the pedal it will be blocked by the lever in the dow...
Page 20: ...the stop notches Electric Start 5 KEY IGNITION SWITCH This key operated control has three positions OFF everything is switch ed off ON activates all parts START engages the starter motor On being rele...
Page 21: ...es the mixture so must only be used for the necessary time for cold starting When moving from one area to another put the lever in a position between SLOW and FAST When cutting go to the FAST position...
Page 22: ...eed of the machine increases Reverse is engaged by pressing the pedal with the heel towards R The pedal automatically goes into neutral N when released Only shift into reverse when the machine has sto...
Page 23: ...and unstable ground Do not leave the machine on high grass with the engine running to avoid the risk of starting a fire This machine must not be used on slopes steeper than 10 17 Slopes IMPORTANT All...
Page 24: ...n a comfortable position fully tighten the four screws Refuelling NOTE The oil and fuel to use are indicated in the engine booklet To reach the oil dipstick turn the seat over and remove the cover und...
Page 25: ...ure to the indicated values Preparing the machine and fitting the exit guards grass catcher or rear discharge guards or side discharge chute NOTE This machine lets you mow lawns in different ways acco...
Page 26: ...the two holes on the sides of the collector channel 3 Then fit the grass catcher or the rear discharge guard as indicated above Preparation for mowing and grass side discharge Lift the safety lever 1...
Page 27: ...on the lever between SLOW and FAST Electric Start put in the key page 20 and turn to ON to make electrical contact then turn to START to start the engine release the key once the engine has started Ma...
Page 28: ...Hydrostatic transmission Put the accelerator control between the SLOW and FAST positions Press the brake pedal to disengage the parking brake and release the pedal Press the drive pedal 22 in directio...
Page 29: ...speed NOTE The fourth gear is just a transfer gear to be used on the flat Hydrostatic transmission The speed has to be adapted to the condition of the grass in a gradual and progressive way by moving...
Page 30: ...he lawn will improve if you alternate cutting in both directions 9 When using the side discharge it is best to mow in a pattern where cut grass is not discharged on the grass still to be cut 10 If the...
Page 31: ...tor channel To empty the grass catcher lower the engine speed go into neutral N page 22 and stop the machine s forward movement disengage the blade page 20 engage the parking brake on slopes page 20 h...
Page 32: ...ake them to remove residual grass and earth Always empty the grass catcher and do not leave containers full of cut grass inside a room Clean the plastic parts of the body with a damp sponge using wate...
Page 33: ...ct the tube 3 and empty the tank collecting all the fuel in a suitable container Open the tap 1 and start the motor leaving it running till it stops because all fuel left in the tubes and carburettor...
Page 34: ...of the machine may cause accidents or personal injuries for which the Manufacturer is under no circumstance liable or responsible IMPORTANT Never get rid of used oil fuel or other pollutants in unaut...
Page 35: ...Check of fuel filter 2 5 Fuel filter replacement 2 6 Check and cleaning of spark plug points 2 7 Replacement of spark plug ROUTINE MAINTENANCE The following table is to help you maintain your machine...
Page 36: ...ine badly earthed earth connections of the microswitches disconnected you are not ready for starting faulty fuel supply Turn the key to STOP and look for the cause of the problem recharge battery repl...
Page 37: ...ass collector channel is blocked cutting deck full of grass check that spark plug caps are firmly fitted check that the electrodes are clean and have the correct gap check connections clean or replace...
Page 38: ...ing bolts loose problems with the engagement system the brake is not adjusted correctly problems with the belt or the engagement device move the disengagement lever to position B Contact your dealer C...
Page 39: ...ny elements which have a strong impact on the environment this waste must not be disposed of as normal waste it must be separated and taken to specified waste disposal centres where the material will...
Page 40: ...lis c Pagaminimo metai d Serijos numeris e Variklis vidaus degimo variklis 3 Atitinka direktyvose pateiktas specifikacijas f Sertifikavimo staiga g CE tipo tyrimas 4 Nuoroda suderintas Normas i I matu...
Page 41: ......
Page 42: ...As soon as you have purchased the machine write the machine identification data 3 5 6 found on the identification label in the spaces provided 2 1 IDENTIFICATION OF THE MACHINE 171505874 0...